Like me, I’m guessing you’re stuck inside with a spring cleaning list, roughly the length of your arm. I have an office closet that is awaiting shelves, a basement that needs more than a few prayers, and a vegetable garden that exists solely in my mind (rather than in the backyard where it should be). Well, with all the time on our hands, there’s really no excuse not to get some of those nagging projects done, and I’m here to offer you my help.
If there’s one thing that I’m confident I can help you organize, it’s your hats!
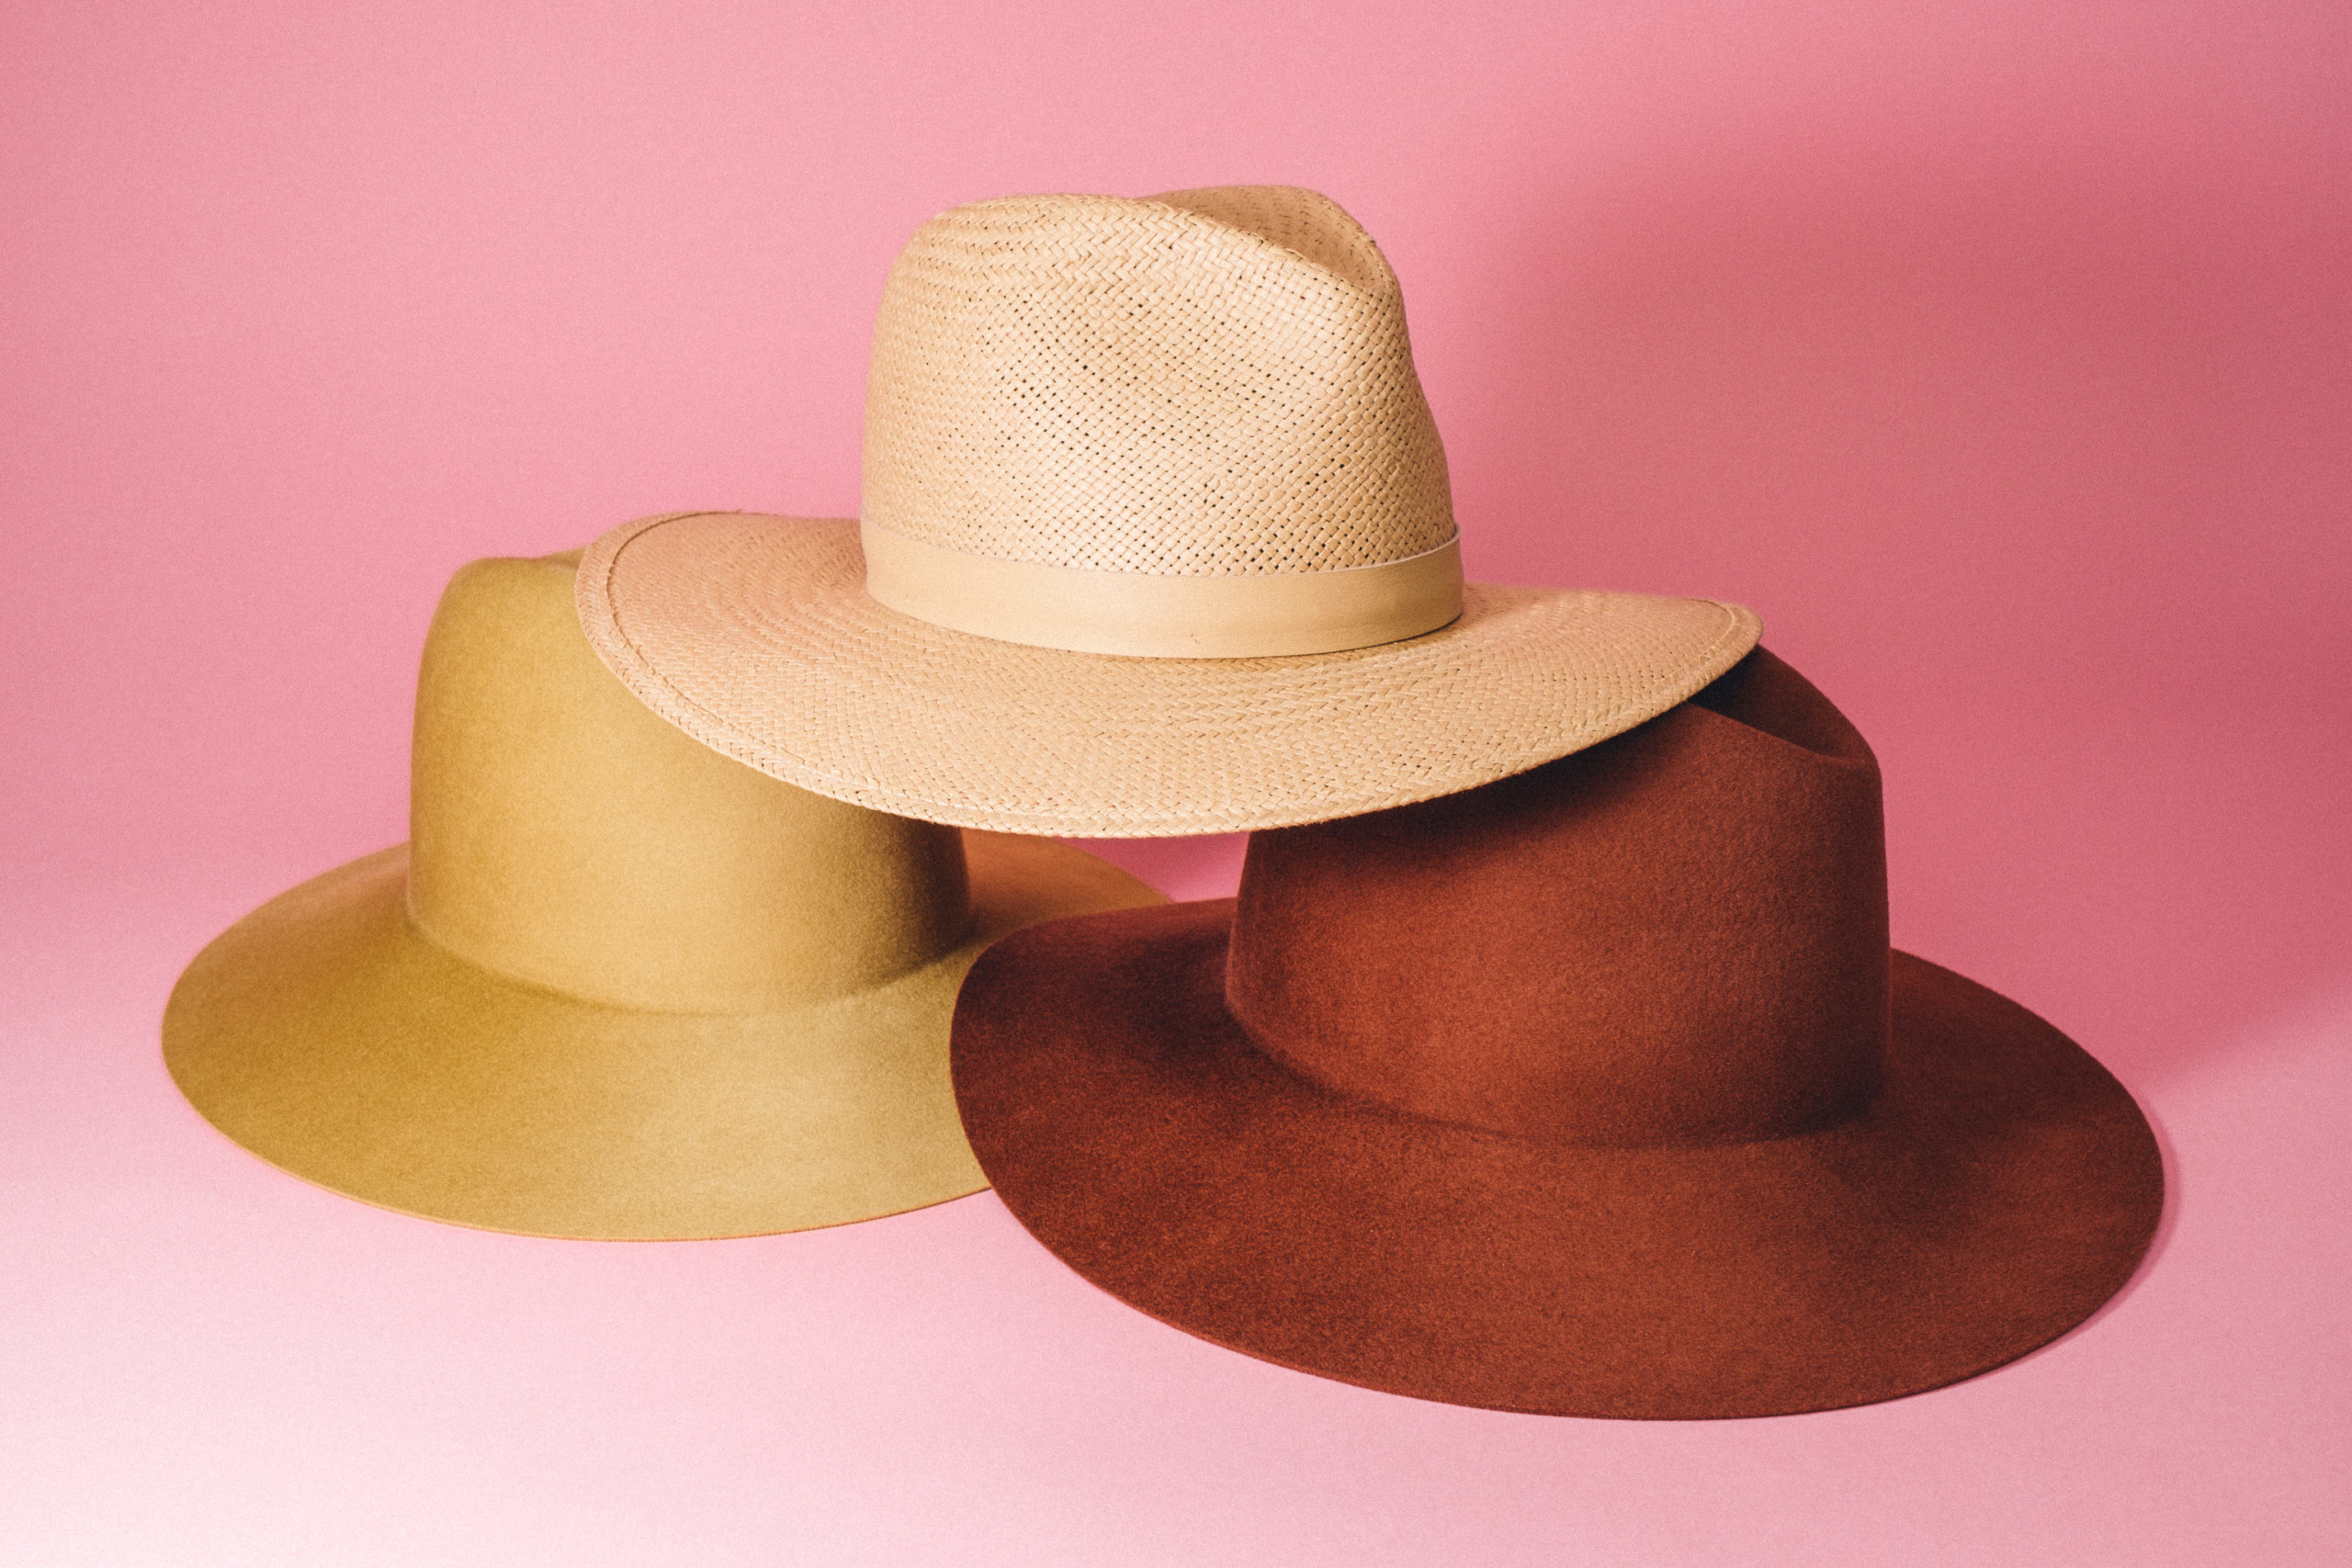
In the past few years, hat-wearing for me has become more than a casual pursuit — it’s become a full-blown infatuation. A love affair with the gentle fibers of wool brims, an appreciation for a well-molded crown, and of course, the never-ending search for the perfect custom hat color that one can wear all year round. But one thing I’ve noticed, as I’ve become this chapeau connoisseur, is that few people know how to store their hats.
In the hat world, it is suggested to leave the hat “crown down” to rest or dry off, but unless you have a closet full of open shelves, this is not practical for more than one topper. This is why I’ve devised my own system, a way to simultaneously showcase my hat collection while also knowing what the heck I have to choose from. We all know that the sooner you stuff your accessories in the closet, the sooner you no longer wear them, so I wanted a way to understand what I had and be able to choose a hat every day according to my outfit.
When I first started researching a hat wall, I was drawn to the beachy entryways that often displayed collections of sun hats of various straw textures. Per the usual Pinterest images, one hat would be huge, while the rest would be lovingly worn and colored with just the right contrast that they’d all go together swimmingly. Picture perfect! Yes, this is always a beautiful display of hats, but no, it’s not realistic. And if you know anything about who I am, you know that I don’t like useful things that I don’t use. So while a massive wide brim hat would be a fun piece of art for my wall, if I’m not sporting it regularly, I don’t really want to see it. My most flattering hats have brim sizes of equal lengths, and thus it was vital for me to find a solution that allowed for similar hats to be spaced at regular intervals without looking expected or dull. Plus, I didn’t want my hats in an entryway. I wanted them in my bedroom!
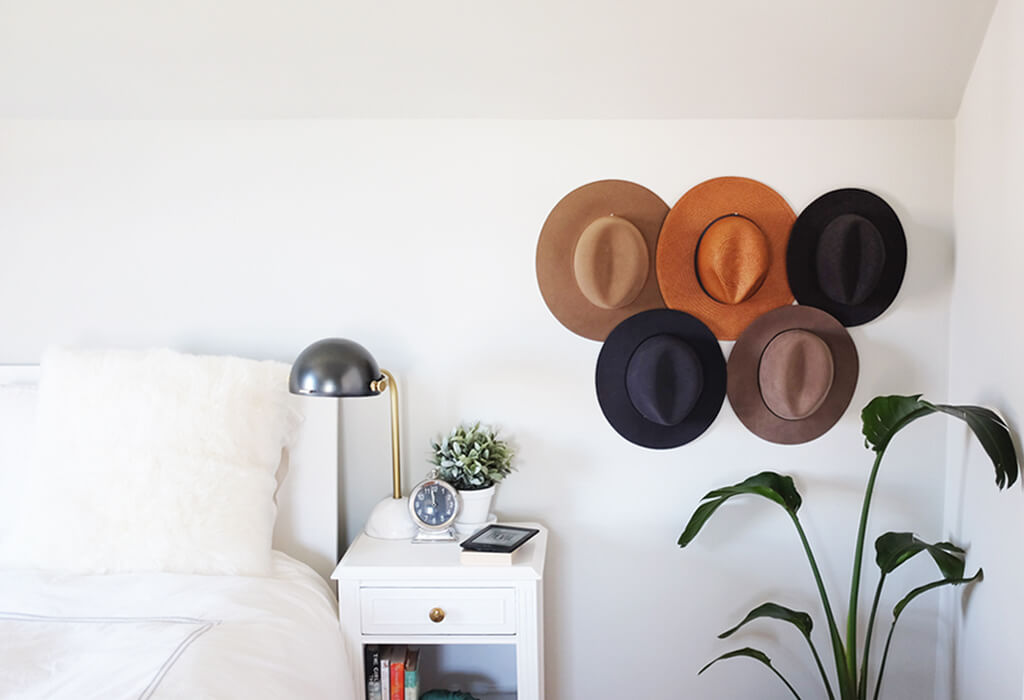
So, the obvious choice was to use a hook. Many hat stores display their hats on hooks because it looks good, and it’s wall art – win-win. But I didn’t want to go to a place like Anthropologie and buy a bunch of wall hooks that didn’t really work for hats and put holes in my walls. My solution was these Command Hooks. They are not beautiful, but they are incredibly practical, removable, and super easy to use. I’ve been happy with this set-up for years, and I shared my original wall layout on this post from a few years back. But now that I’ve gotten a bit more committed to my hat collection, I have found a way to improve this original design, and I’m here to share it.
My goal for hanging a hat is that the crown should never get damaged if I’m not wearing it. Surprisingly, this is a rather tough requirement because if you think of an average hook, it’s got a protrusion that will stretch material because, you know, gravity. It’s like hanging a jacket by the collar and not expecting it to get pulled around the neck. So while the command hooks were all good at first, I wanted to come up with a solution that worked long term, could grow with my hat collection, and didn’t cost a lot of money. I came up with a little design for an insert that keeps my hats super safe even if they find themselves resting in perpetuity.
I’m still happy with the command hook solution, but recently, I went a step further and made a hat rest that sits inside each hook. The full weight of the hat’s rim is supported evenly so that no part is being pulled or weighted down. I also found that this design works with all the hats I have, and therefore I feel quite confident that it’s easily adjustable to any crown-size or configuration. I’m sure I could even fabricate something unique for a fascinator!
So here’s how to make it…

You Will Need:
- Large Command Hooks
- SSB Hat Insert Pattern
- 4mm Foam (3-6mm is probably fine too)
- Craft knife, box cutter, or X-acto
- Glue gun
- Insulation Foam with Self-Adhesive (Any kind or thickness works, just adds a little cushion to the hat)
- Floral wire (Any wire will work, but floral wire is very bendy!)
To start, place, or measure the location you want your hook (you can use this post as a guide). I either measure or do this by eye (lately, the latter), but I ALWAYS put the hat on the hook to make sure I’m happy with the placement. Of course, that’s what’s excellent about command hooks: if you make a mistake, there’s no issue, just pull it off (following the directions, of course), and try again.
Okay, so once you have the hook on the wall, get yourself some space to work, and let’s go!
Step 1:

Cut out my guide with scissors and tape or pin it to the 4mm foam. Trace the shape onto the 4mm foam with a pencil and be sure to mark where the fold and score lines are.
Step 2:

Cut out the foam pieces and heat up your glue gun!
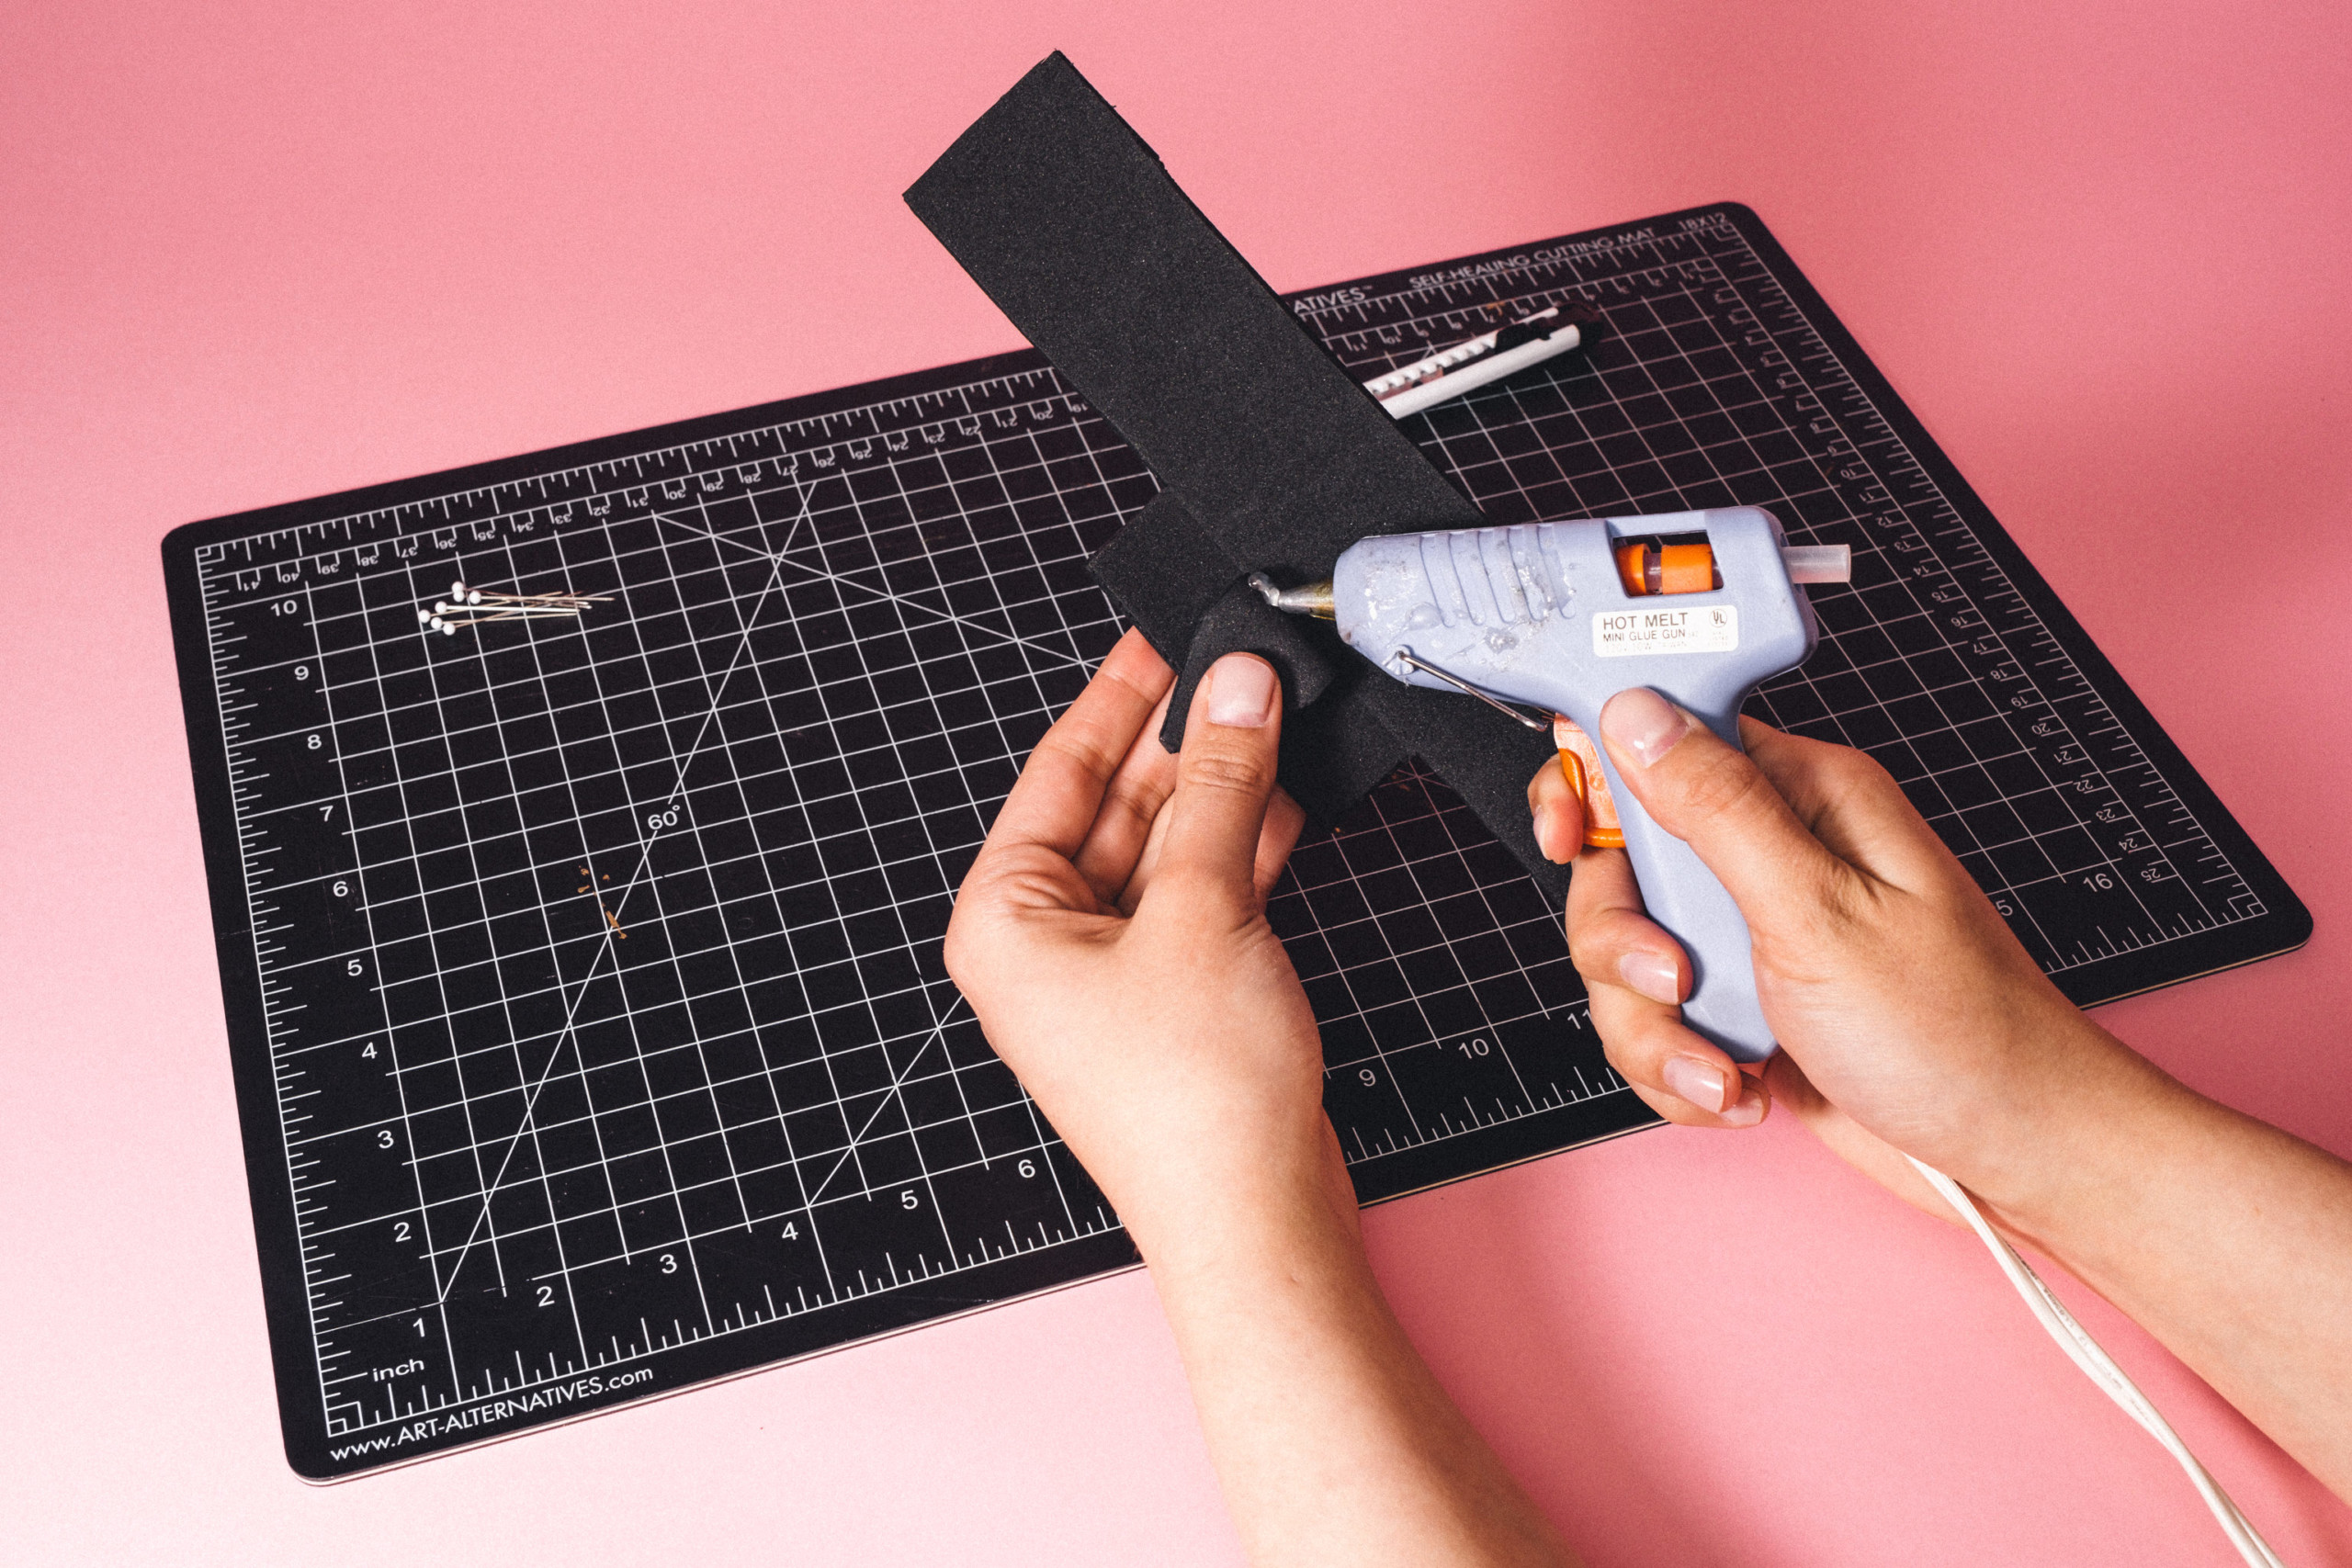
Step 3:
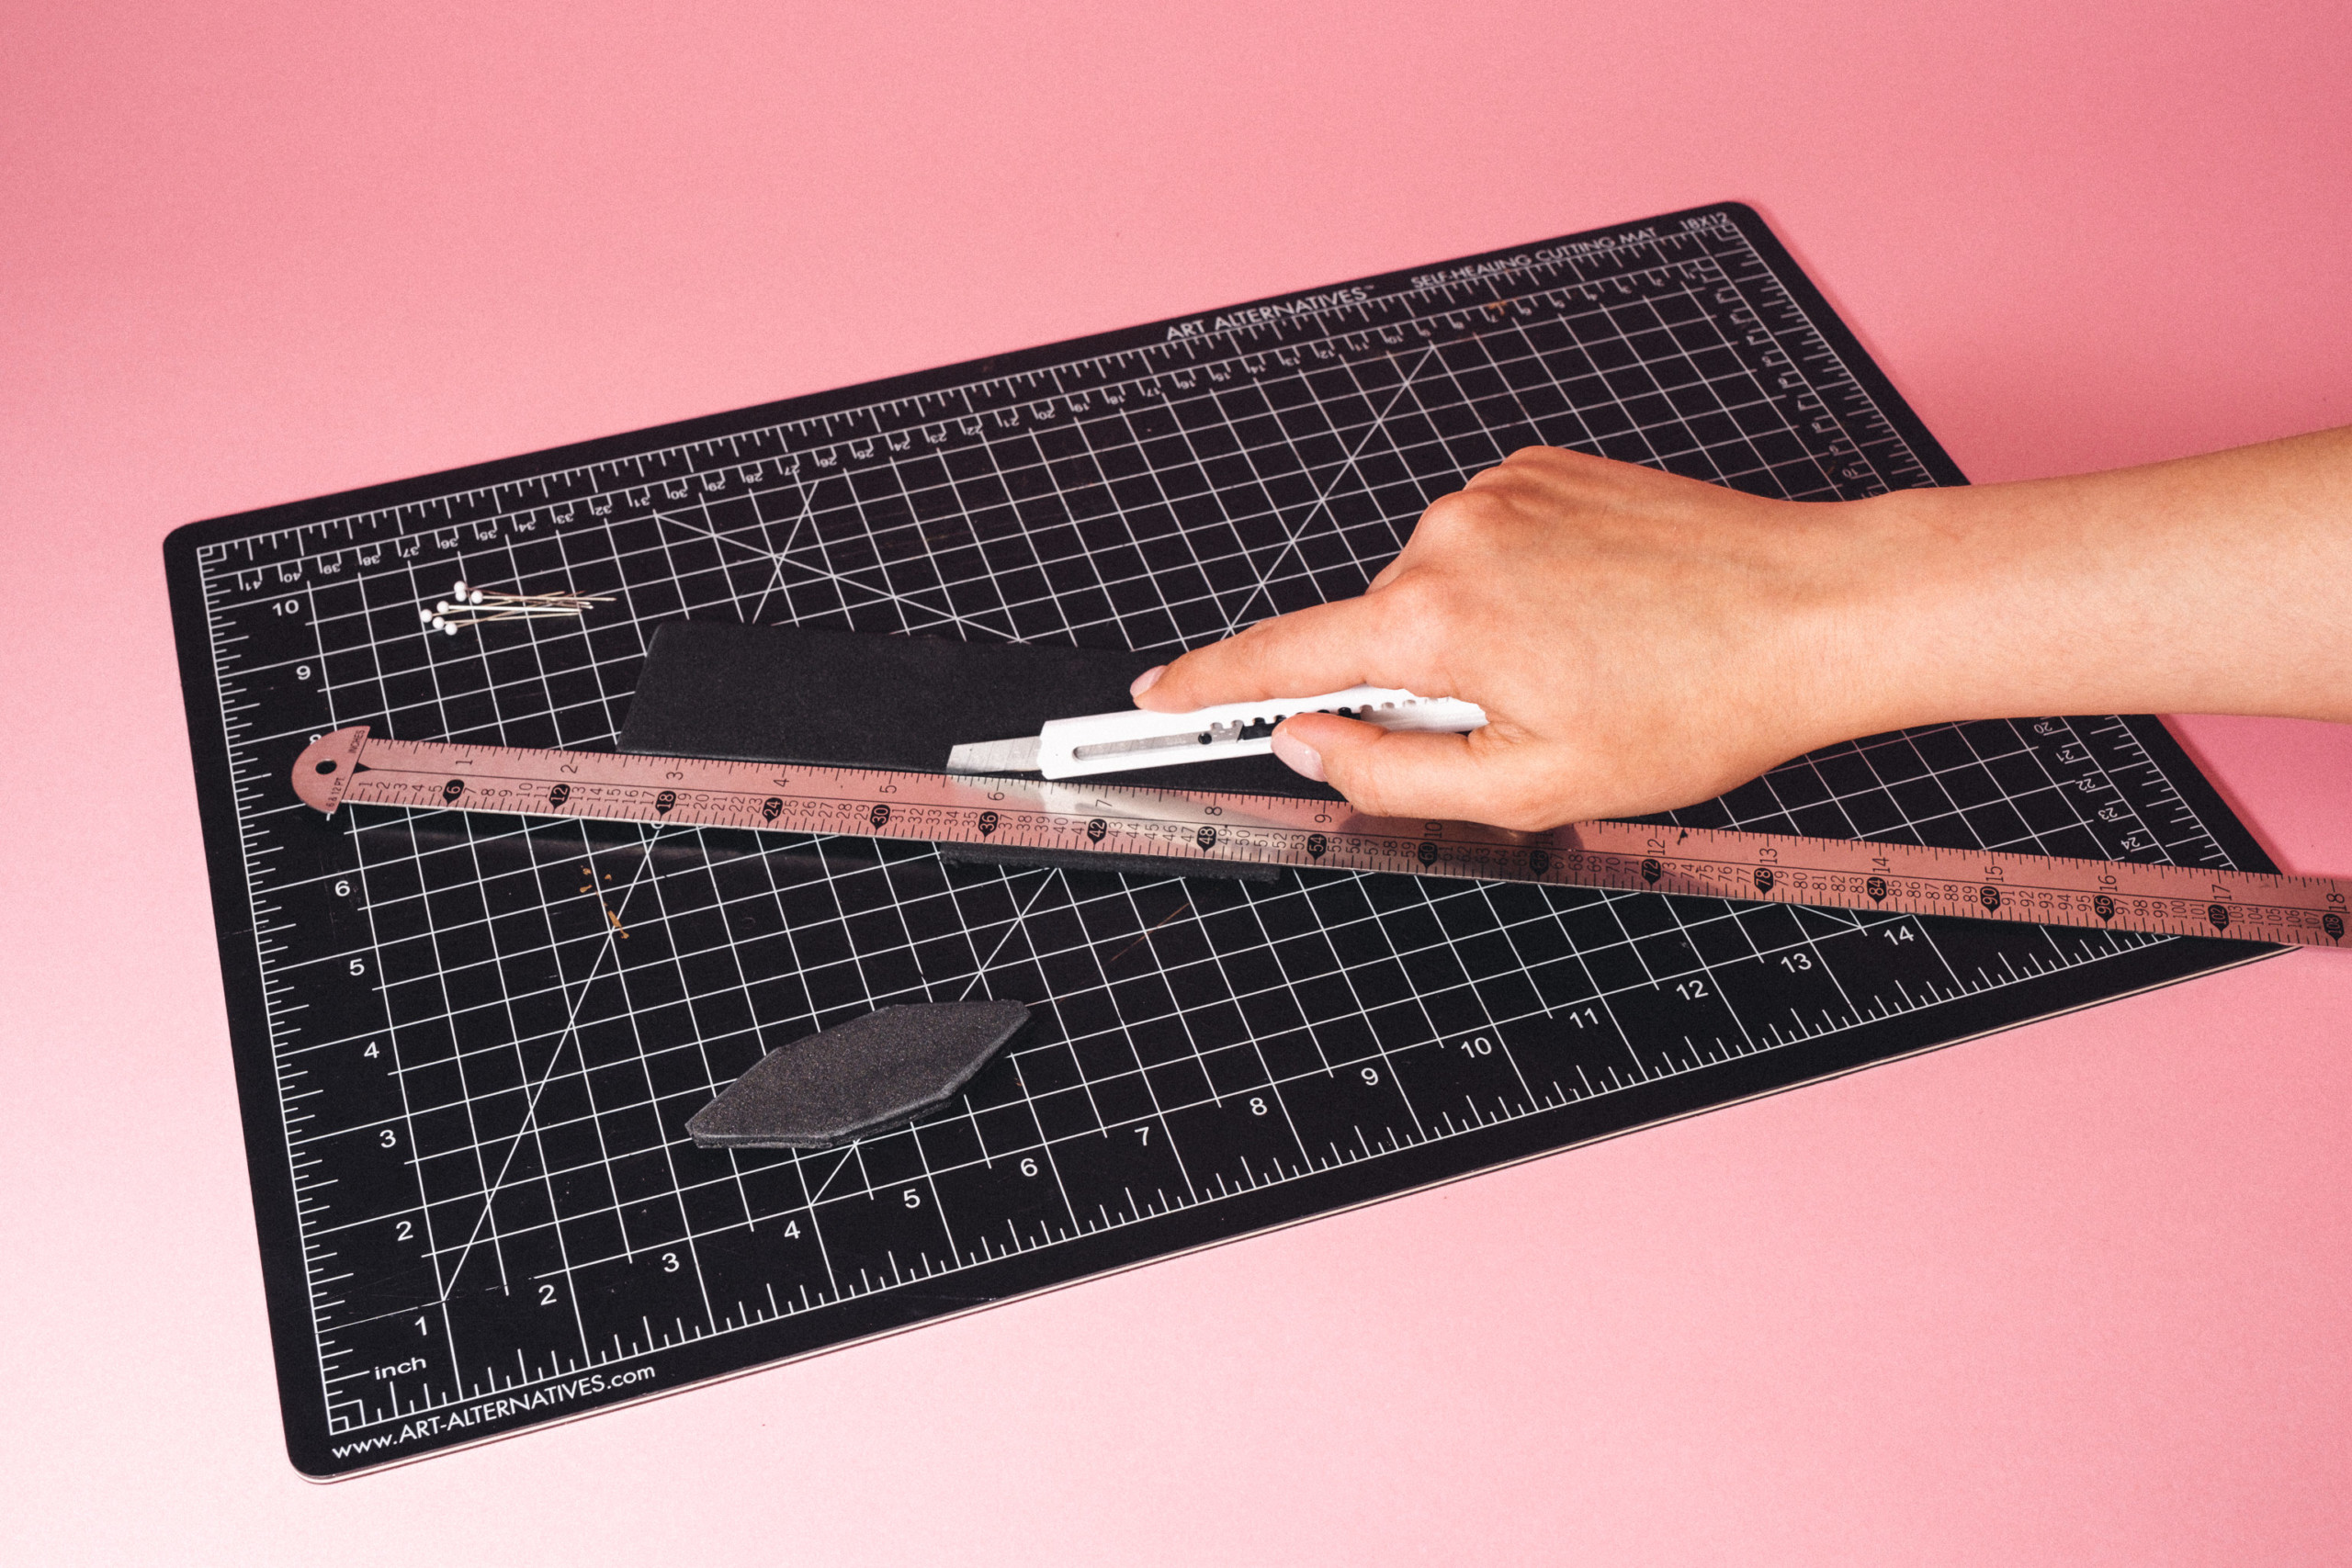
Score the large piece, using light pressure to cut only halfway through the foam.

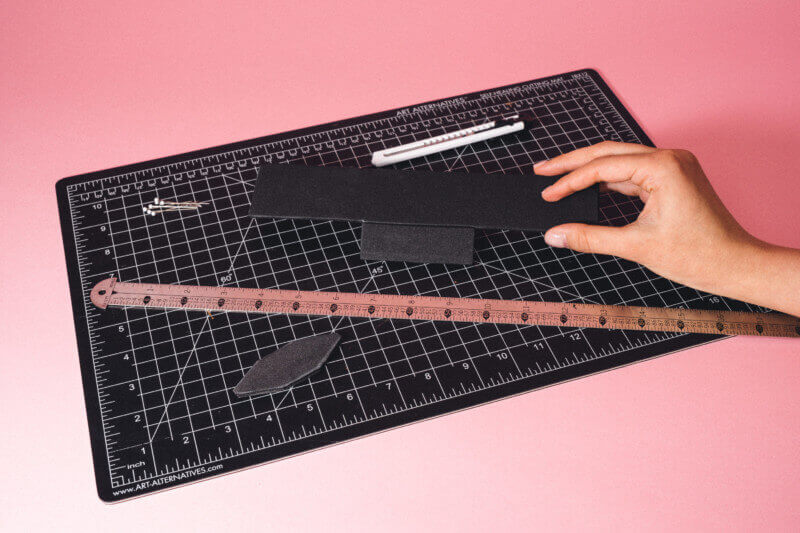
Fold the piece to a 90° angle, making a little “shelf.”
Step 4:
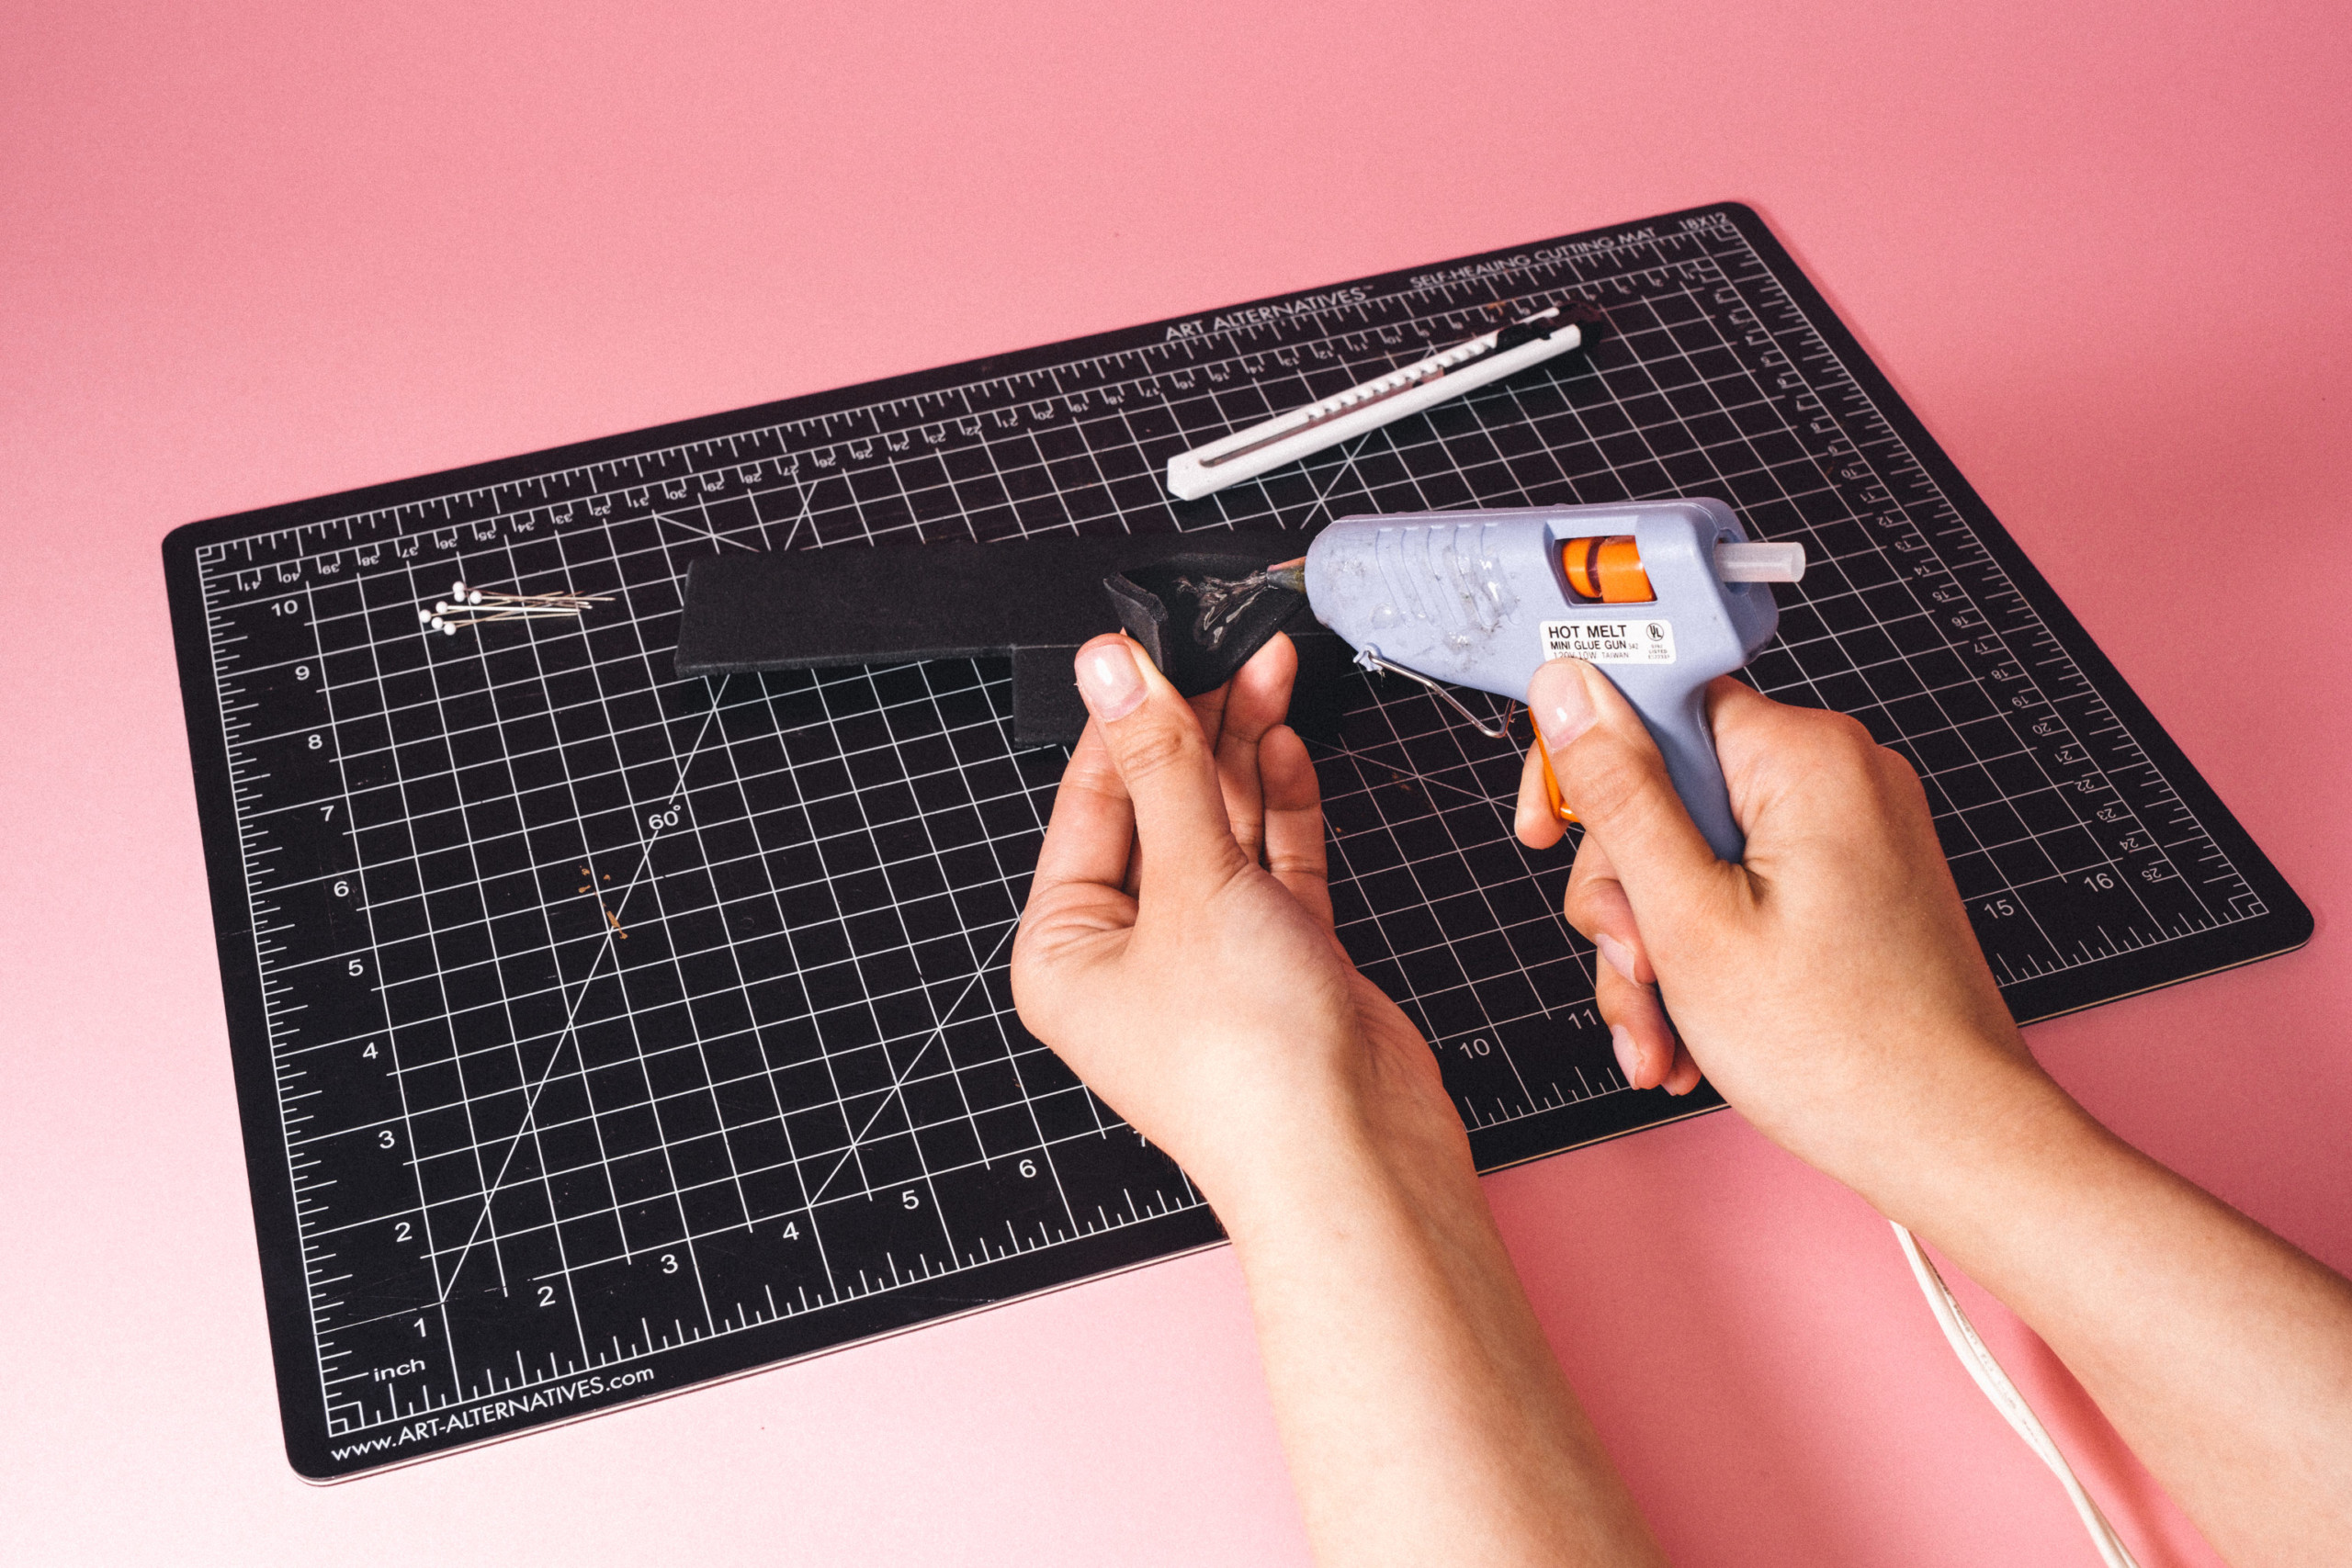
Fold the small piece of foam in half and glue sides together, holding firm until the glue dries.

Step 5:
Place glue on the top and back of the small piece, fixing it under the “shelf” of the large piece.

Hold to secure the adhesive.

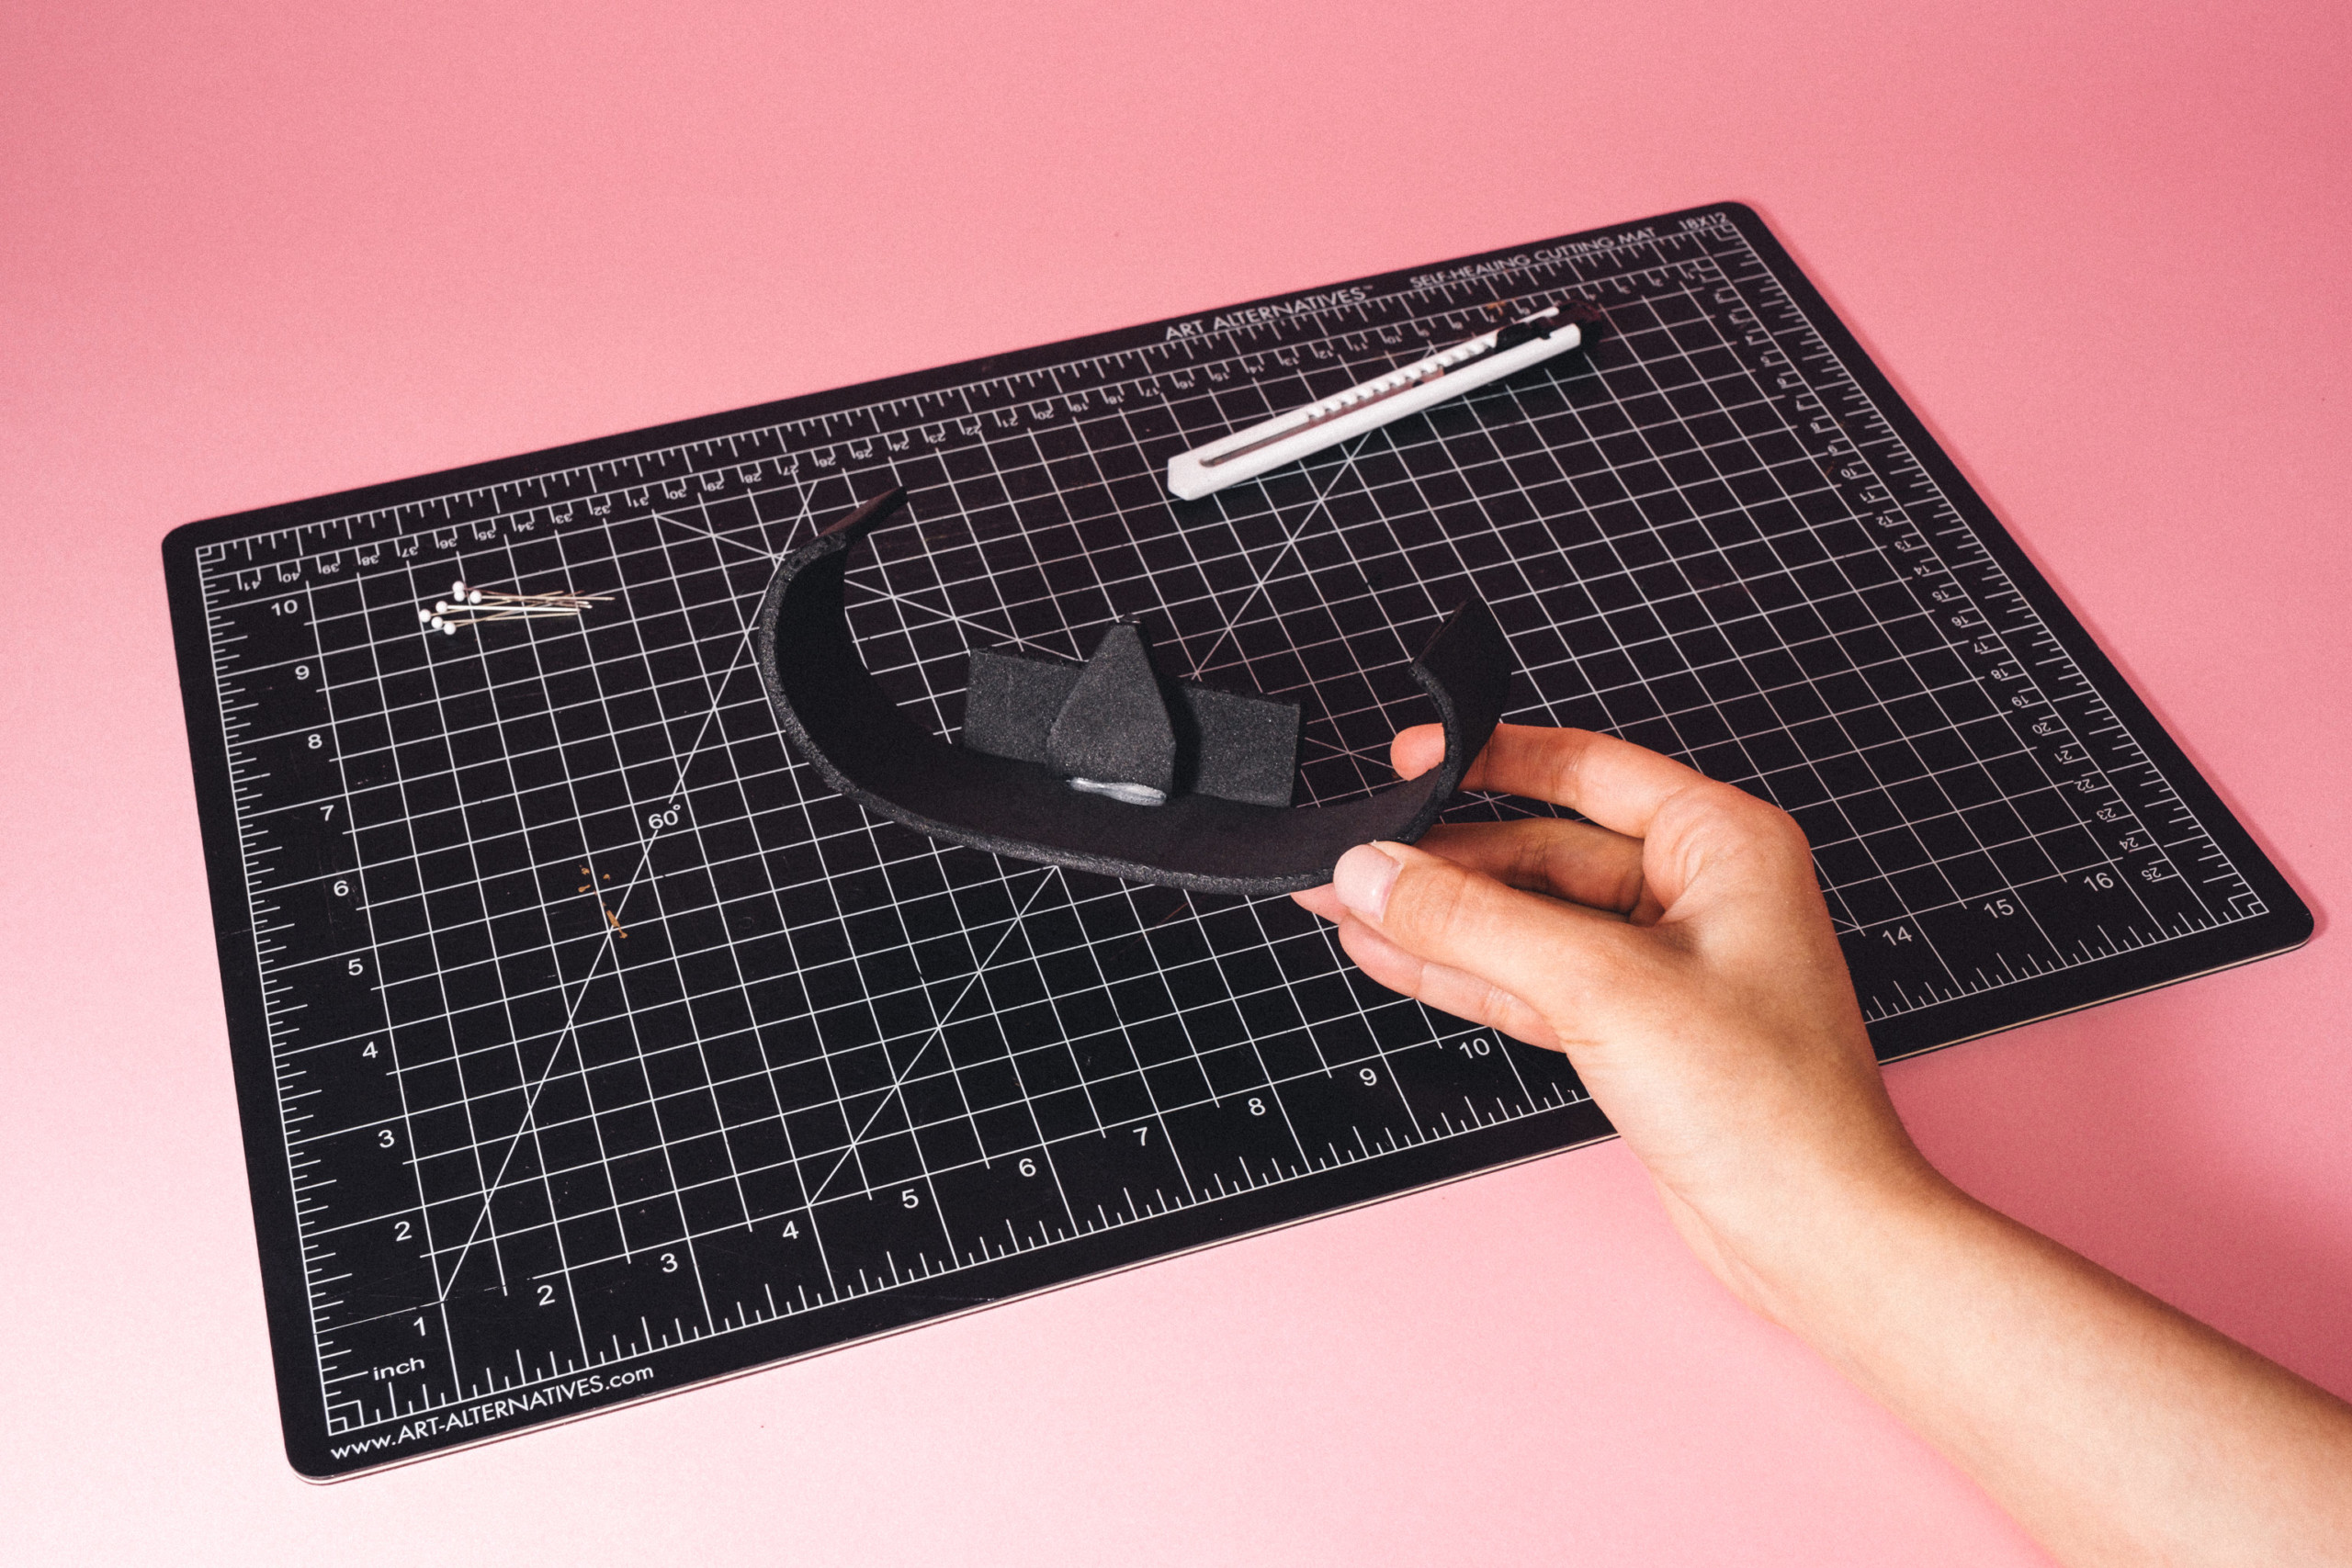
Step 6:

Curl the edges of the long piece with your hands so that it resembles a horseshoe.
Option to Add Floral Wire Here:

Gluing a piece of wire allows a bit of rigidity to the curl.
Use a glue gun to secure a hand-curved piece of floral wire to the foam. I like to glue it on the inside.
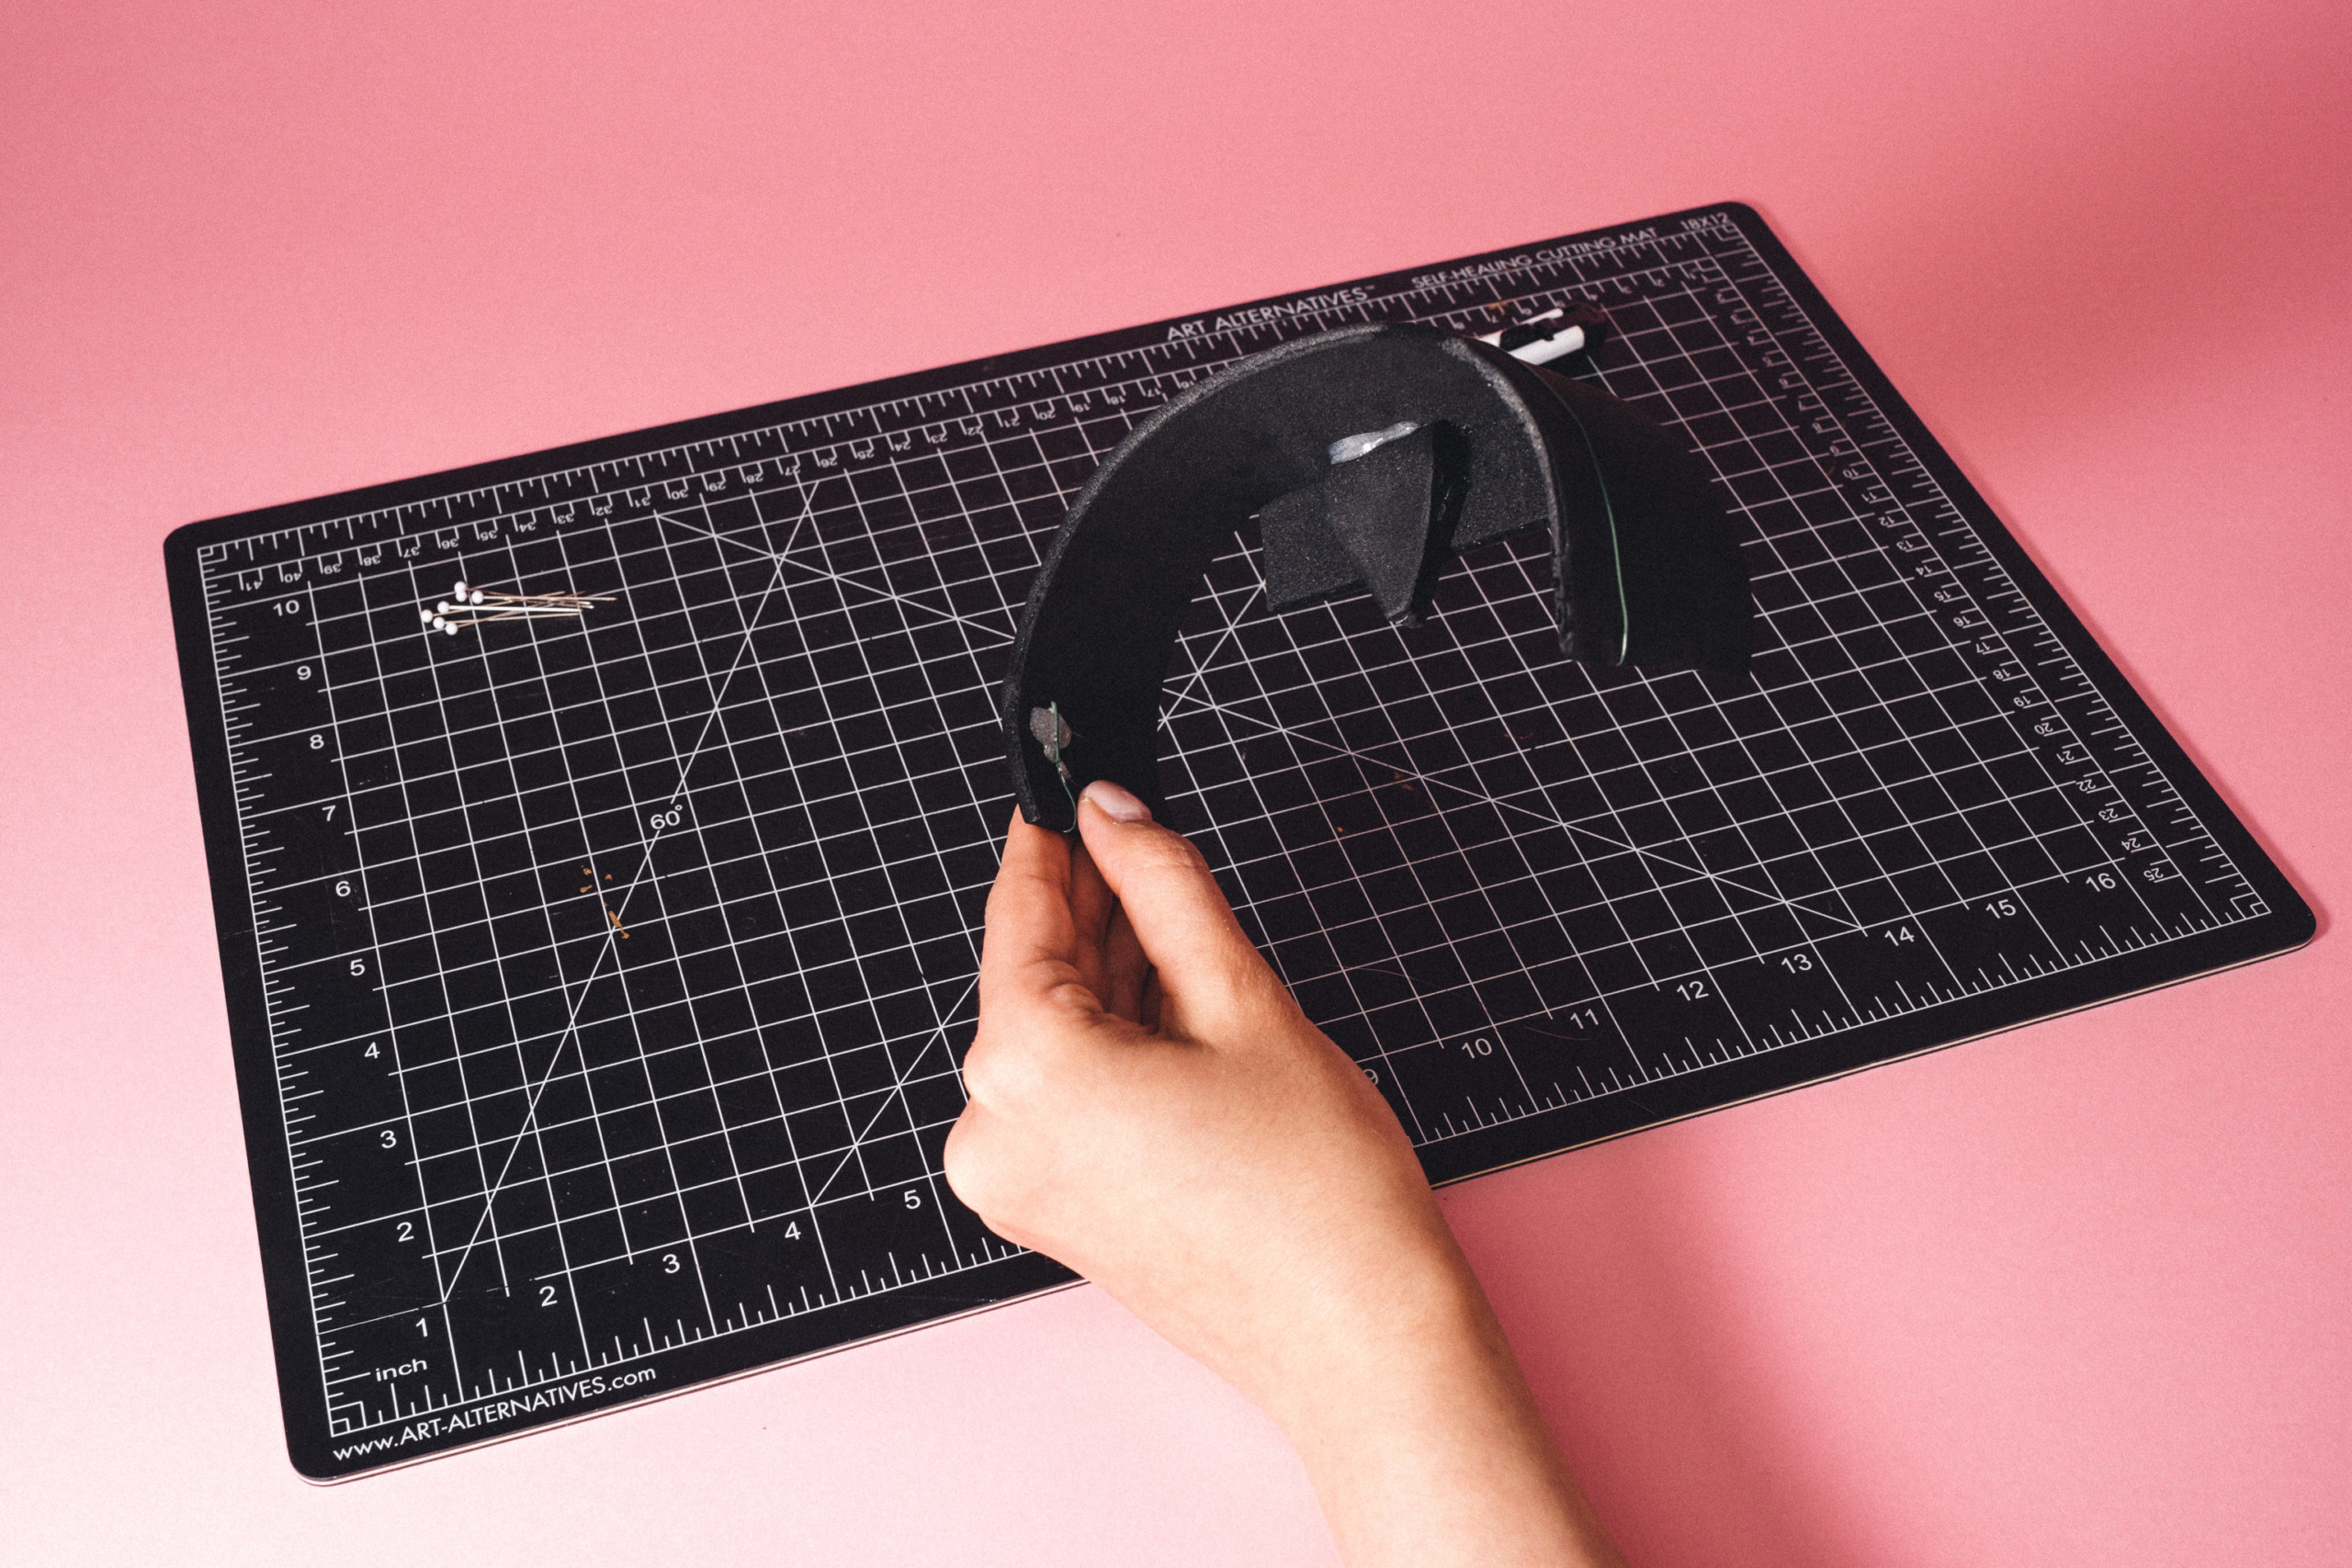
Step 7:

Attach foam insulation with self-adhesive to the top of the foam, cut it to size, and you’re done!
You’ve got the complete, fancy hat insert that should help you rest your hats on their own soft little pillow in the sky.

Easy as pie. Easier, I think, considering I’ve never made a pie!
You’ll see immediately that you’ve created a hat hanging masterpiece. Now, feel free to stick it in the command hook as is, or, if you’re fancy like me, put a little hot glue on the tip, and it will be secure for many uses (it also comes off pretty quickly if you want to reuse the hook). There you go, a secure, unique, reliable hat stand that I use every single day for my burgeoning hat collection. I think I’m up to twelve at this point…
I suppose it’s probably too much to ask Command to design a special hat hook just for me, but who knows, maybe they’ll get there one day! For now, I hope you like my DIY and that you’ll give it a try for your own hat collection.
P.S. I’m wishing you guys all the best right now! I know things are hard but we’re in this together. Please tell me if there’s anything I can write or share to help you weather the storm easier!
P.P.S. Have you ever come up with clever storage solutions that you thought was genius? Share with me in the comments below! And feel free to try out this design and run with it – I’d love to see what you make.