I cannot believe two years have already gone by since I made my first post on She’s So Bright! With over 300 articles under my belt and many more to come, I finally feel like I’m getting the hang of this blogging thing. I’ve learned SO much in the past two years about the internet, writing, but most of all, about myself. When I started this blog, I only had a faint idea of where it was going and what I wanted. I was looking for a space to realize a complete expression of myself through writing, photography, and art. And while I still feel like I’m just beginning to build momentum inside of myself, I am so proud and awed about how far I’ve come. It feels like I’m following a dream!
The most remarkable thing to me is where I am with photography today as opposed to when I made that first post. I can say, for a fact, that I did not know a damn thing. The iPhone was my primary tool for pictures, and while I knew Photoshop inside and out for illustrating, I still had a massive amount to learn. I’m still not a professional photographer or editor by any means, but I’ve gone from putting basic filters over an iPhone’s JPG file (a pixelated photo file), to shooting photographs at sunset with my Fuji camera and editing in RAW (a file with complete data from the camera sensor). It’s been a lot of work reading, editing, watching tutorials, and of course, making mistakes, but I’m finally coming around the bend with my photographs.
And so, I thought it’d be fun to share some of the ways my photos have changed in the last two years, looking back at some early posts, what I was doing wrong, and how I chose to get better. While I’m still learning and trying to improve, I do think I made a big jump in the past two years. As they say, the proof is in the pudding, so let’s take a look at what I’m talking about.
A Note on Composition
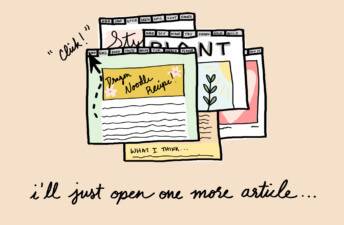
I’ve never had too much of a problem with composition, which is a difficult thing to do in the first place. I believe the work I did on wedding invitations and studying design masters allowed me a better understanding of framing and spatial relationships between objects. If you’re looking to improve your photography composition, I suggest continuing to take pictures, but also expand your learning to other forms of art. Take a class on illustration, design a personal business card, or simply look at great photographs as much as you can. Everyone is different, but understanding how to draw the eye where you want it to go is everything.
Better Focus and Lighting
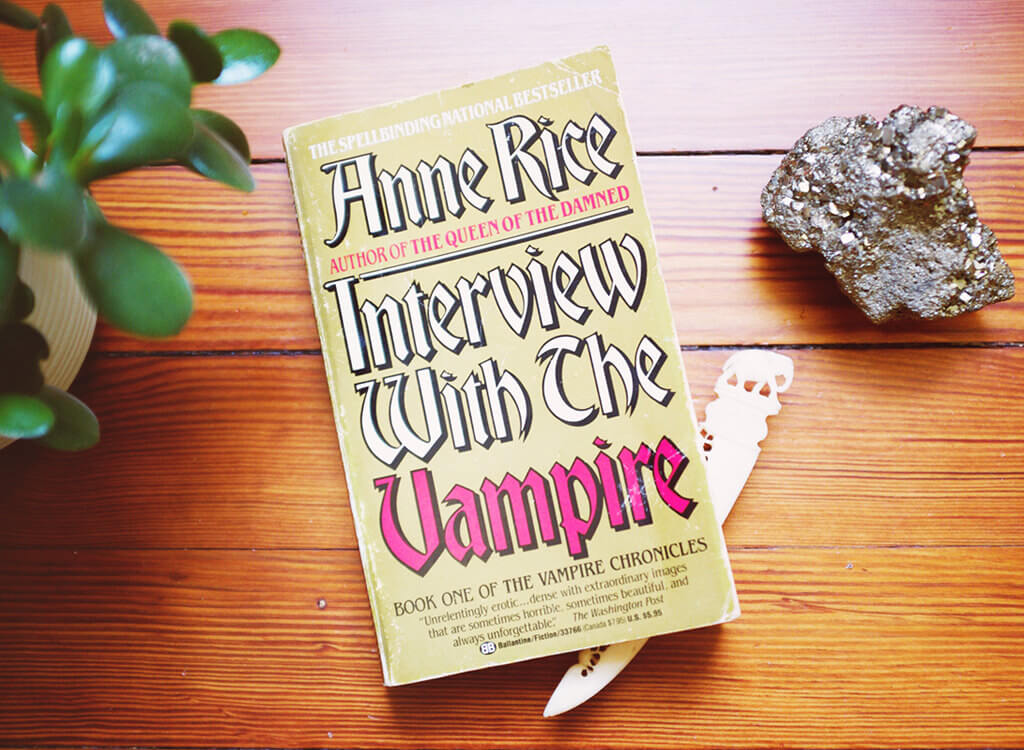
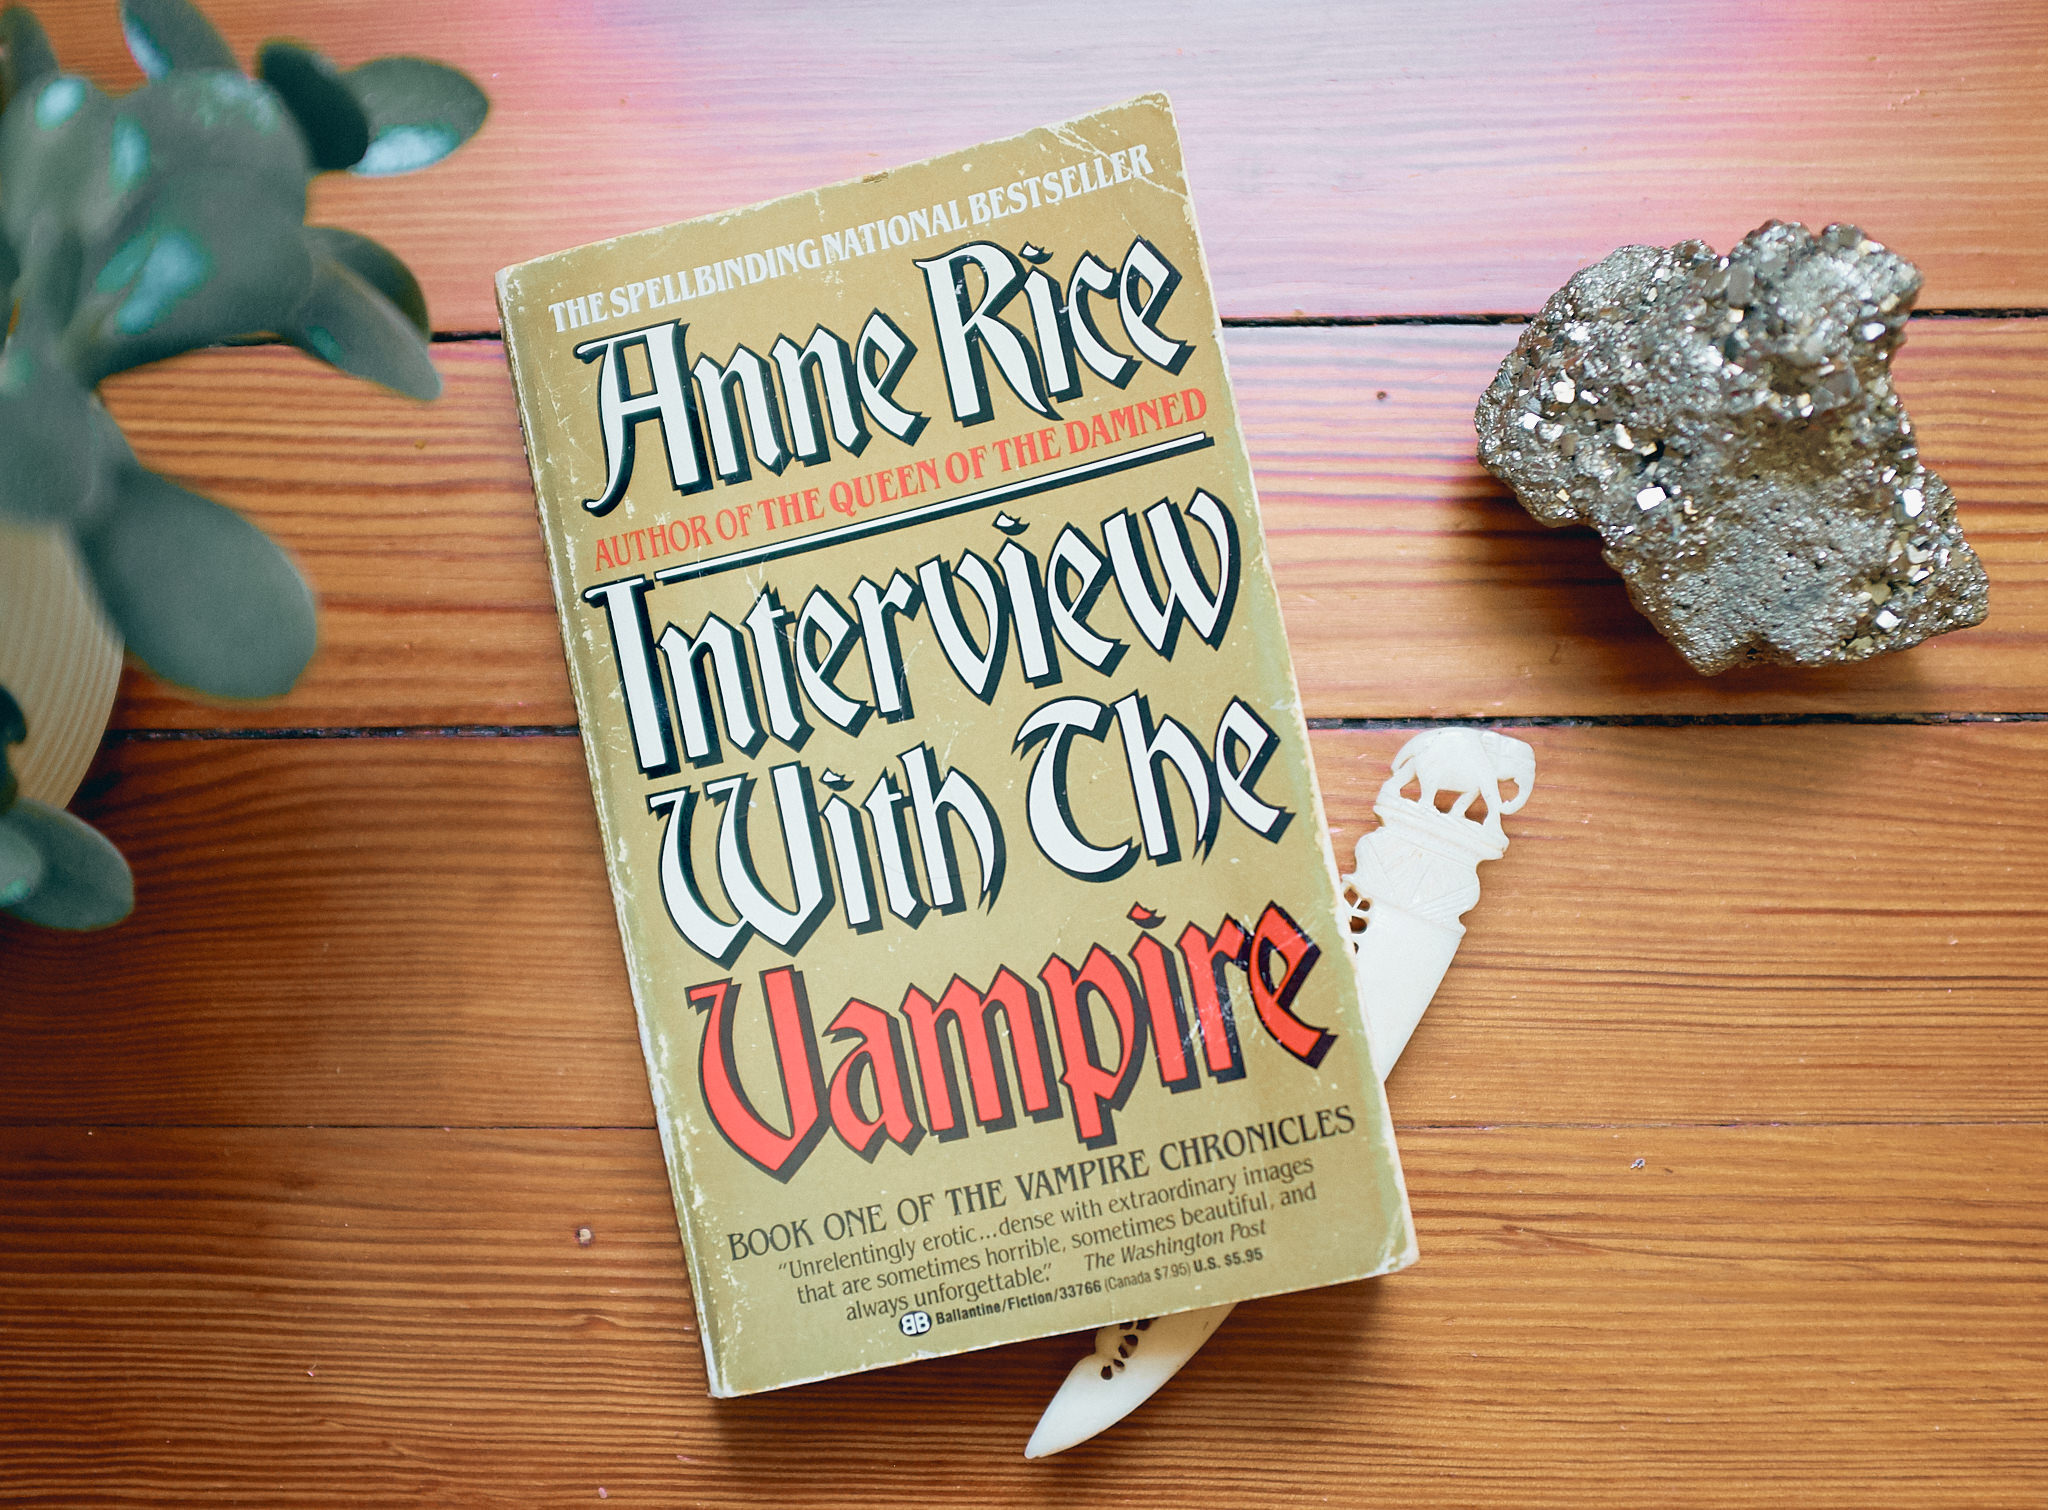
While I would take this photo very differently today, it’s shown to be improved with proper editing. The main issue is that the focus is off on the rock and plant. Sometimes you can get away with artistic, intentional blur, but this just looks a little iffy. If I were to photograph it again, I’d avoid the purple cast at the top from reflection, and I would use a smaller aperture so that more of the rock is in focus.
Check out the full post here: Currently Reading: Interview with the Vampire
Ditch the Yellow with Better Tools
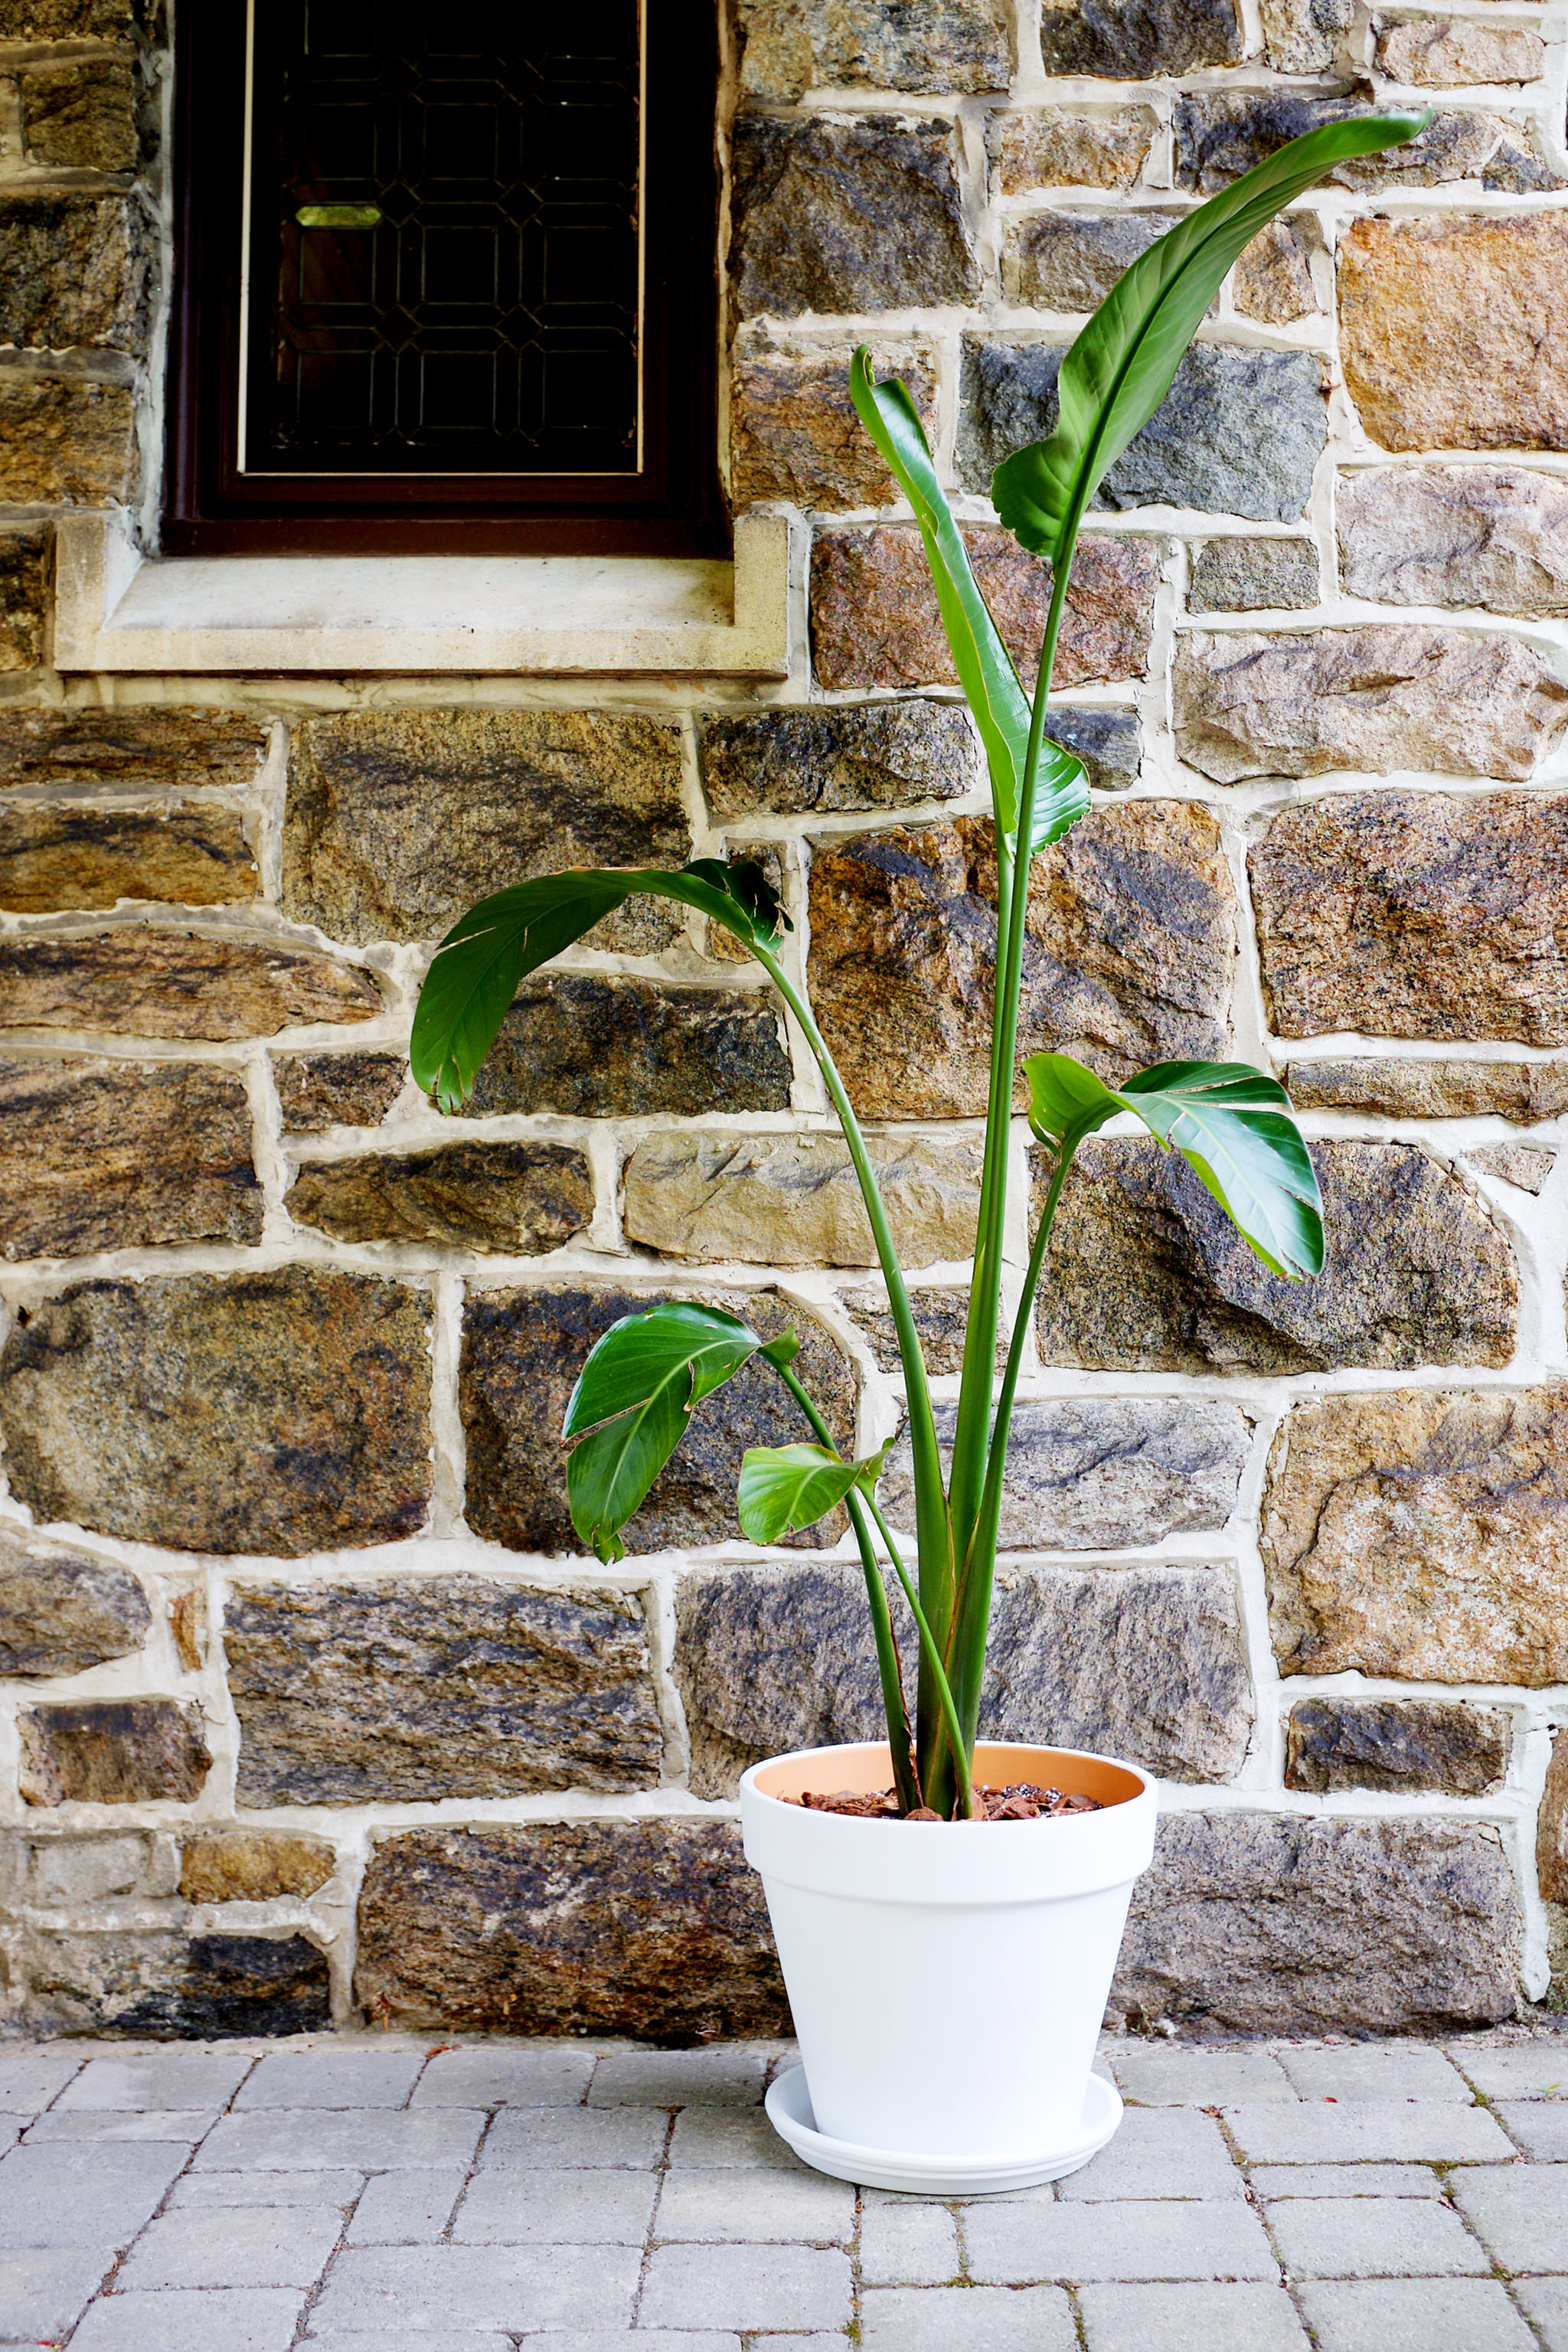
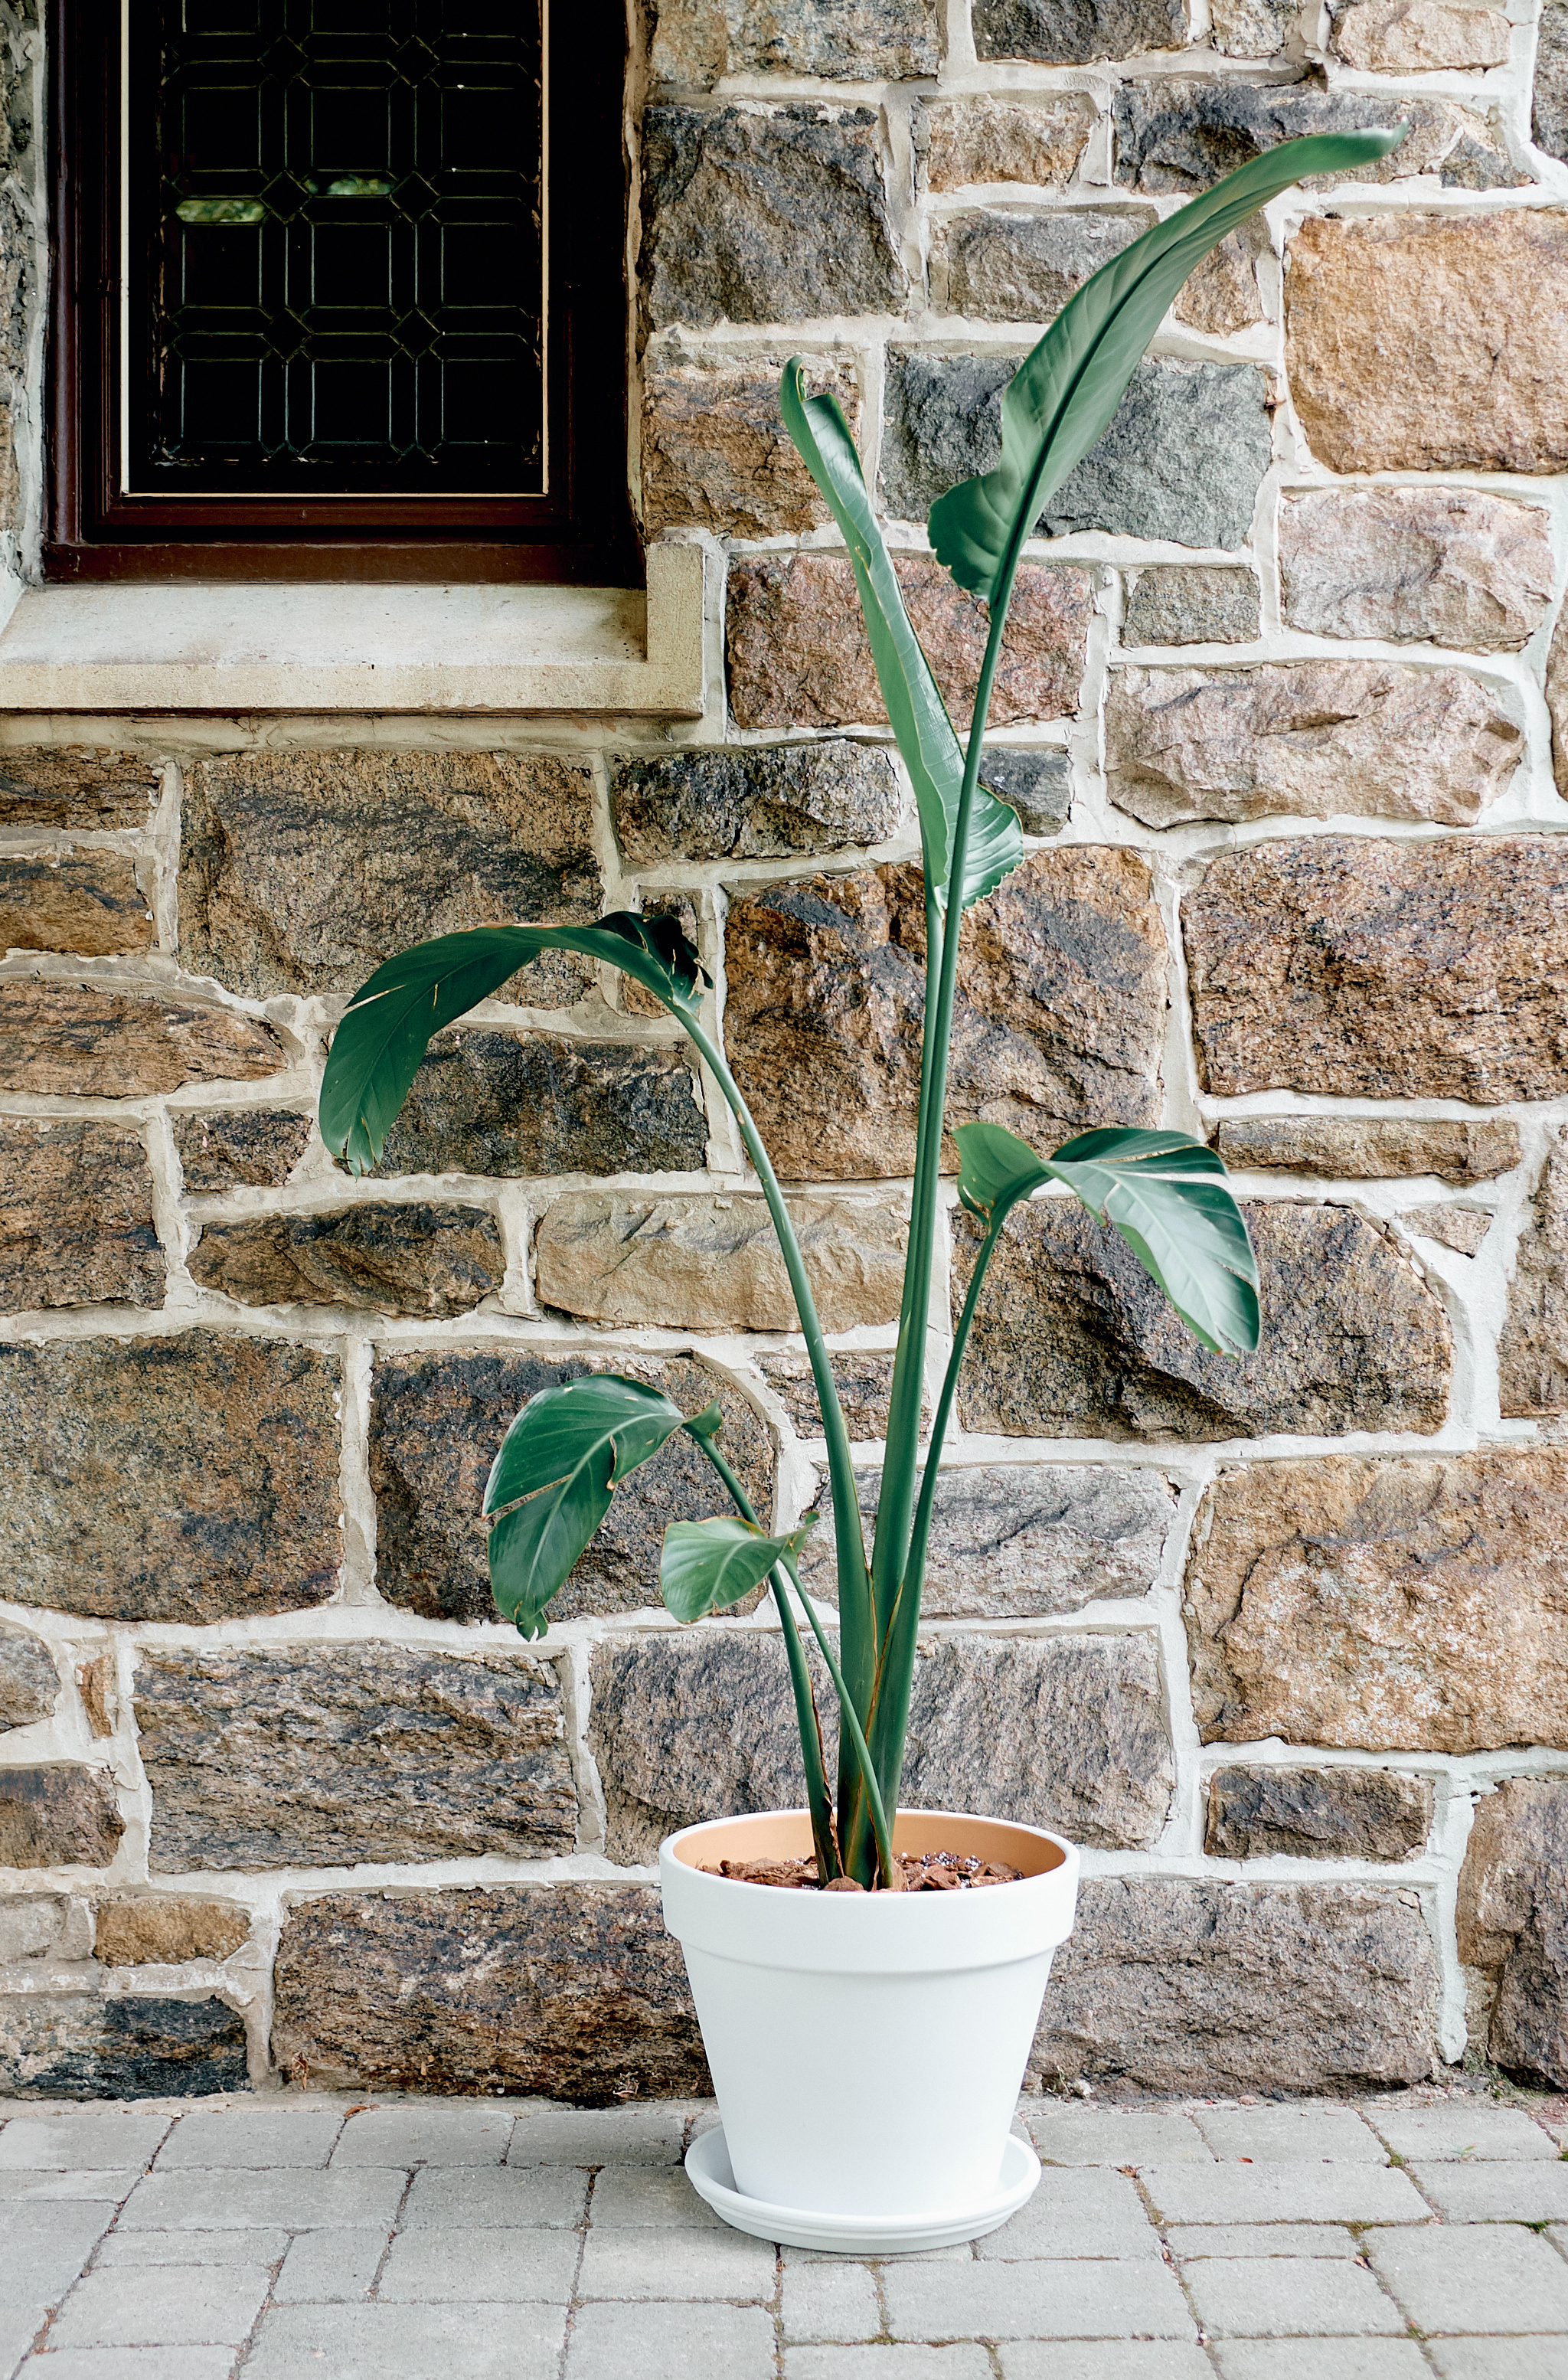
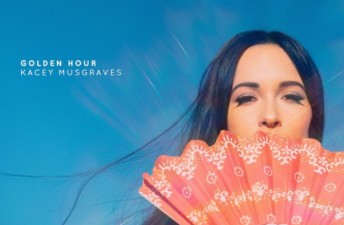
Color theory is always tricky, but it’s even harder when you’re editing in JPG. I had no idea how to adjust the white balance in images and just went for overly saturated images thinking they would pop. These days I’m using professional editing software and going for a much more subtle touch with saturation while trying to stick to clean, bright images. I don’t ever want to overdo the yellows again, like in that original photo!
Check out the full post here: A Simple and Modern Terracotta Planter DIY
Recovering Image Data in RAW
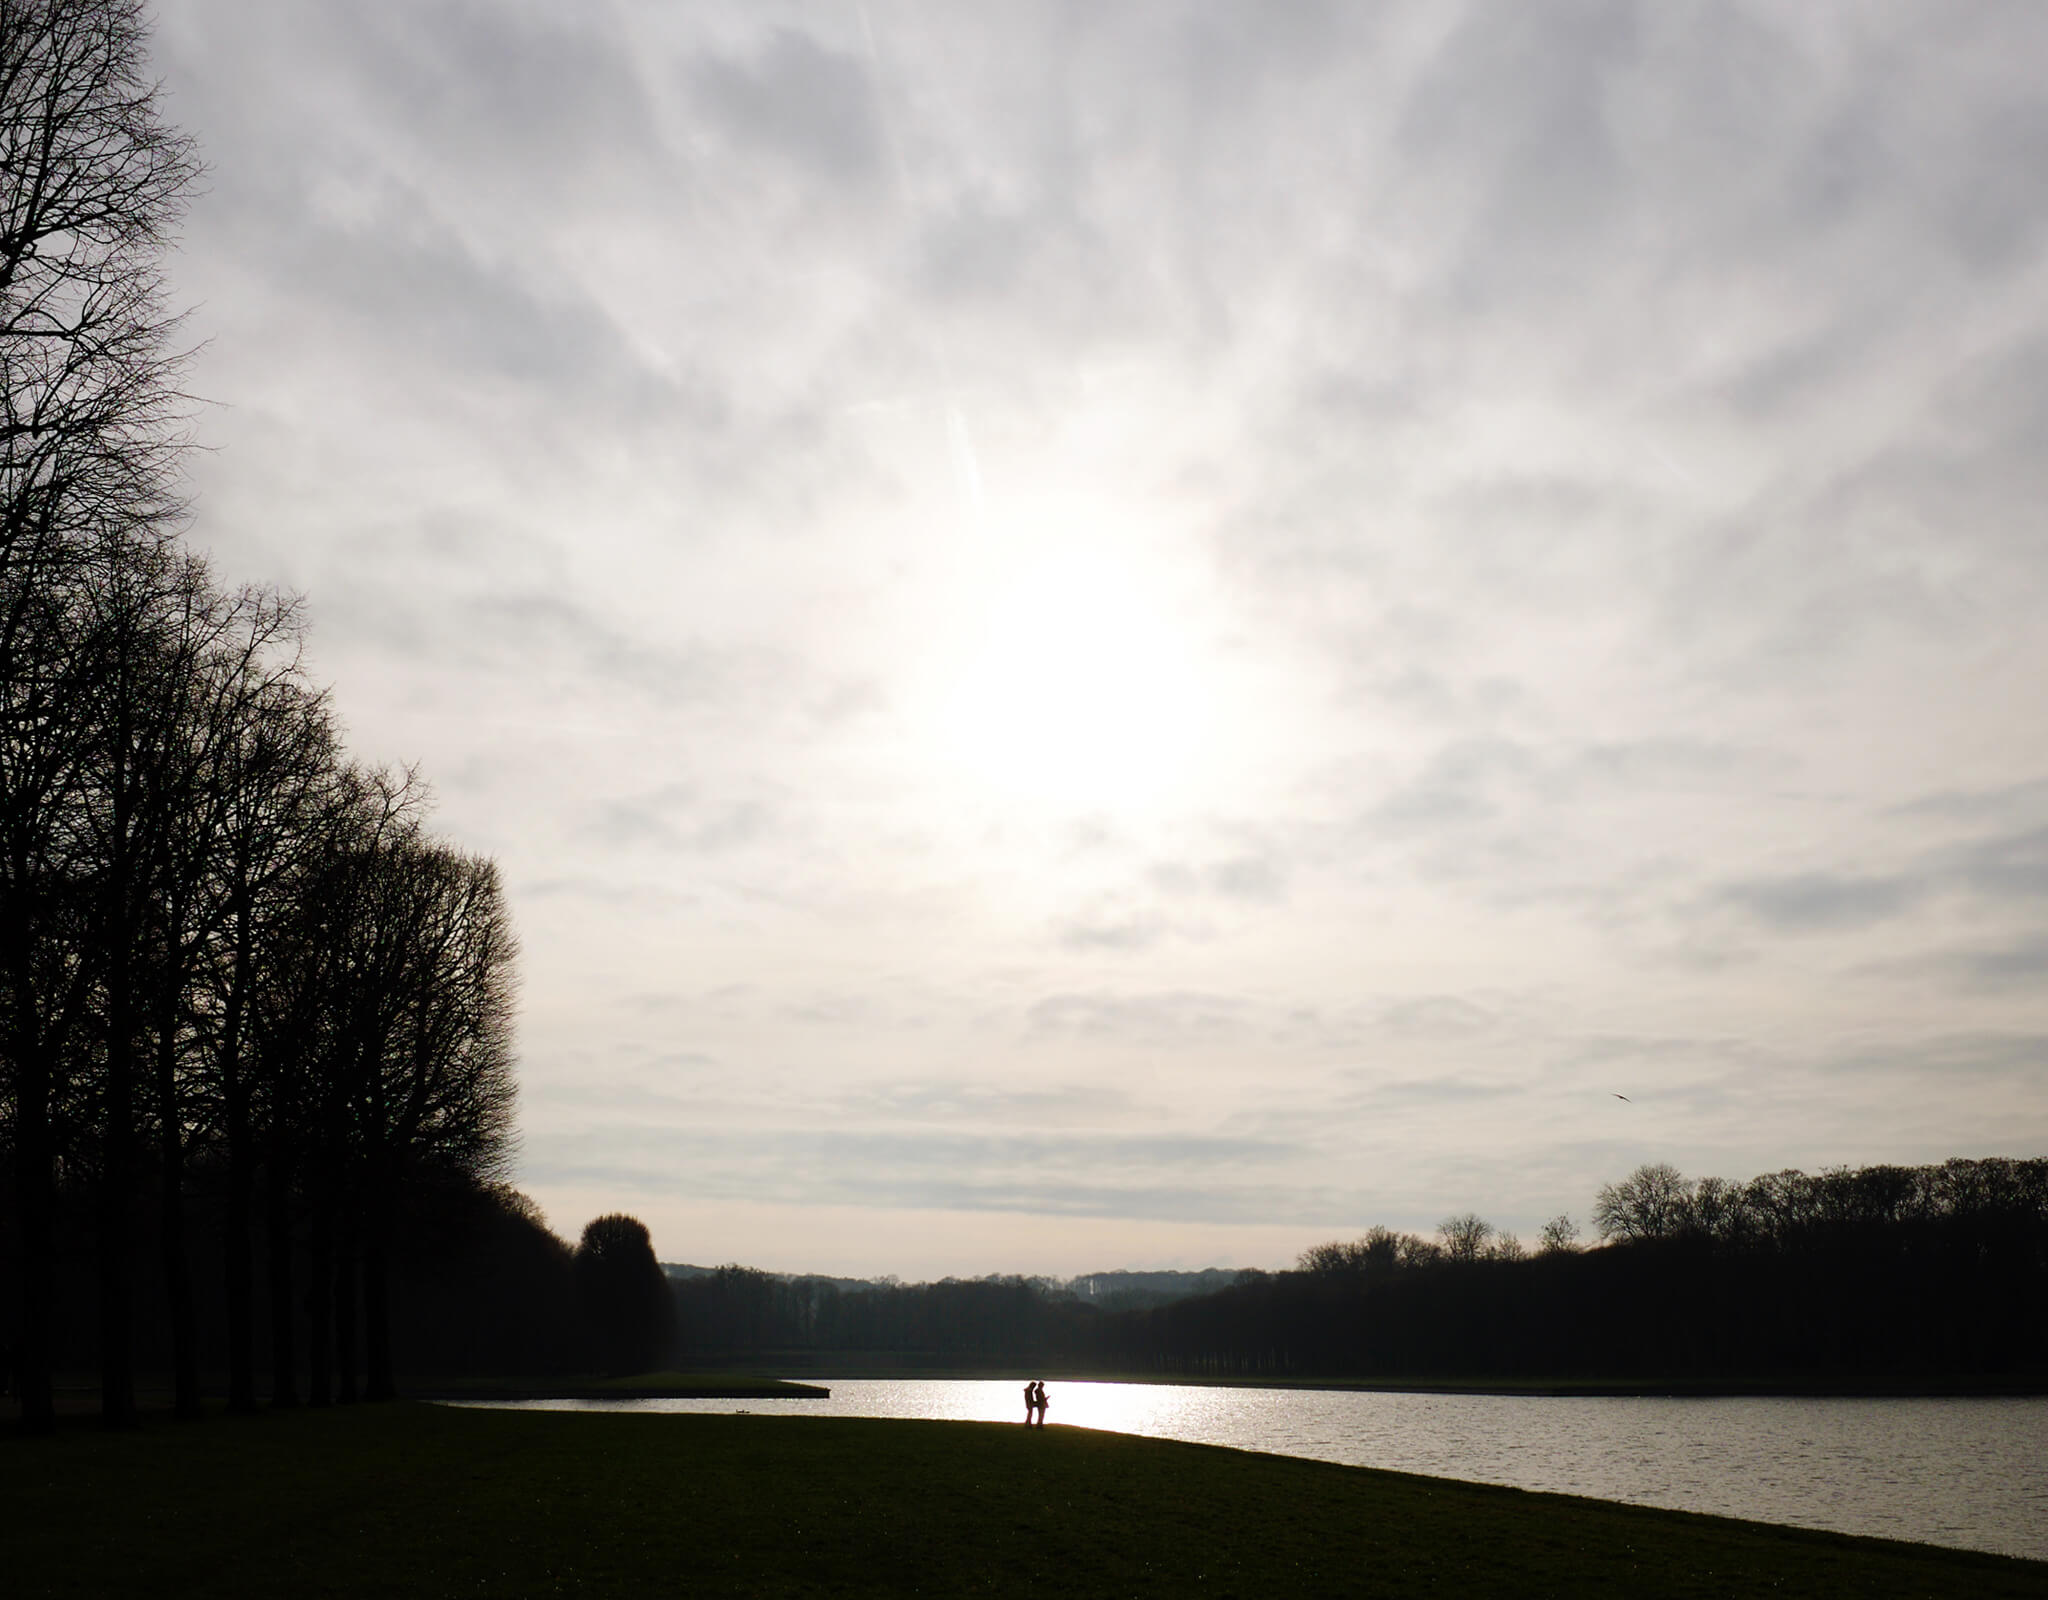
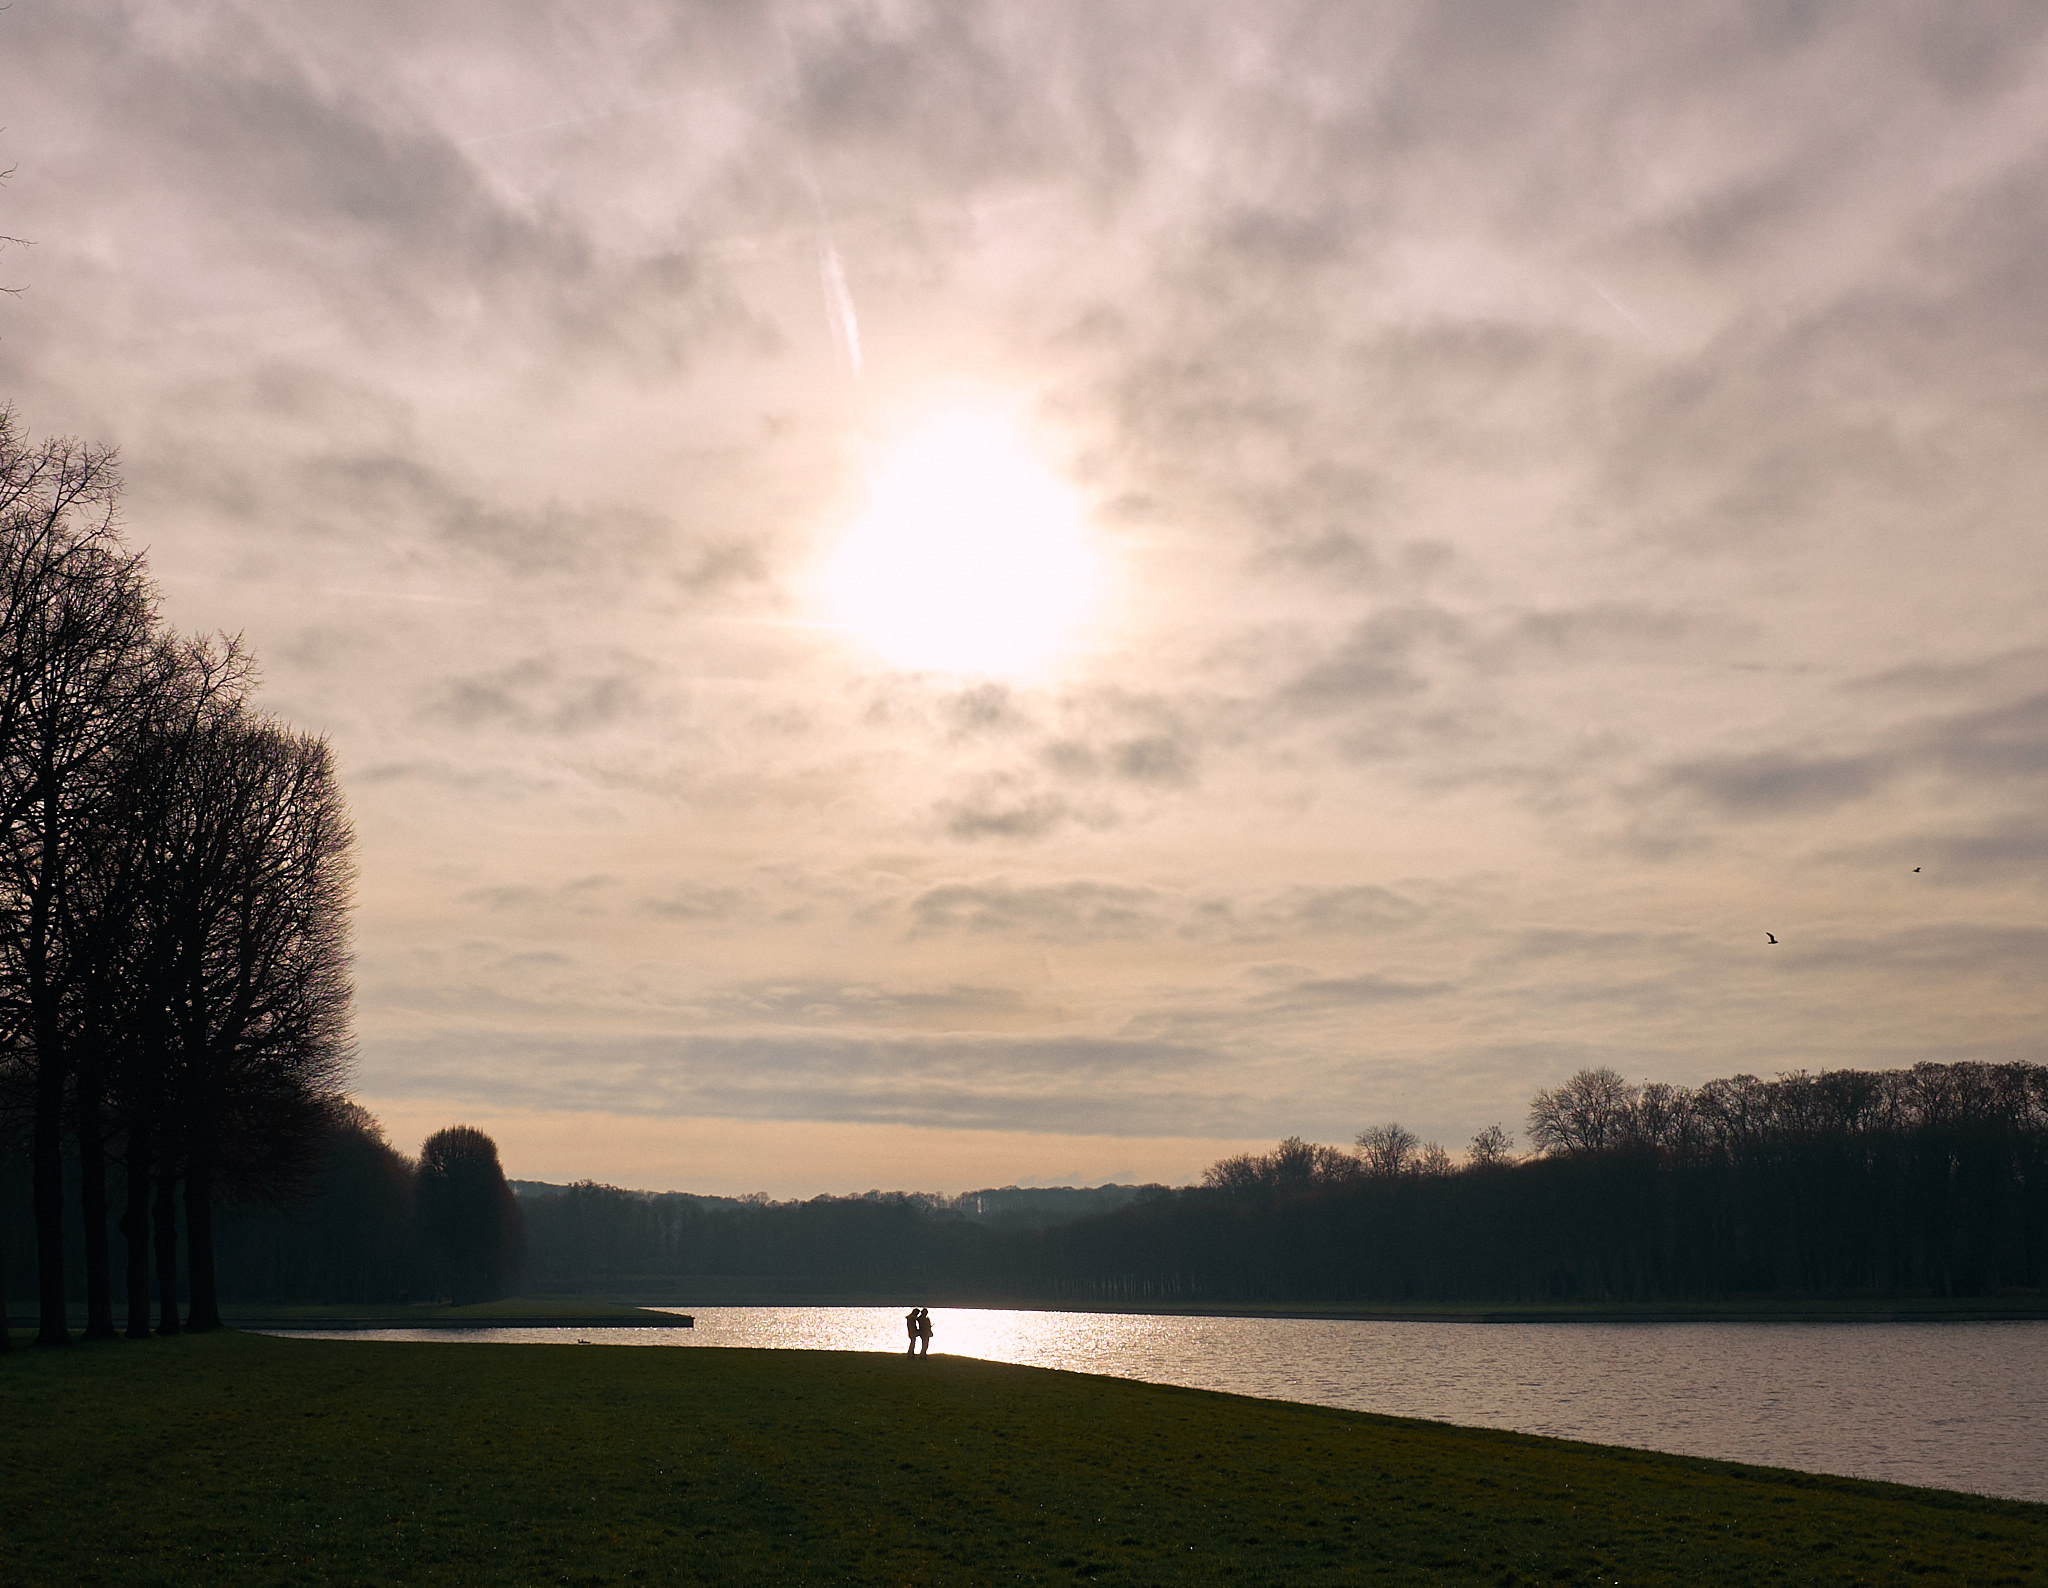
Sometimes I like photos that are blown out (meaning the whites don’t show up at all), but these days I’m better at making sure my lights and darks are captured fully. In the original image, I edited in JPG and didn’t know I could recover quite a bit of information in the sky. As you can see in the re-edited image, there’s so much more to the sky than I originally knew!
Check out the full post here: A Visit to the Versailles Gardens in Winter
Avoiding Neon Greens
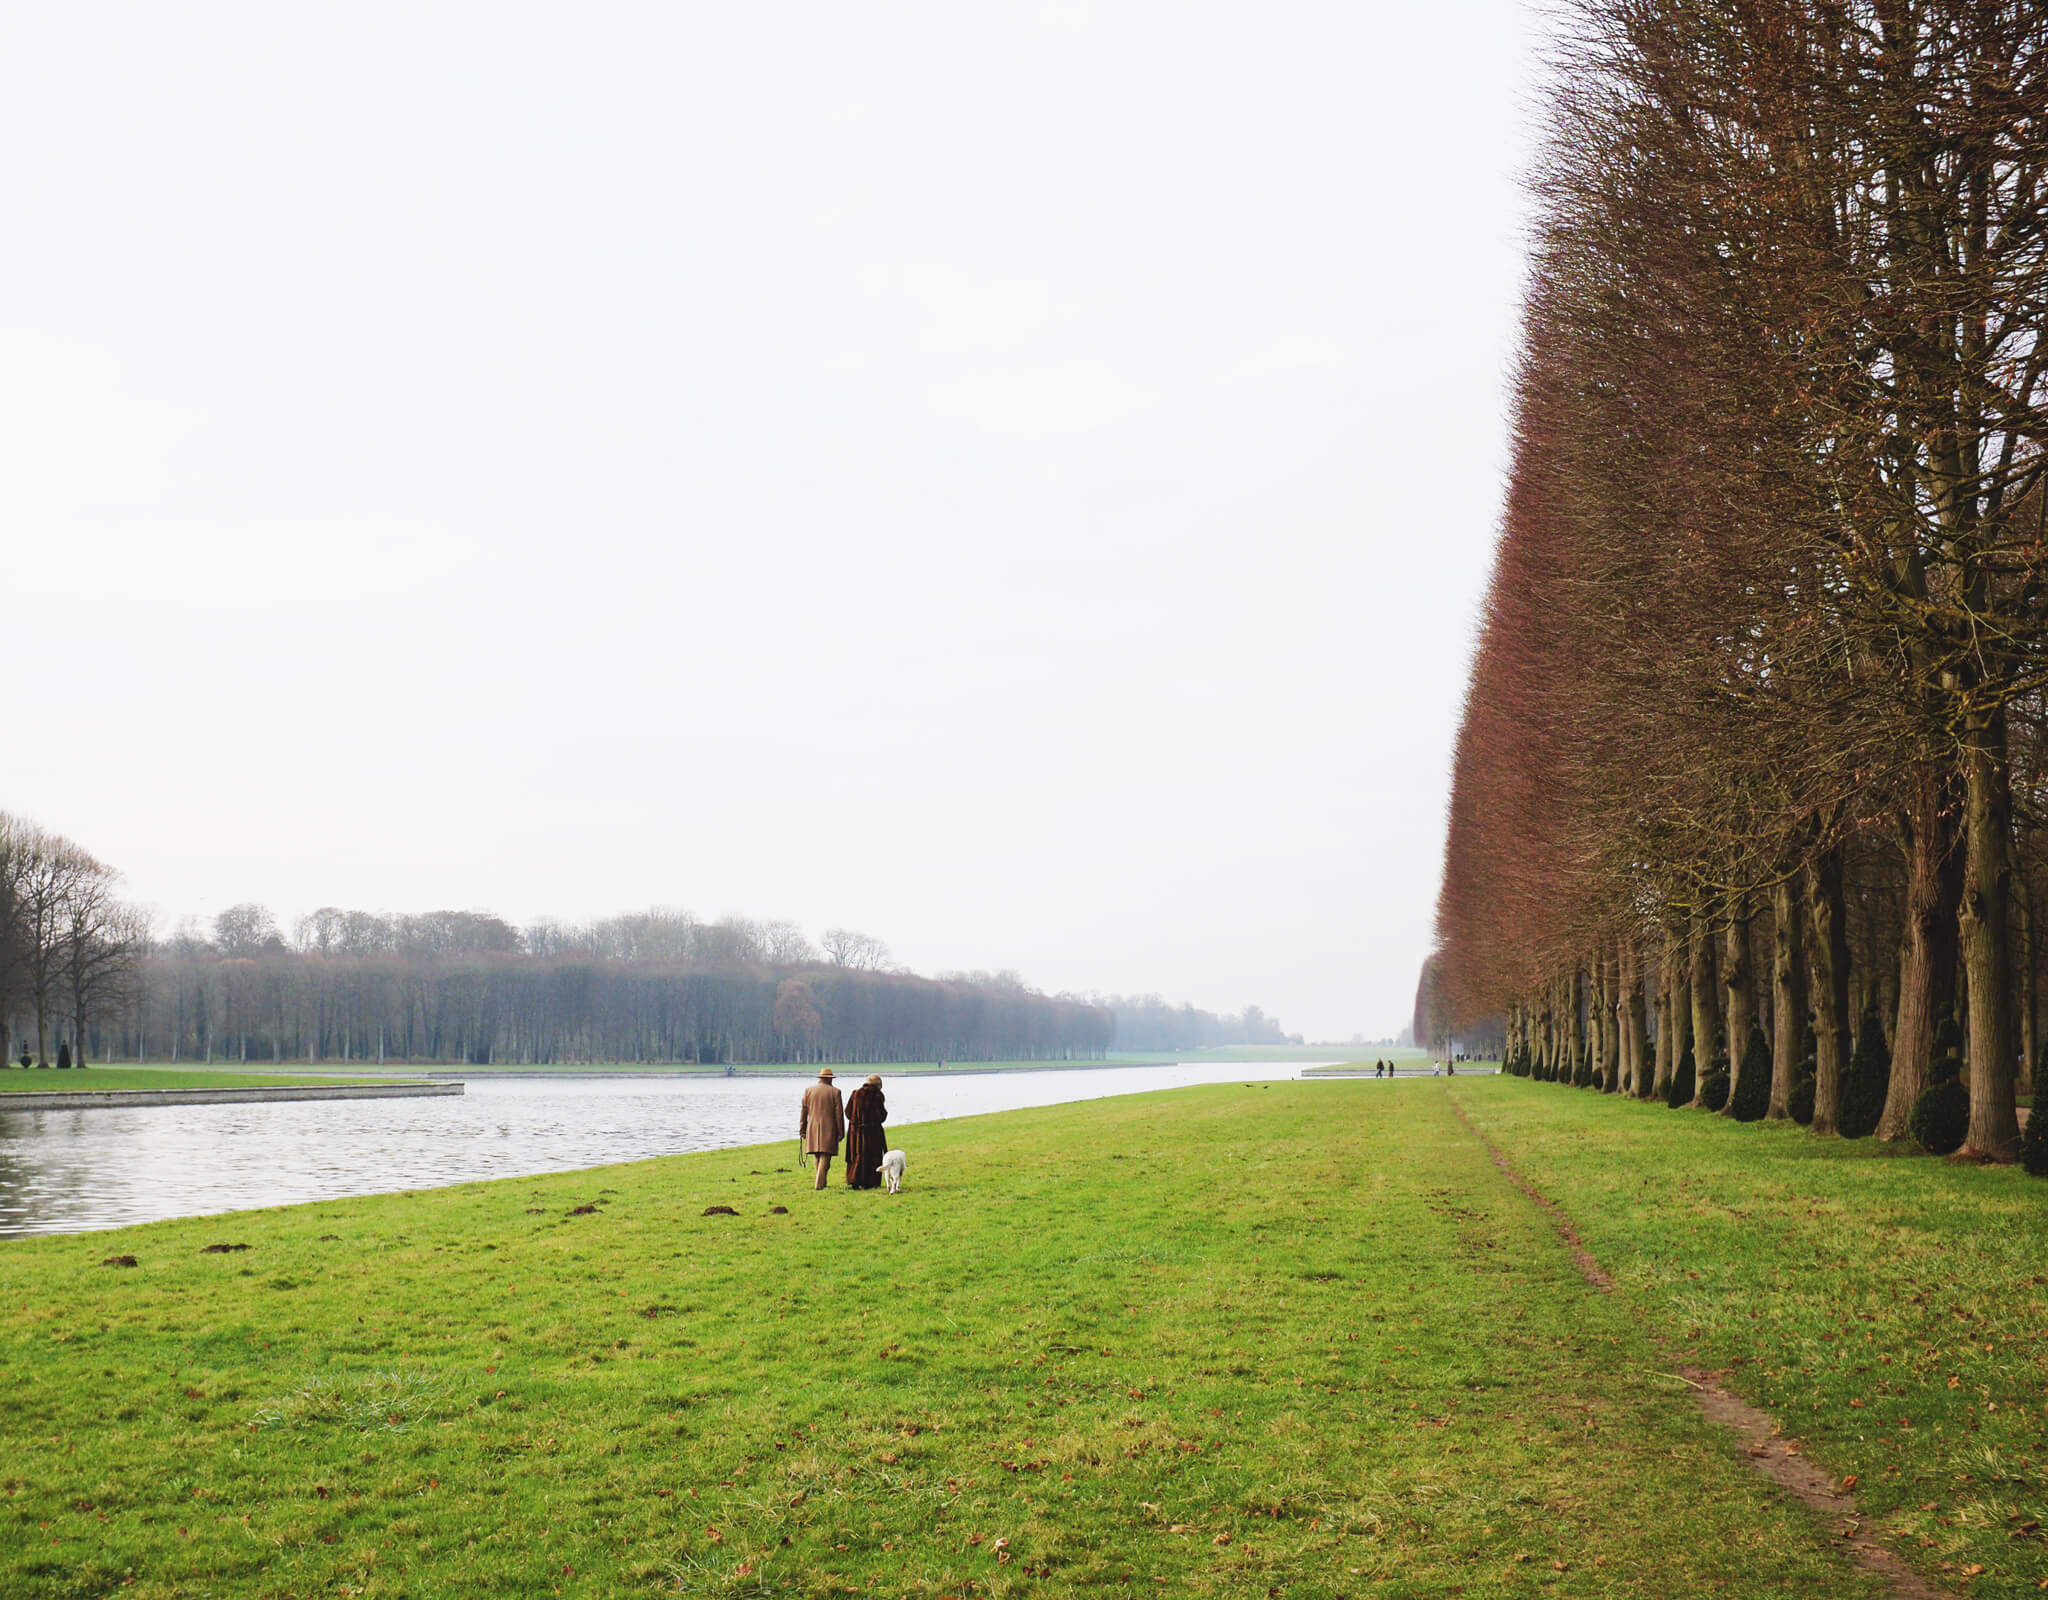
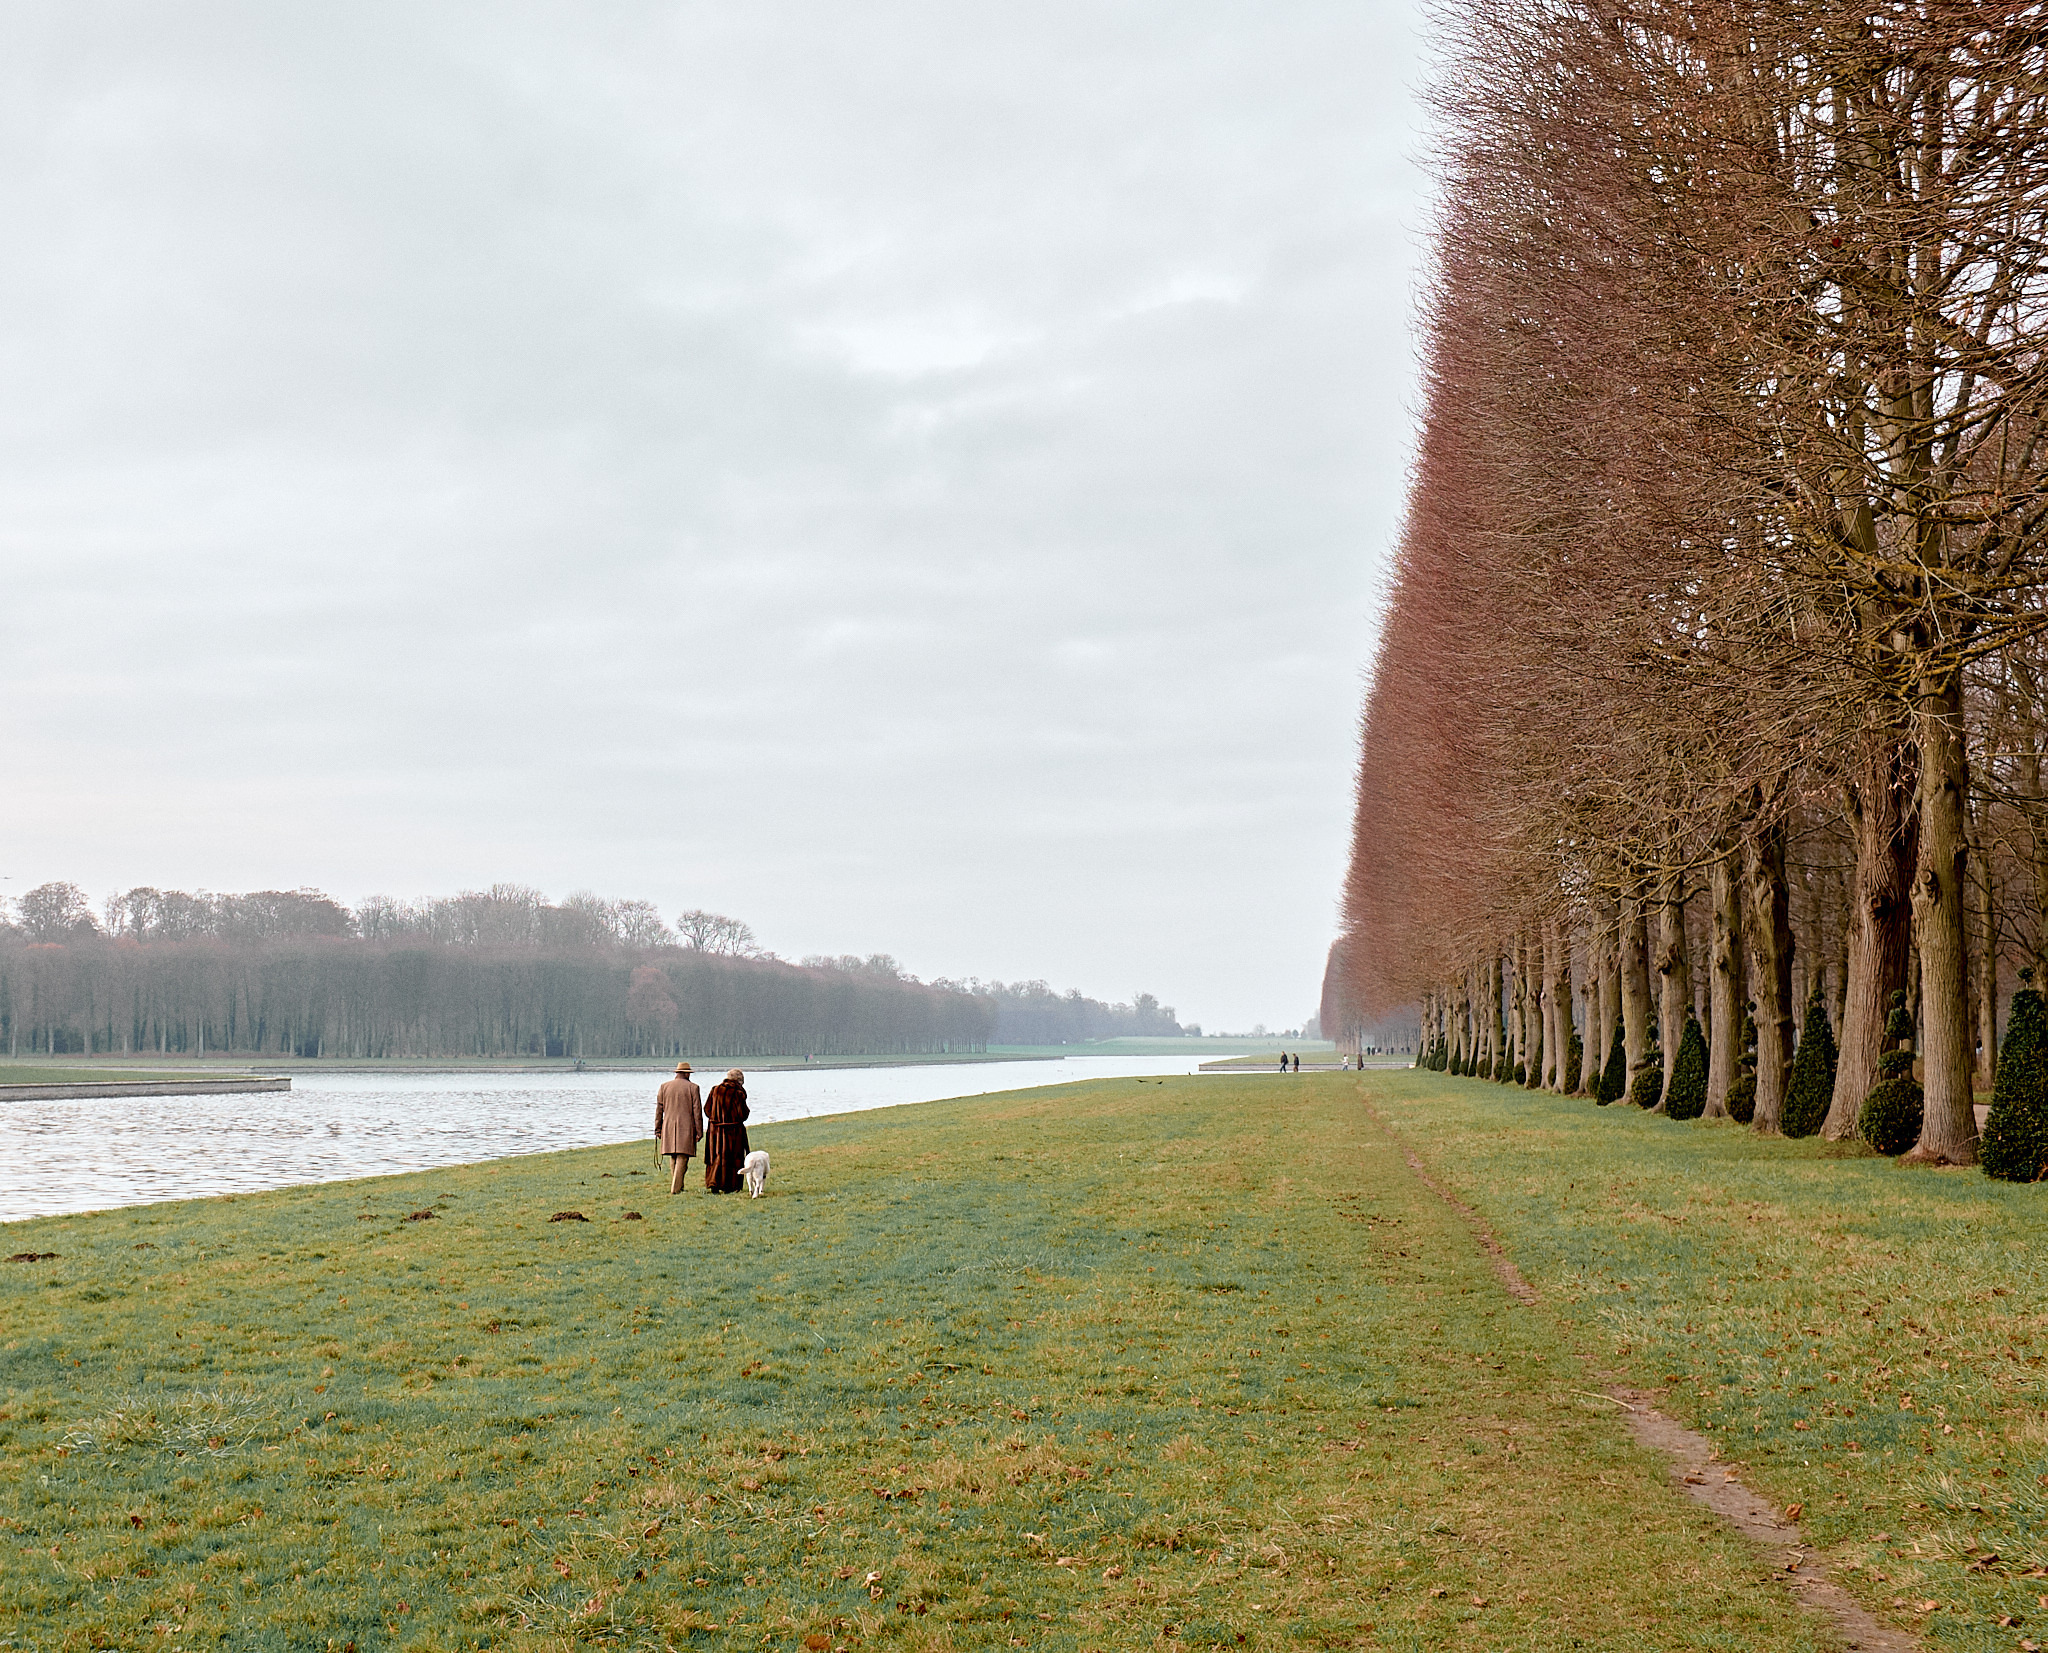
I take a lot of photos outside, and for some reason, many of my greens were NEON in older photos. These days I pull back quite a bit or switch the hue entirely!
Check out the full post here: A Visit to the Versailles Gardens in Winter
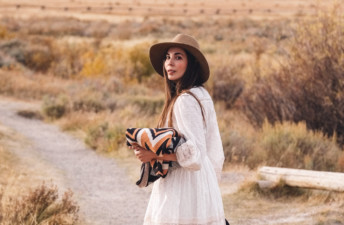
Using Filters and Removing Distractions

I’ve developed my own custom color filters throughout the last year, but I’m still changing and adjusting them as I see fit. I also have a collection of styles that I’ll add on top to give an image a slightly distinct atmosphere. Sometimes I want moody, other times I want bright, and as I continue to explore, I realize every post may call for something a little bit different.
If you look at the original photo, you can see it has pink flags in the trees. These draw your eyes away from me, so as a final editing step I sometimes remove distractions to make the photo stronger. While I prefer Affinity Photo these days, Photoshop allows you to do the same thing with the “spot healing brush.” It takes only a few minutes but makes all the difference in the final image. To me, these don’t even look like the same photograph!
Check out the full post here: Apple Picking at Whiteman’s Farm – The Outfit
Looking back at my earlier photos is fun and enlightening, but at the same time, it makes me aware of how much work I have left! I’m always learning and trying to improve, so I’m sure next year, and the year after, I’ll have plenty to say about how my photos are edited these days. My creativity is always evolving and so am I!
Thank you so much for following along these past two years, I hope you’ll continue to enjoy She’s So Bright!
How do you measure progress in your work? Is there something you look back on that makes you cringe? Share with me in the comments below!