Now, I know what you’re thinking. Why the heck would I make my own macarons when these days I could just buy them? I know this because my father asked me that exact question the other day as I was making these. But the truth is, if you’re like me and have all kinds of preferences when it comes to food, it’s simply easier (and more delicious!) to make your own.
I really like vanilla macarons with buttercream filling, and this is surprisingly less common than you’d think. Most of the macarons available in stores, including those sold at Ladurée, have a gel filling with a rather complicated flavor. But once you’ve enjoyed the simple, buttery filling of these macarons, you’ll realize the gel filling just wont cut it anymore.
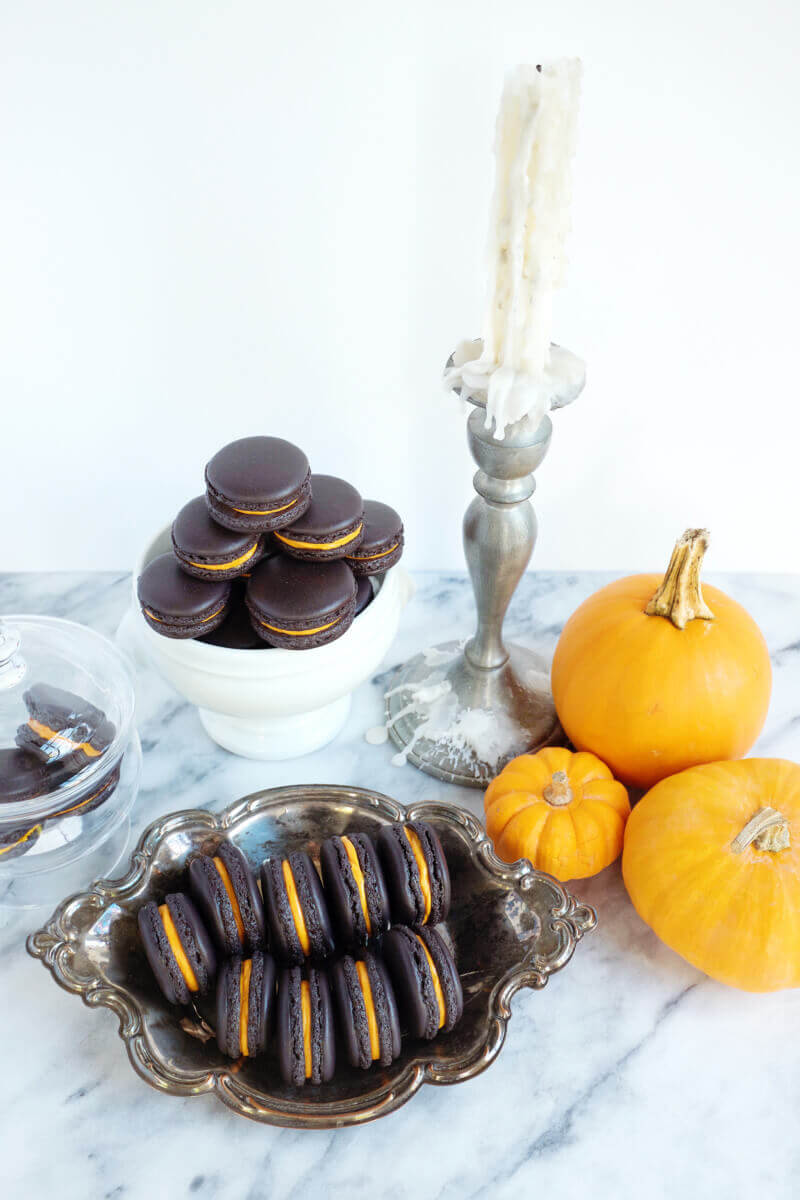
Plus, they’re really not very hard to make, much less expensive, and you can impress your friends with your baking skills around any holiday (just change the food coloring). This recipe is easy to adjust with fillings and flavors, and should serve as a great first try when starting your macaron adventures.
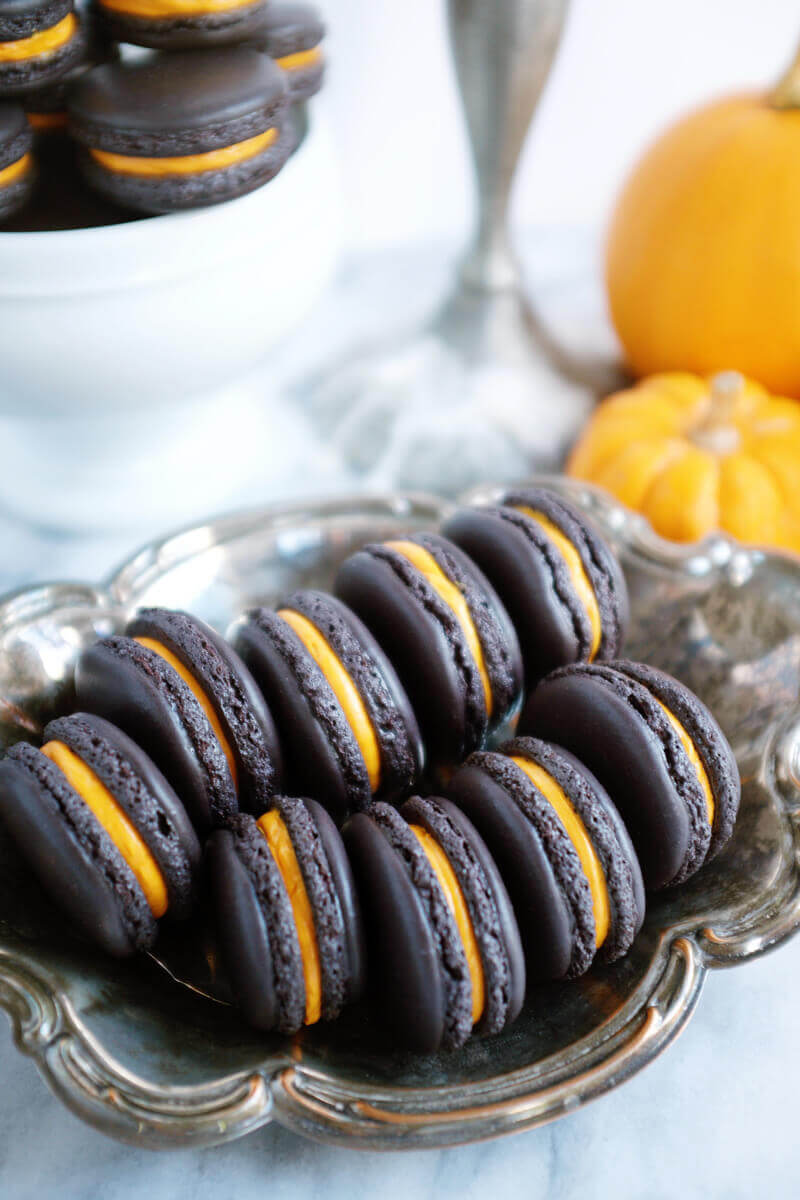
I like Martha Stewart’s recipe for Parisian Macarons. It’s simple, I’ve had a lot of luck with it, and they usually turn out perfect. In order to get such a vibrant black, I used a whole lot of black food coloring gel. The batter lightens in the oven, so be sure you’re happy with the color before you bake. Make this vanilla buttercream recipe for your filling, before you get started on the actual macaron cookies. Then add in orange food coloring to the mix before assembling.
I’ve rewritten the recipe below for convenience and added all my little preferences and tips which help make the recipe nearly foolproof. Let me know if you try them out!
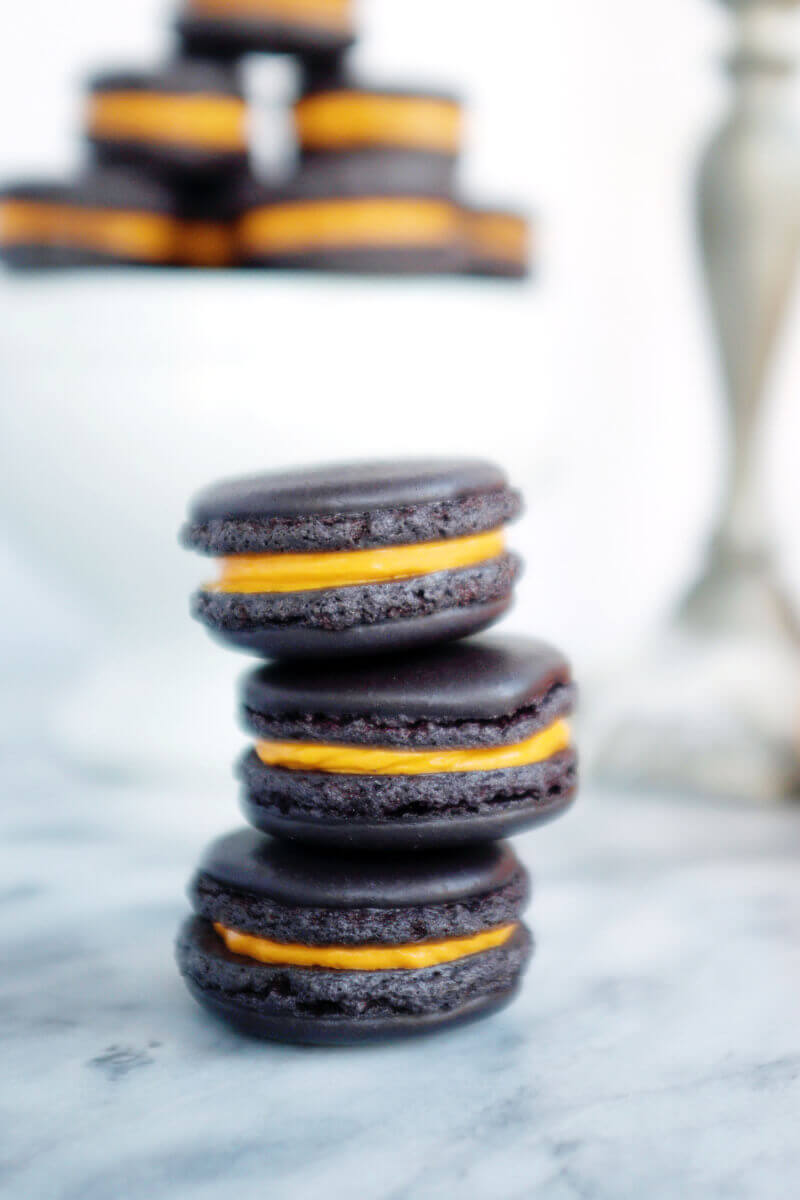
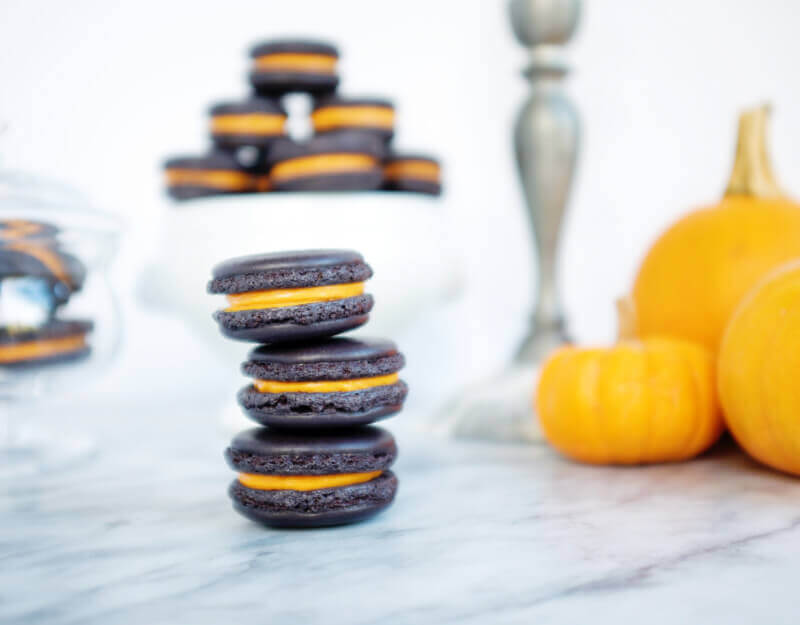
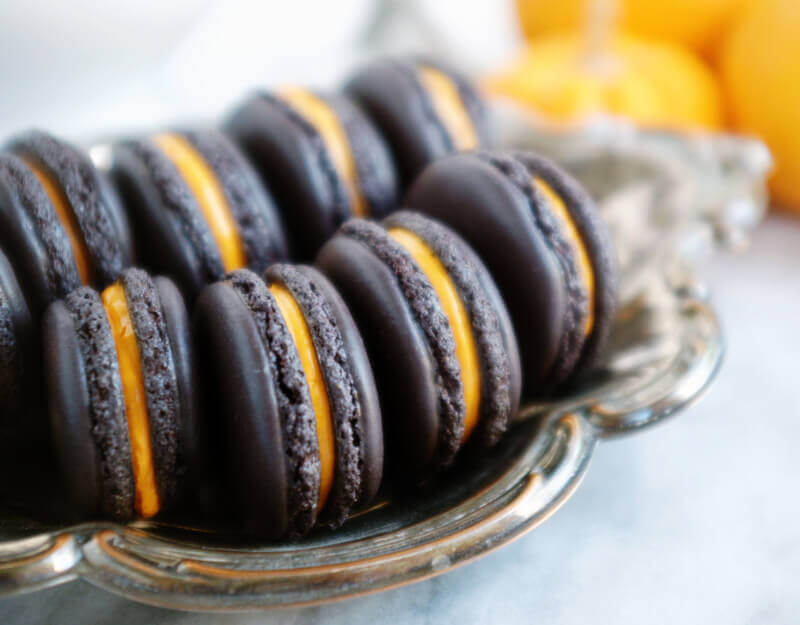
Perfectly Spooky Halloween Macarons
makes 16 filled macarons
- 1 1/4 cups plus 1 teaspoon confectioner’s sugar
- 1 cup (4 ounces) finely ground sliced, blanched almonds (just go ahead and buy Bob’s Red Mill Super-Fine Almond Flour so you don’t have to waste any time shredding almonds in a food processor. It’s also available at most Whole Foods)
- 6 tablespoons fresh egg whites (from about 3 extra-large eggs)
- Pinch of salt
- Black food coloring gel
- 1/4 cup granulated sugar
Bring all ingredients to room temperature, leaving overnight if necessary. Organize your space, prepping all your steps beforehand, including having your pastry bag ready to go. Line two baking sheets with parchment paper marked with guides or use a template. Preheat the oven to 350 degrees, using an oven thermometer to ensure correct temperature.
In a medium bowl, sieve and then whisk confectioner’s sugar and ground almonds (I like this sieve).
In the bowl of an electric mixer fitted with the whisk attachment, whip egg whites with salt on medium speed until foamy. Add a generous amount of black food coloring gel. Increase speed to high and gradually add granulated sugar. Add additional food coloring during this step to achieve desired color, noting that the macarons will lighten in the oven. Continue to whip until stiff glossy peaks form. When ready, you should be able to hold the bowl upside down over your head and the mixture stays put.
With a rubber spatula, gently fold in the confectioner’s sugar mixture until completely incorporated. This will tire out your arm a little! Fold the almond meal and confectioner’s sugar into the egg whites until you can drizzle a figure-8 that sinks into the mixture after 10 seconds. I know this is very specific, but it really works at getting the consistency correct.
Fit a pastry bag with a 3/8-inch #4 round tip, and fill with batter. Pipe 1-inch disks onto prepared baking sheets, leaving 2 inches between cookies. The batter will spread a little. After piping, drop the tray on a solid counter, several times, to jolt out any air bubbles. It’s okay to put a little force into it. Let stand at room temperature until dry, and a soft skin forms on the tops of the macarons and the shiny surface turns dull, about 15 minutes. You should be able to touch the tops without the batter sticking to your finger.
Bake, with the door of the oven slightly ajar, until the surface of the macarons is completely dry, about 15 minutes. If you have two baking sheets, switch racks halfway. Watch the top sheet for any browning, and remove immediately if there’s any. Remove baking sheet to a wire rack and let the macarons cool completely on the baking sheet. Gently peel off the parchment. Their tops are easily crushed, so take care when removing the macarons from the parchment. Use immediately or store in an airtight container, refrigerated for up to 2 days or frozen for up to 1 month.
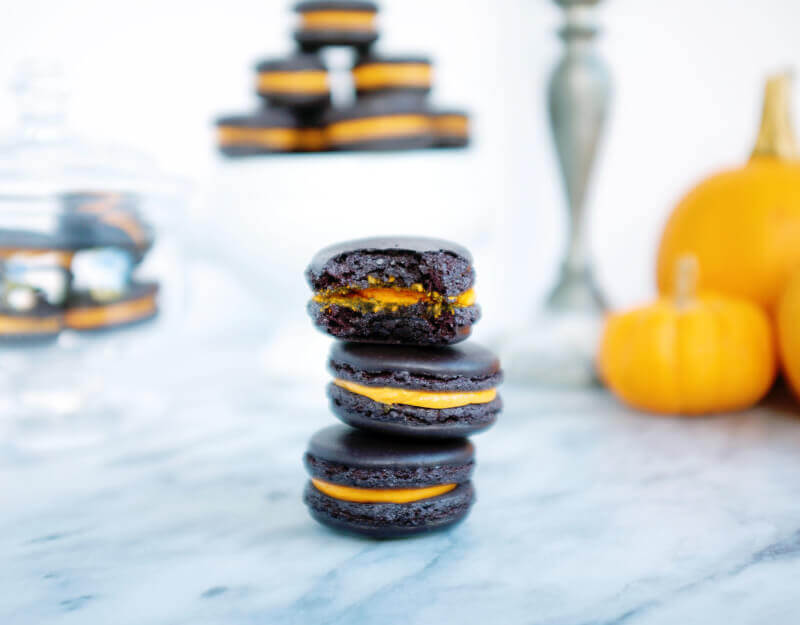
To fill the macarons: Fill a pastry bag with orange-colored, vanilla buttercream filling. Sort your macarons into pairs that fit well together. Turn macarons so their flat bottoms face up. On half of them, pipe about 1 teaspoon filling. Sandwich these with the remaining macarons, flat-side down, pressing slightly to spread the filling to the edges. Refrigerate until firm, about 1 hour.
Place finished macarons in an airtight container, at room temperature, for at least a day. This allows the moisture from the buttercream to absorb back into the cookie, making the macaron perfectly chewy for days to come!