Here’s a really simple DIY that I can get behind! I am always looking for planters, and struggle to find things I really like. Most of the time, I’m drawn to vintage vessels, but they tend to be metallic or of other less practical materials (and without drainage, of course). For that reason, I keep most of my plants in terracotta pots – it’s a uniform look that shouts happy, rustic garden. Add some succulents and you have a Santa Monica beach house vibe. Age them and you’ve got an old English, secret garden feel.
If I’m going to keep the terracotta natural, I prefer the aged, weathered clay over something new. But recently I’m really loving the look of a simple painted terracotta pot. I’ve seen many different styles of painted planters online, and years ago I attempted some of those cutesy/pastel/dip-dyed looks. After a while, I was drawn back to white. For the quirkier home, bright colors might work perfectly and add excitement to your potted plants. So if that’s your style, go for it! For me, I like to see the contrast between the clean white base and the green of the plant. That is always the POP that I’m looking for.
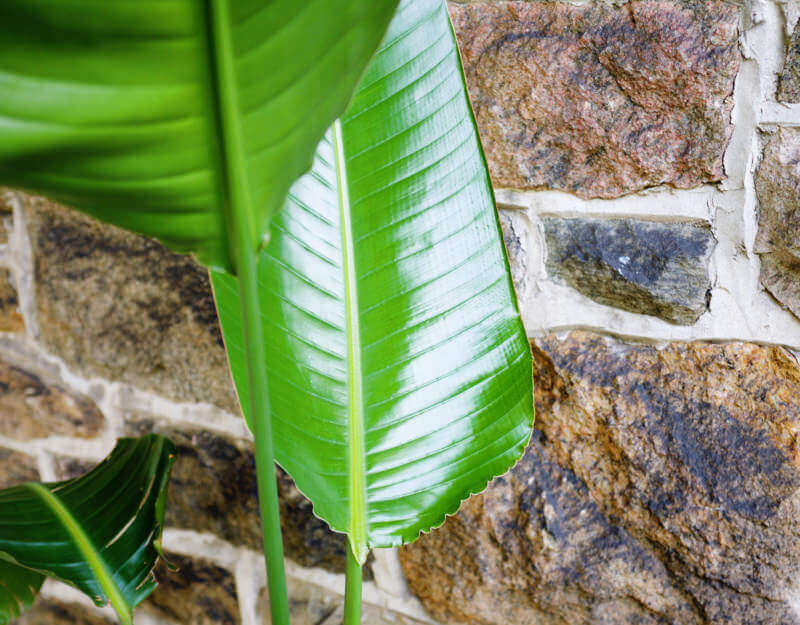
In the spring, I bought a little palm plant. I stuck it in a window with ample morning light, and soon it was growing huge leaves. As you can see in this before photo, the pot it came in was tiny, and I’ve actually had to prop it against the wall so that it stands up.
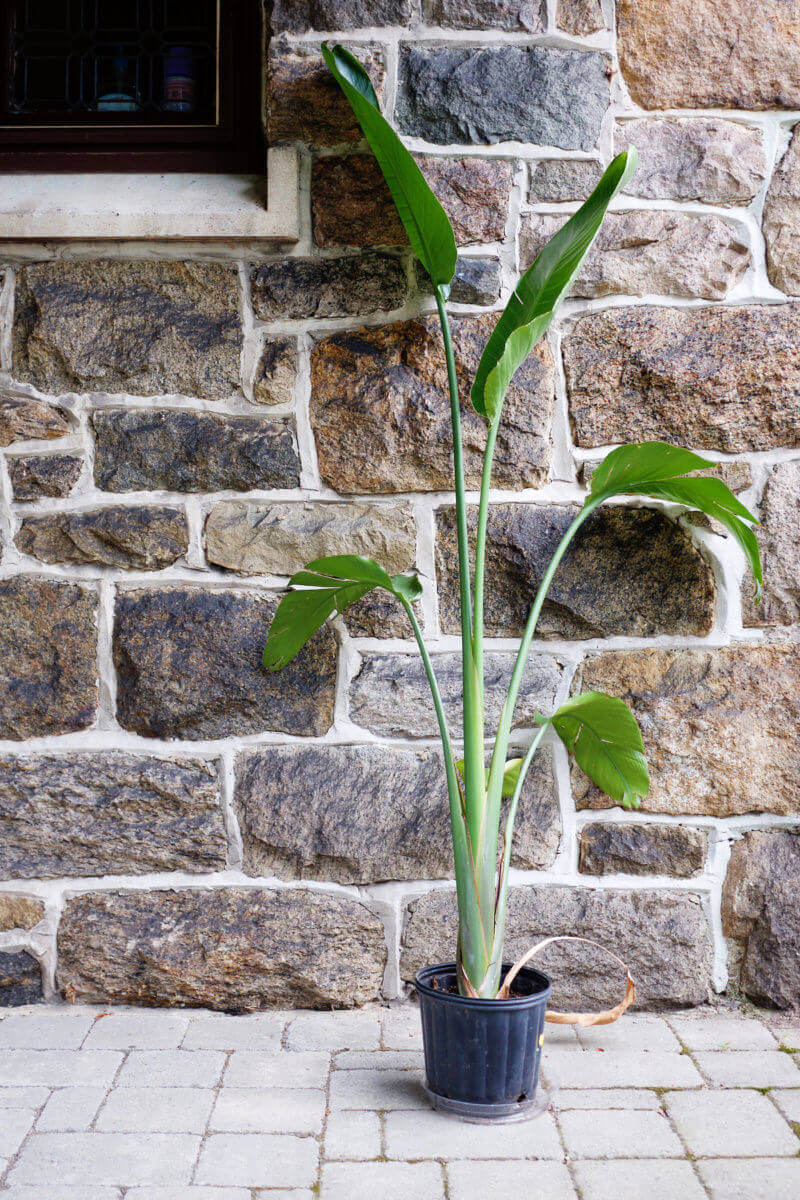
Poor thing started to tip over from its own weight! And so, it was time to repot. I searched for an interesting, vintage, planter but I kept coming back to a simple terracotta pot. Then I decided to make it my own. Here’s my super duper simple painted pot DIY.
What you need:
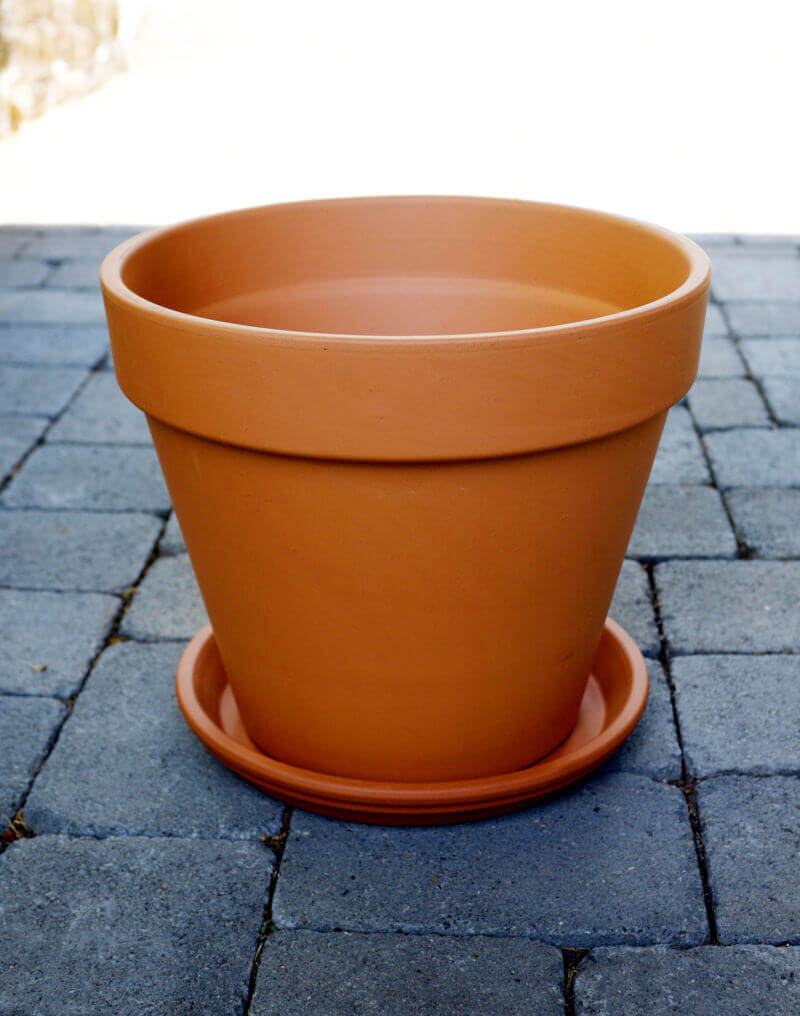
- Terracotta Pot & Saucer – any size will do, my planter is 14″ and the saucer is 12.25″
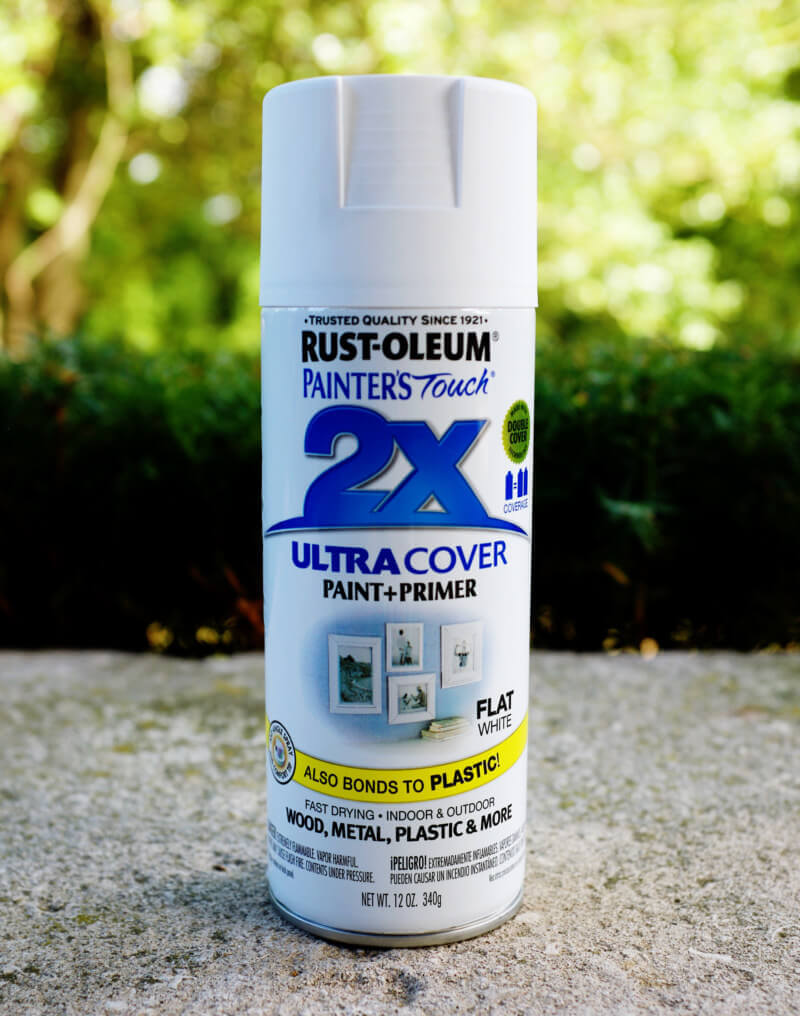
- Flat White Spray Paint (and primer, if it’s not included)
- Painter’s tape
- Newspaper
- Flattened cardboard box or tarp – for covering the ground
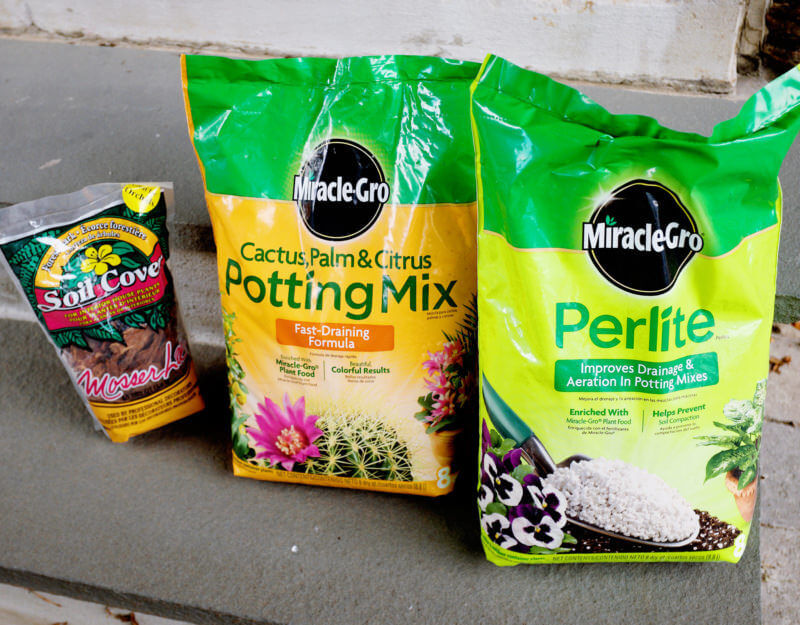
- Indoor plant soil – find what’s perfect for your plant!
Instructions:
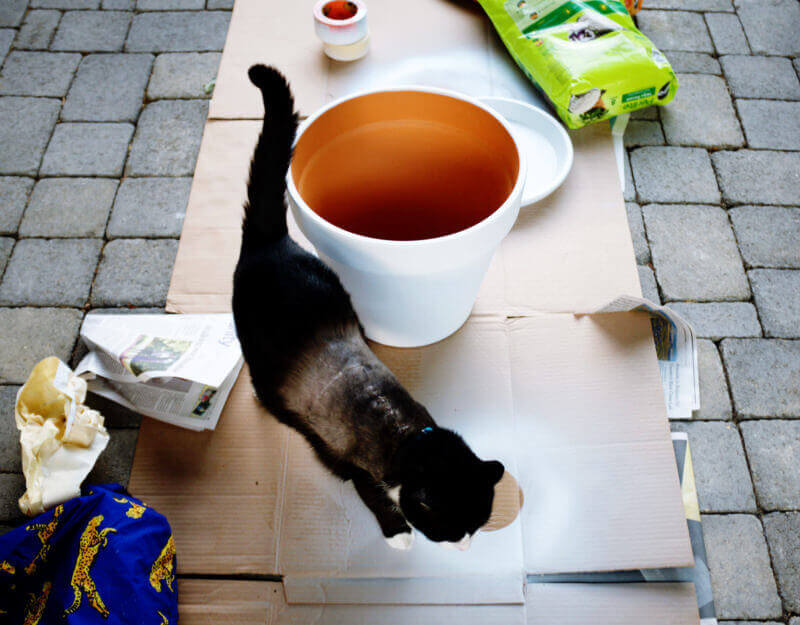
1). Wipe the pot clean of any dirt or debris and let dry fully. Put pot on cardboard or tarp.
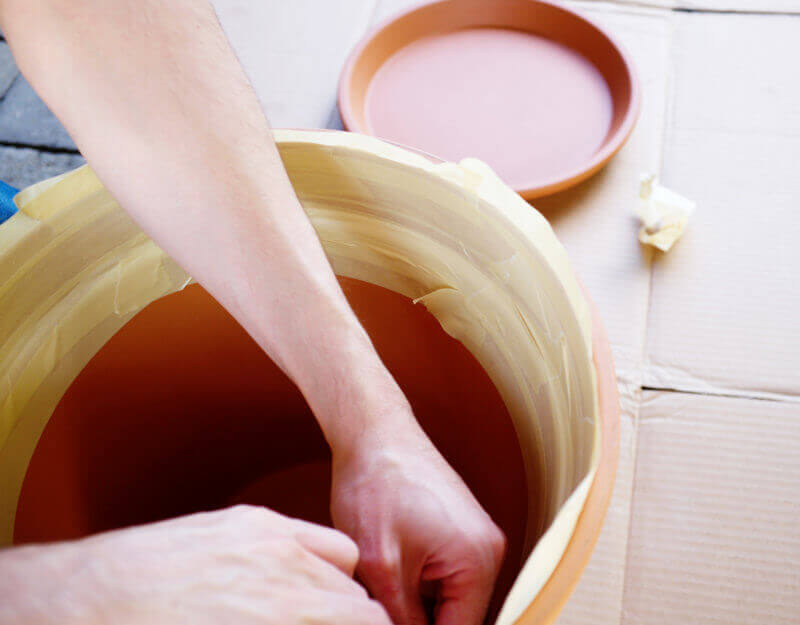
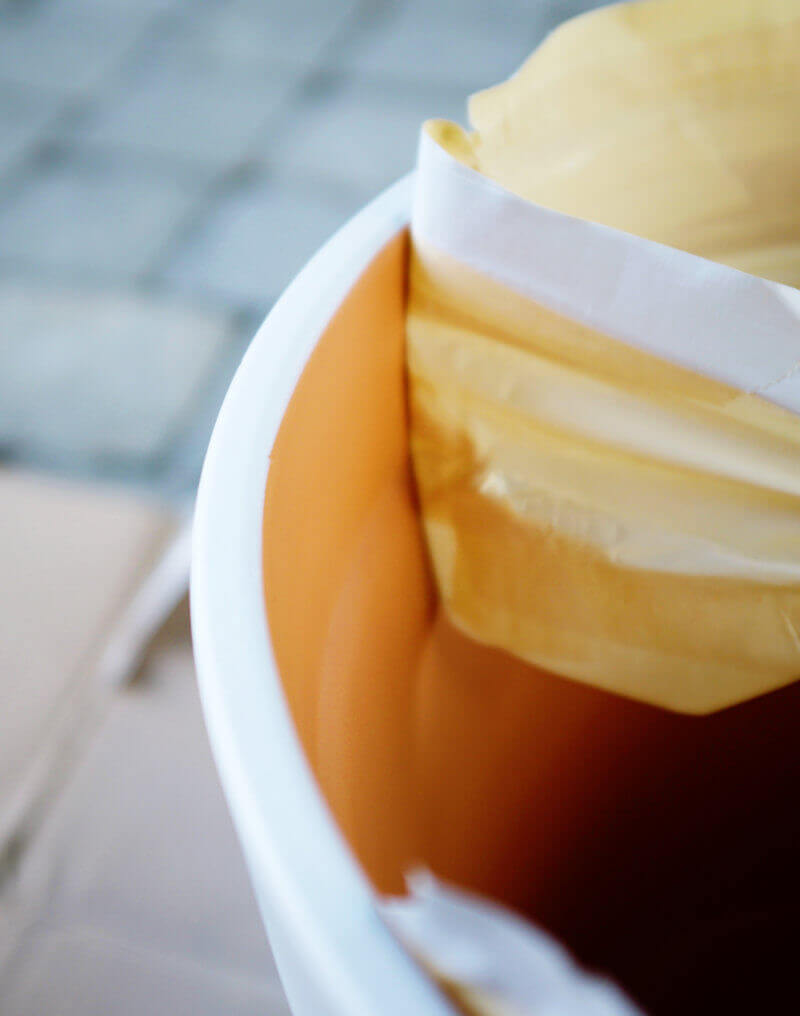
2). Tape along the entire inner rim of the pot allowing the tape to stick up over the edge. The sticky side should be facing out. Make sure to break up the tape into shorter pieces, so the sticky side can lay flat against the interior of the pot. The point is to get a clean line around the rim, which can only be achieved by making sure the tape sticks up straight against the planter’s interior. Any wrinkles will allow paint to get in, and ruin the clean edge. (By the way, those hands belong to my lovely assistant – mine are a little less hairy!)
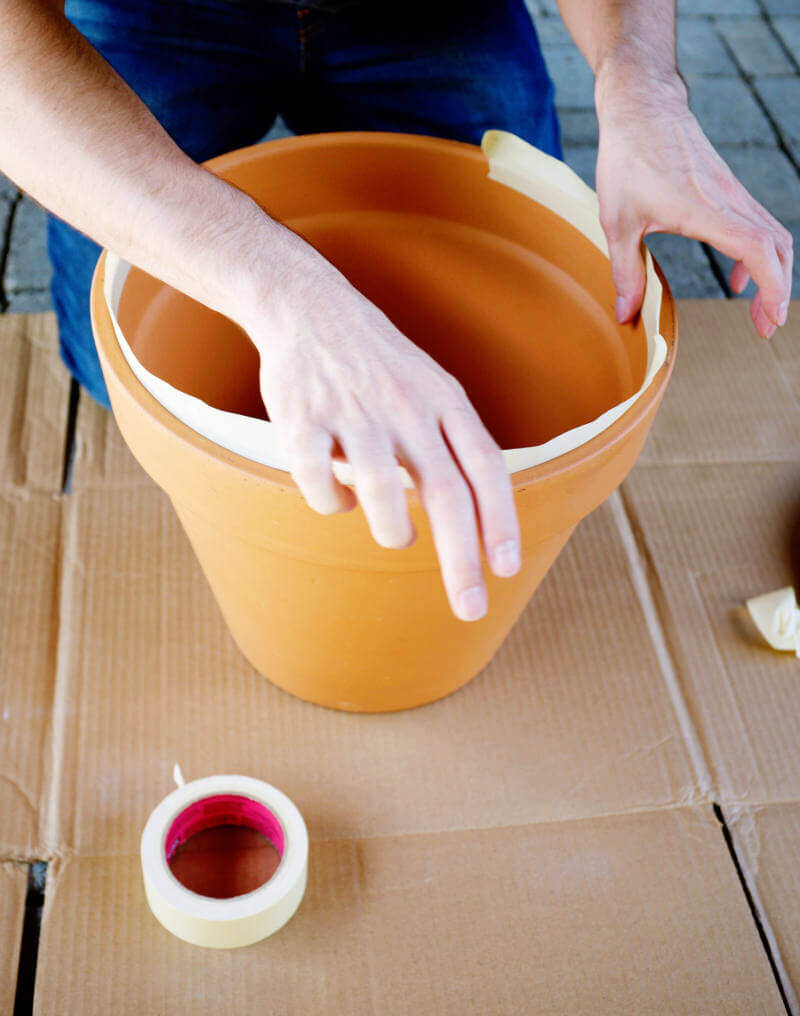
3). Continue to tape down the inside of the pot so that a few inches of the interior are covered.
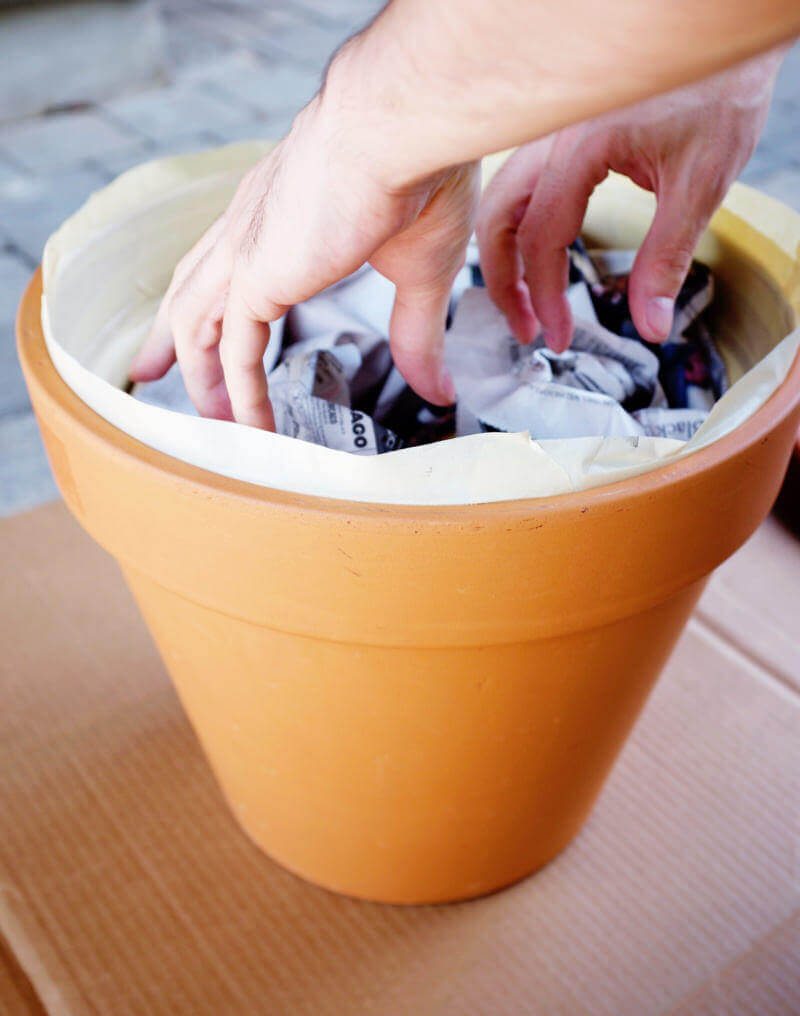
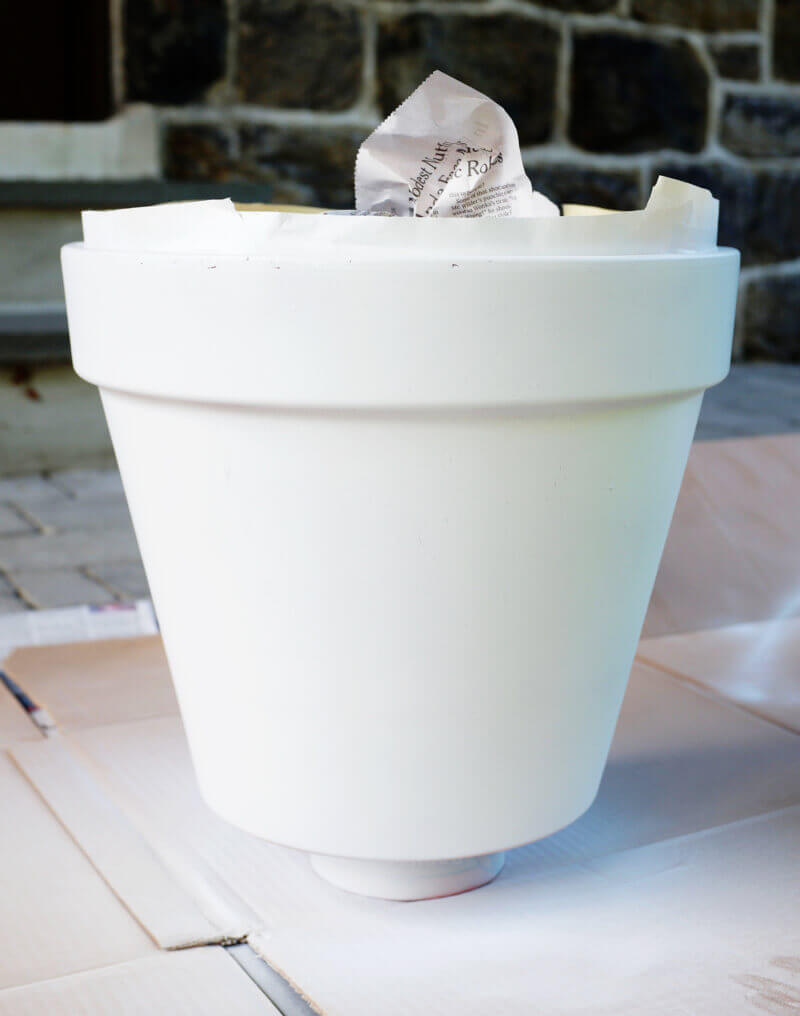
4). Fill the pot with newspaper, covering any exposed terracotta on the interior.
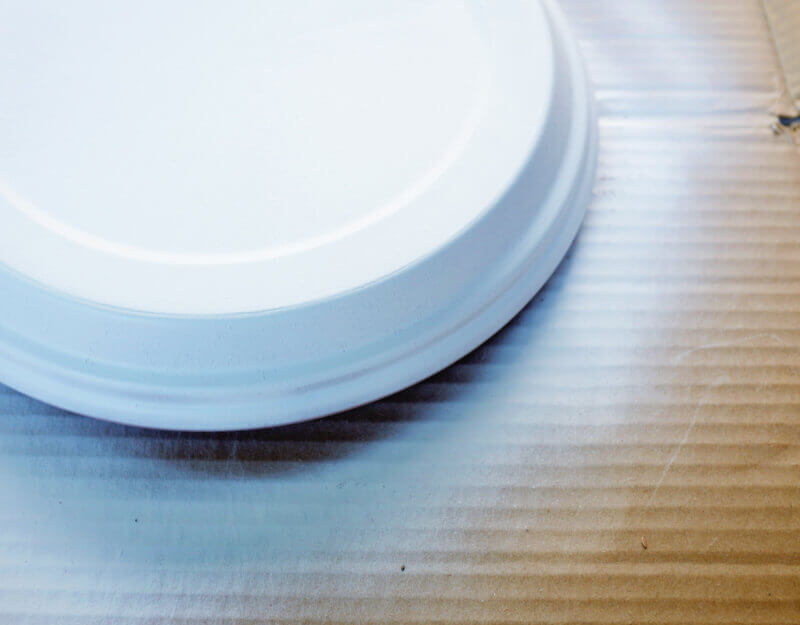
5). Apply a first coat of the spray paint. Be sure to follow the specific directions on the can and to cover the entire surface as evenly as possible. Let dry. Pro Tip: I balanced my pot and saucer on rolls of tape to keep them elevated and from sticking to the cardboard.
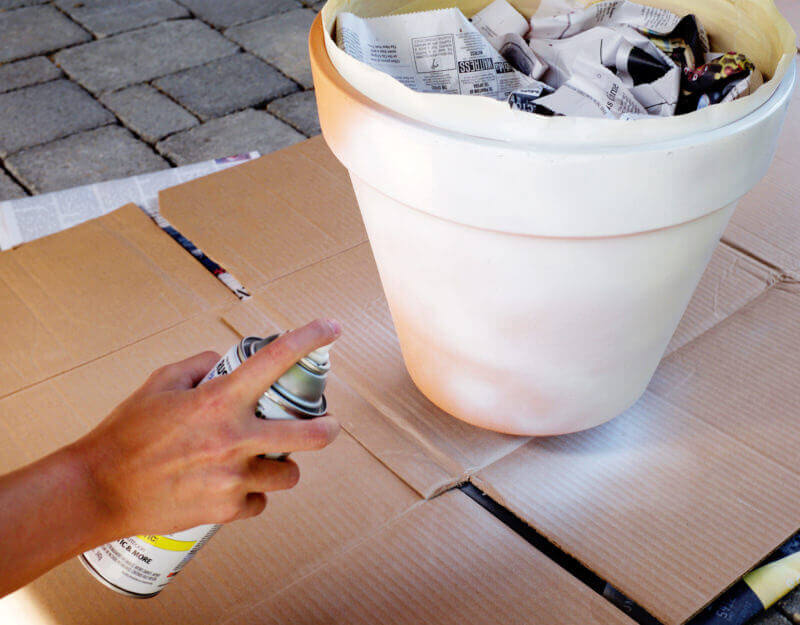
6). Apply second coat. Let dry.
7). Once dry to the touch, remove newspaper from the interior of the pot and peel off interior tape to reveal a very satisfying white edge.
8). Leave to cure overnight.
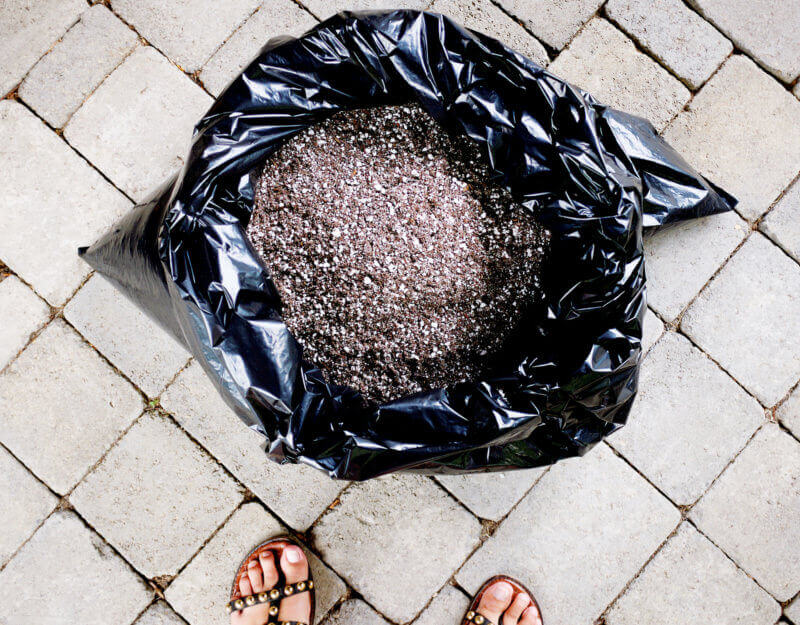
9). Prep your potting soil. In this case, for a palm, we used half palm potting mix and half perlite. Palms are susceptible to rot, so it’s important to have soil that dries quickly. Make sure whatever plant you have, you read up on the soil needs.
10). Fill pot a few inches with potting soil so that the palm will rest at the desired height. Place plant, and fill with soil. Top with soil cover, if desired.
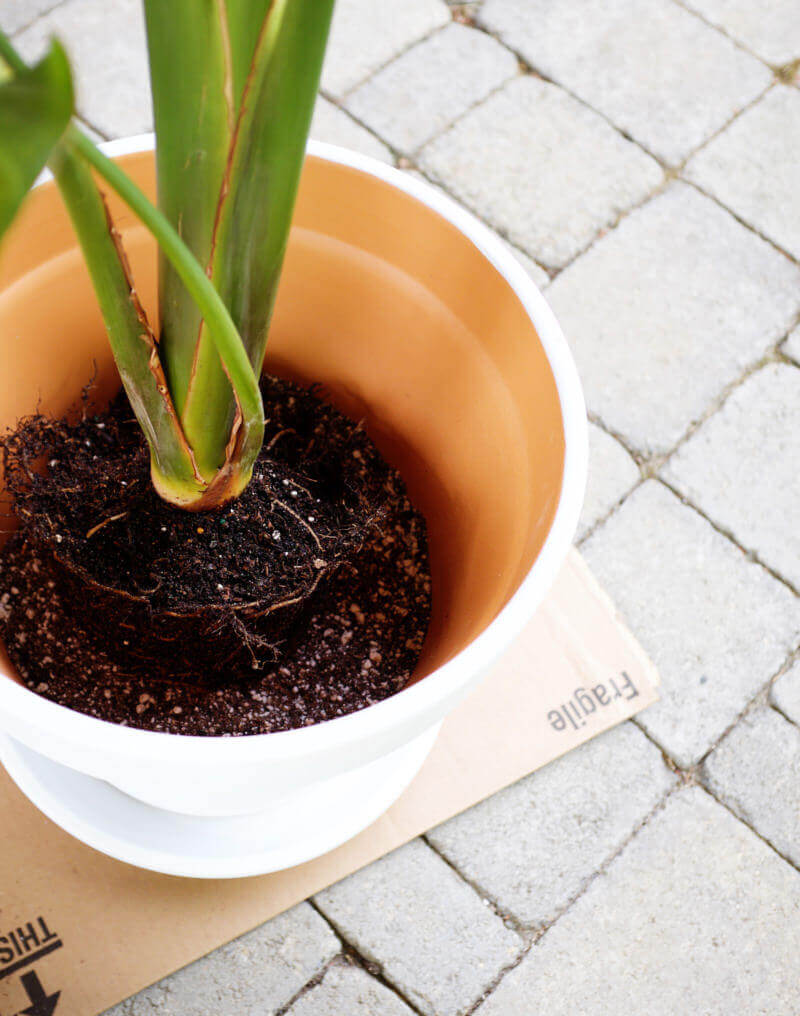
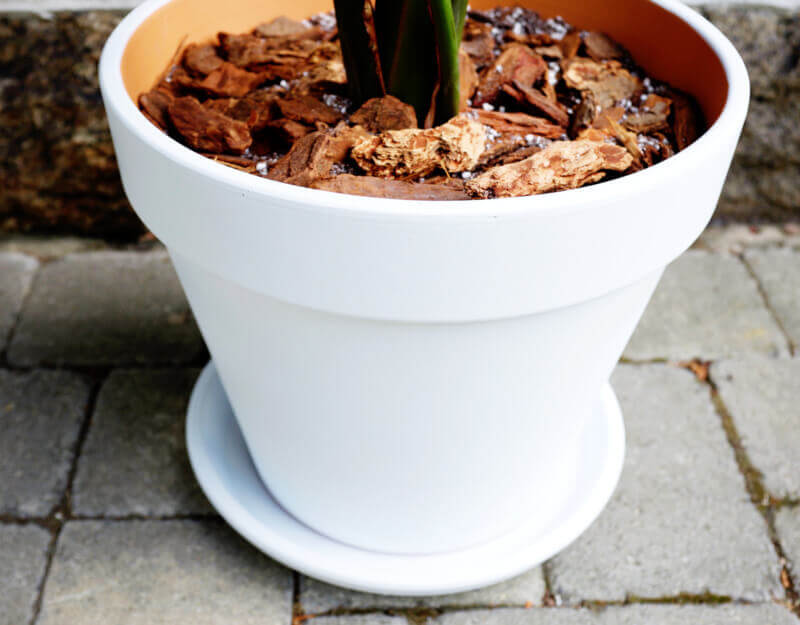
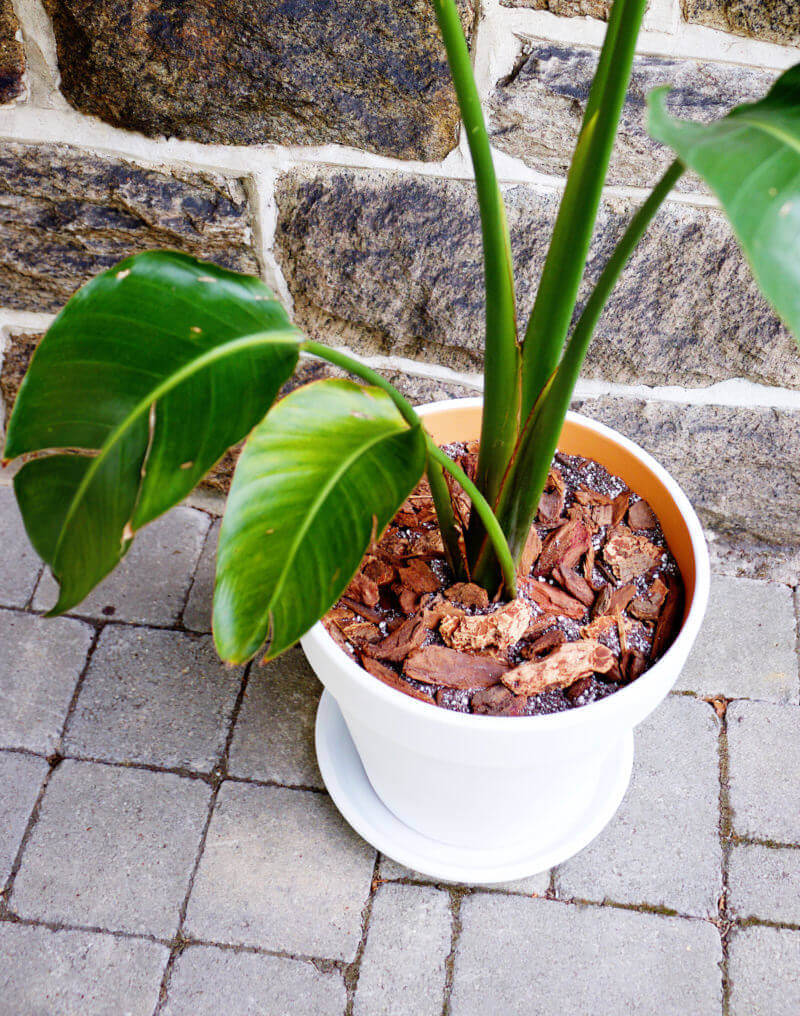
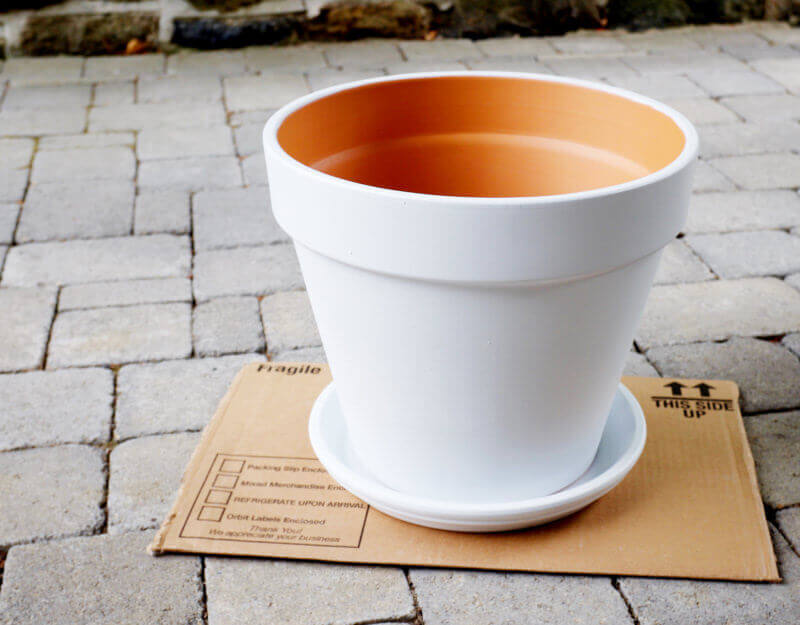
And here’s the finished planter:
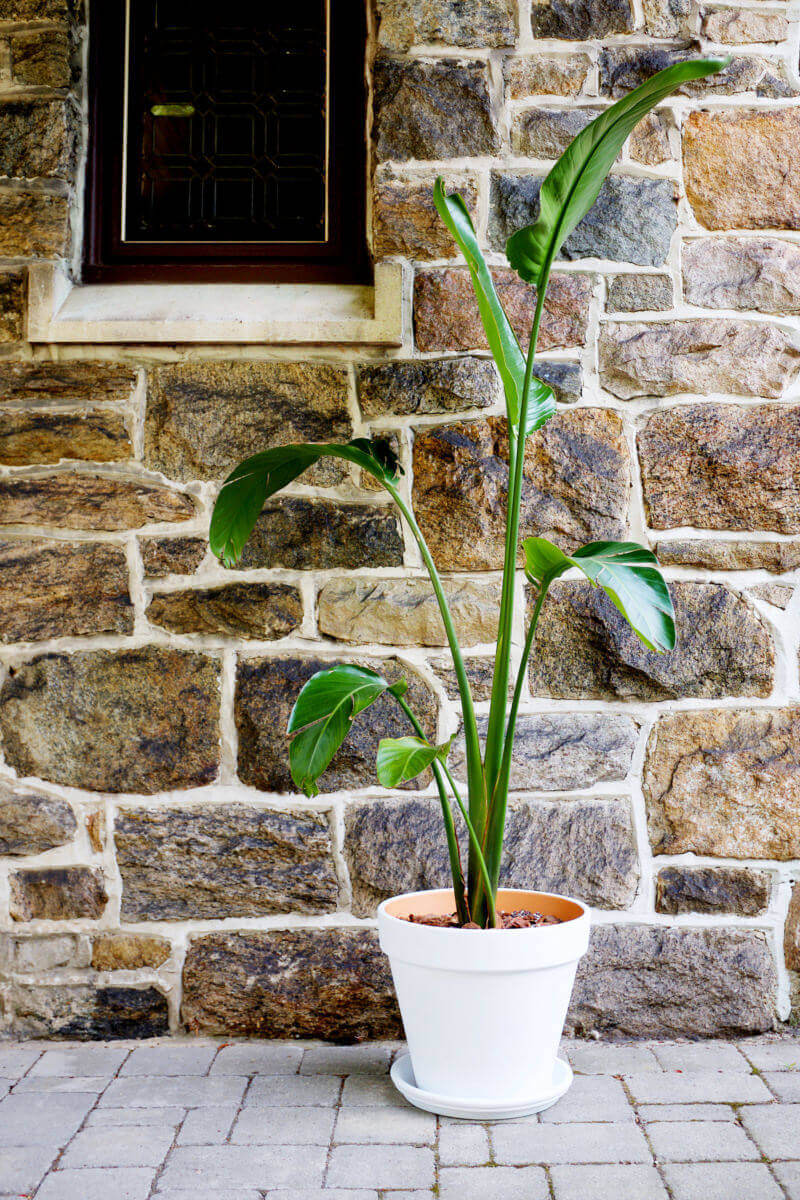
I’m so pleased with how this project worked out! I love the crisp line, revealing the bright terracotta interior. It gives just a hint of the natural color, and adds a bit more detail to a relatively simple planter. I will probably fill out the bark chips too, so it looks more full on top and so the speckled perlite wont show. I also added felt feet to the bottom of the saucer so the planter wont scratch my wood floors.
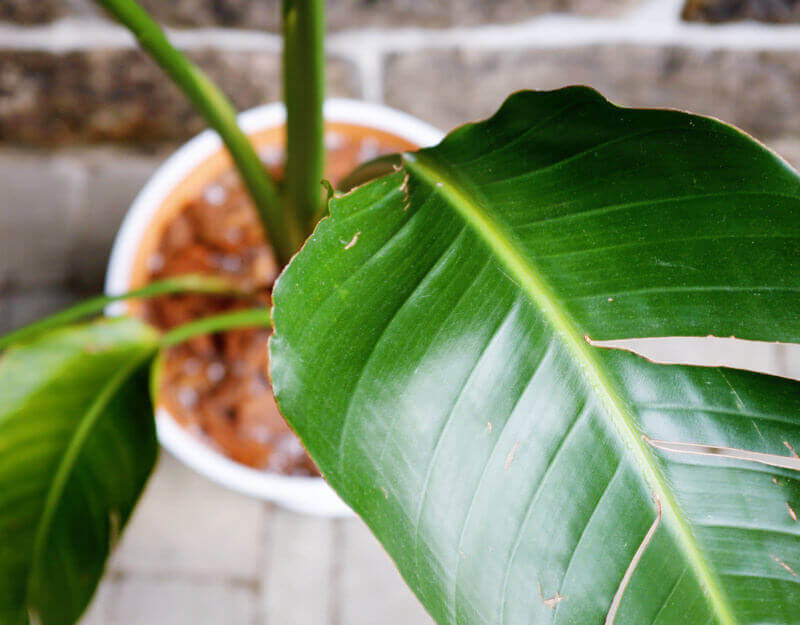
Now that my happy palm is properly anchored and upright, I look forward to seeing how much more it will grow!